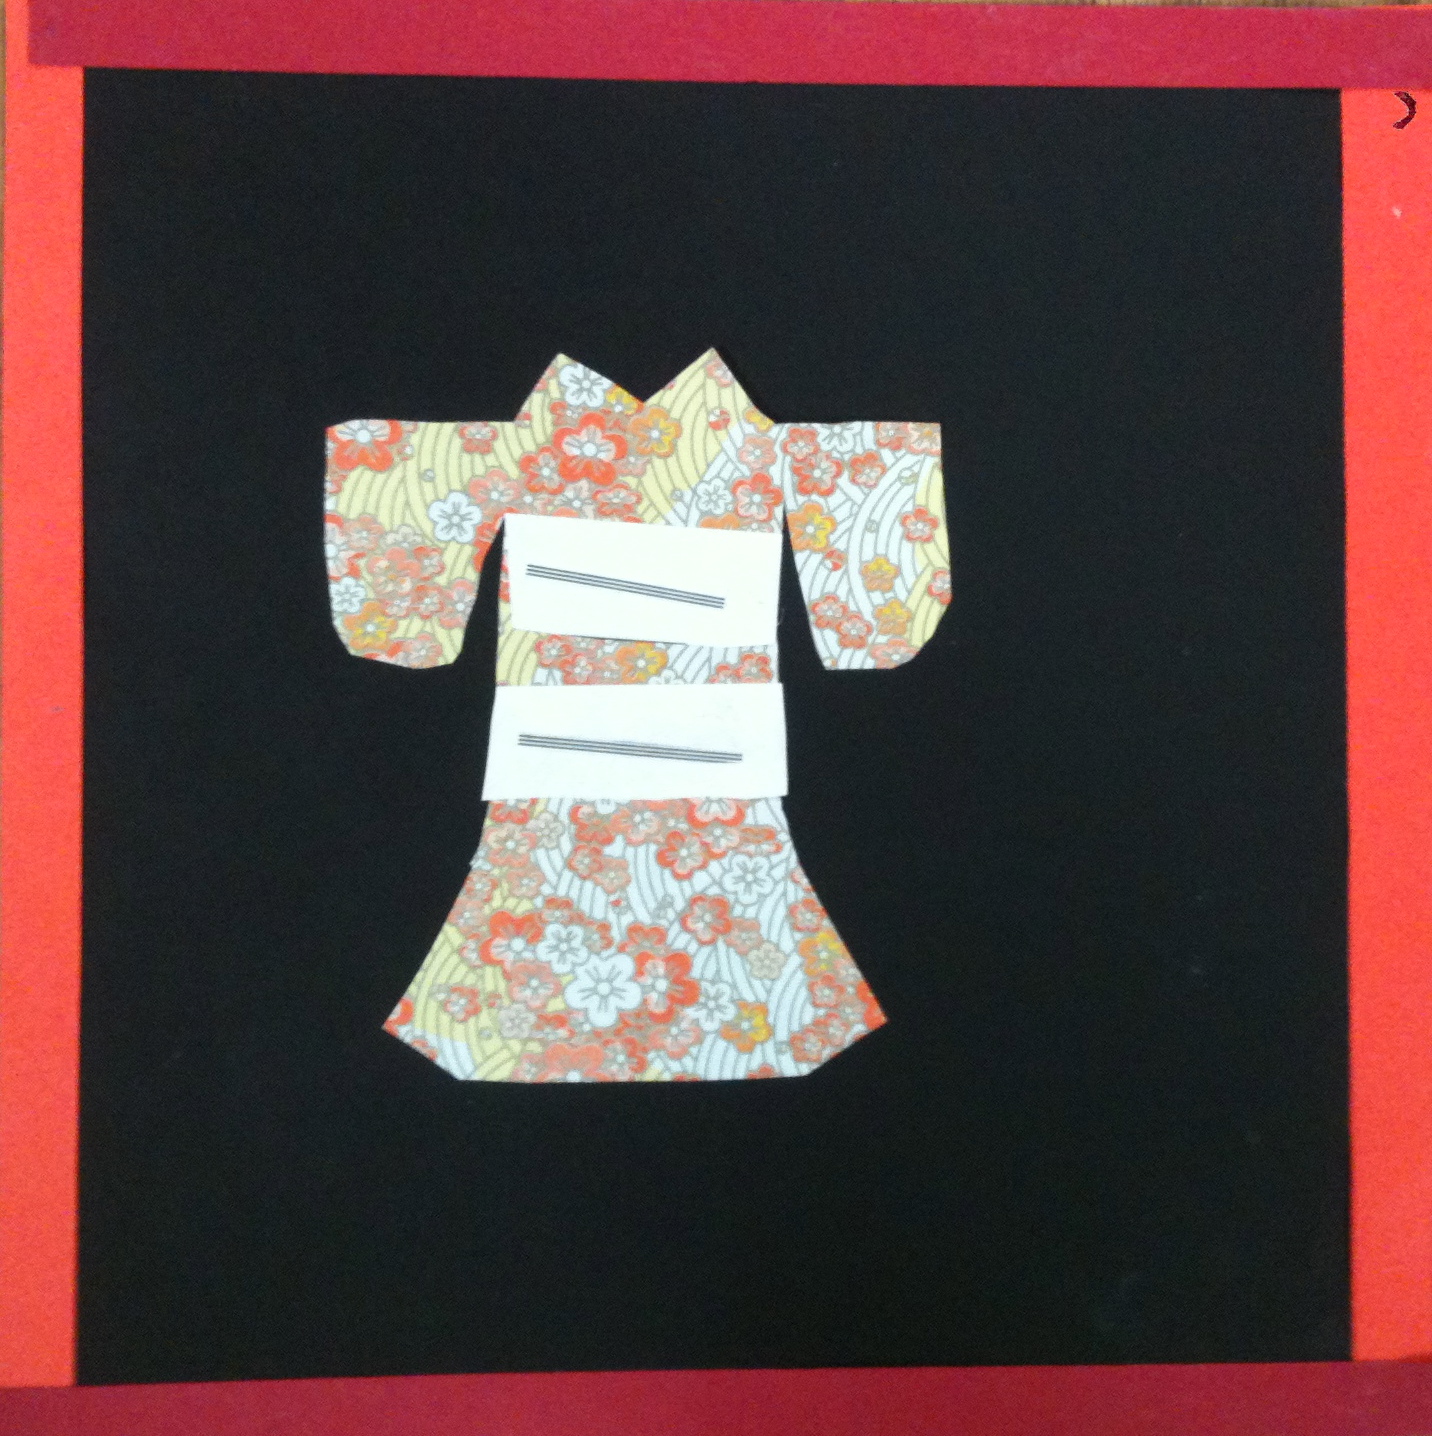
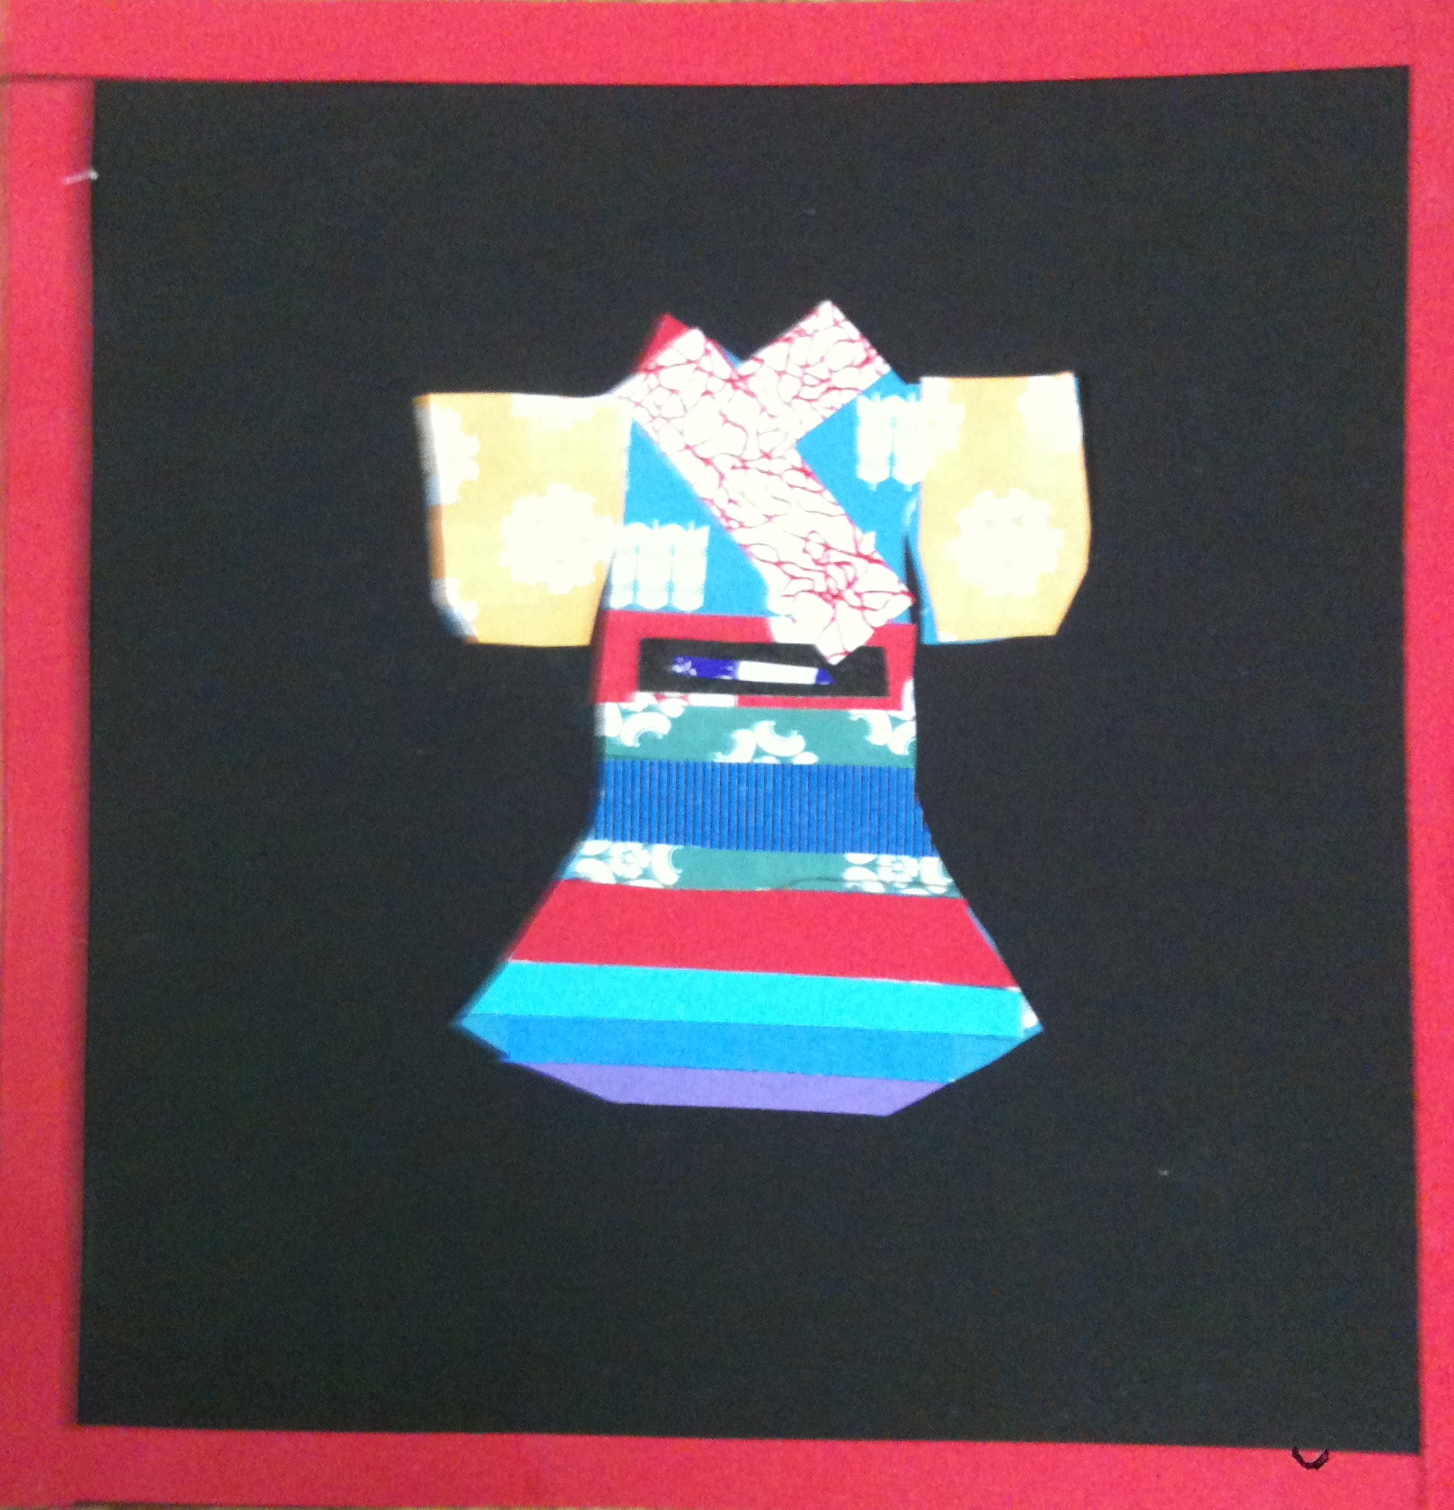
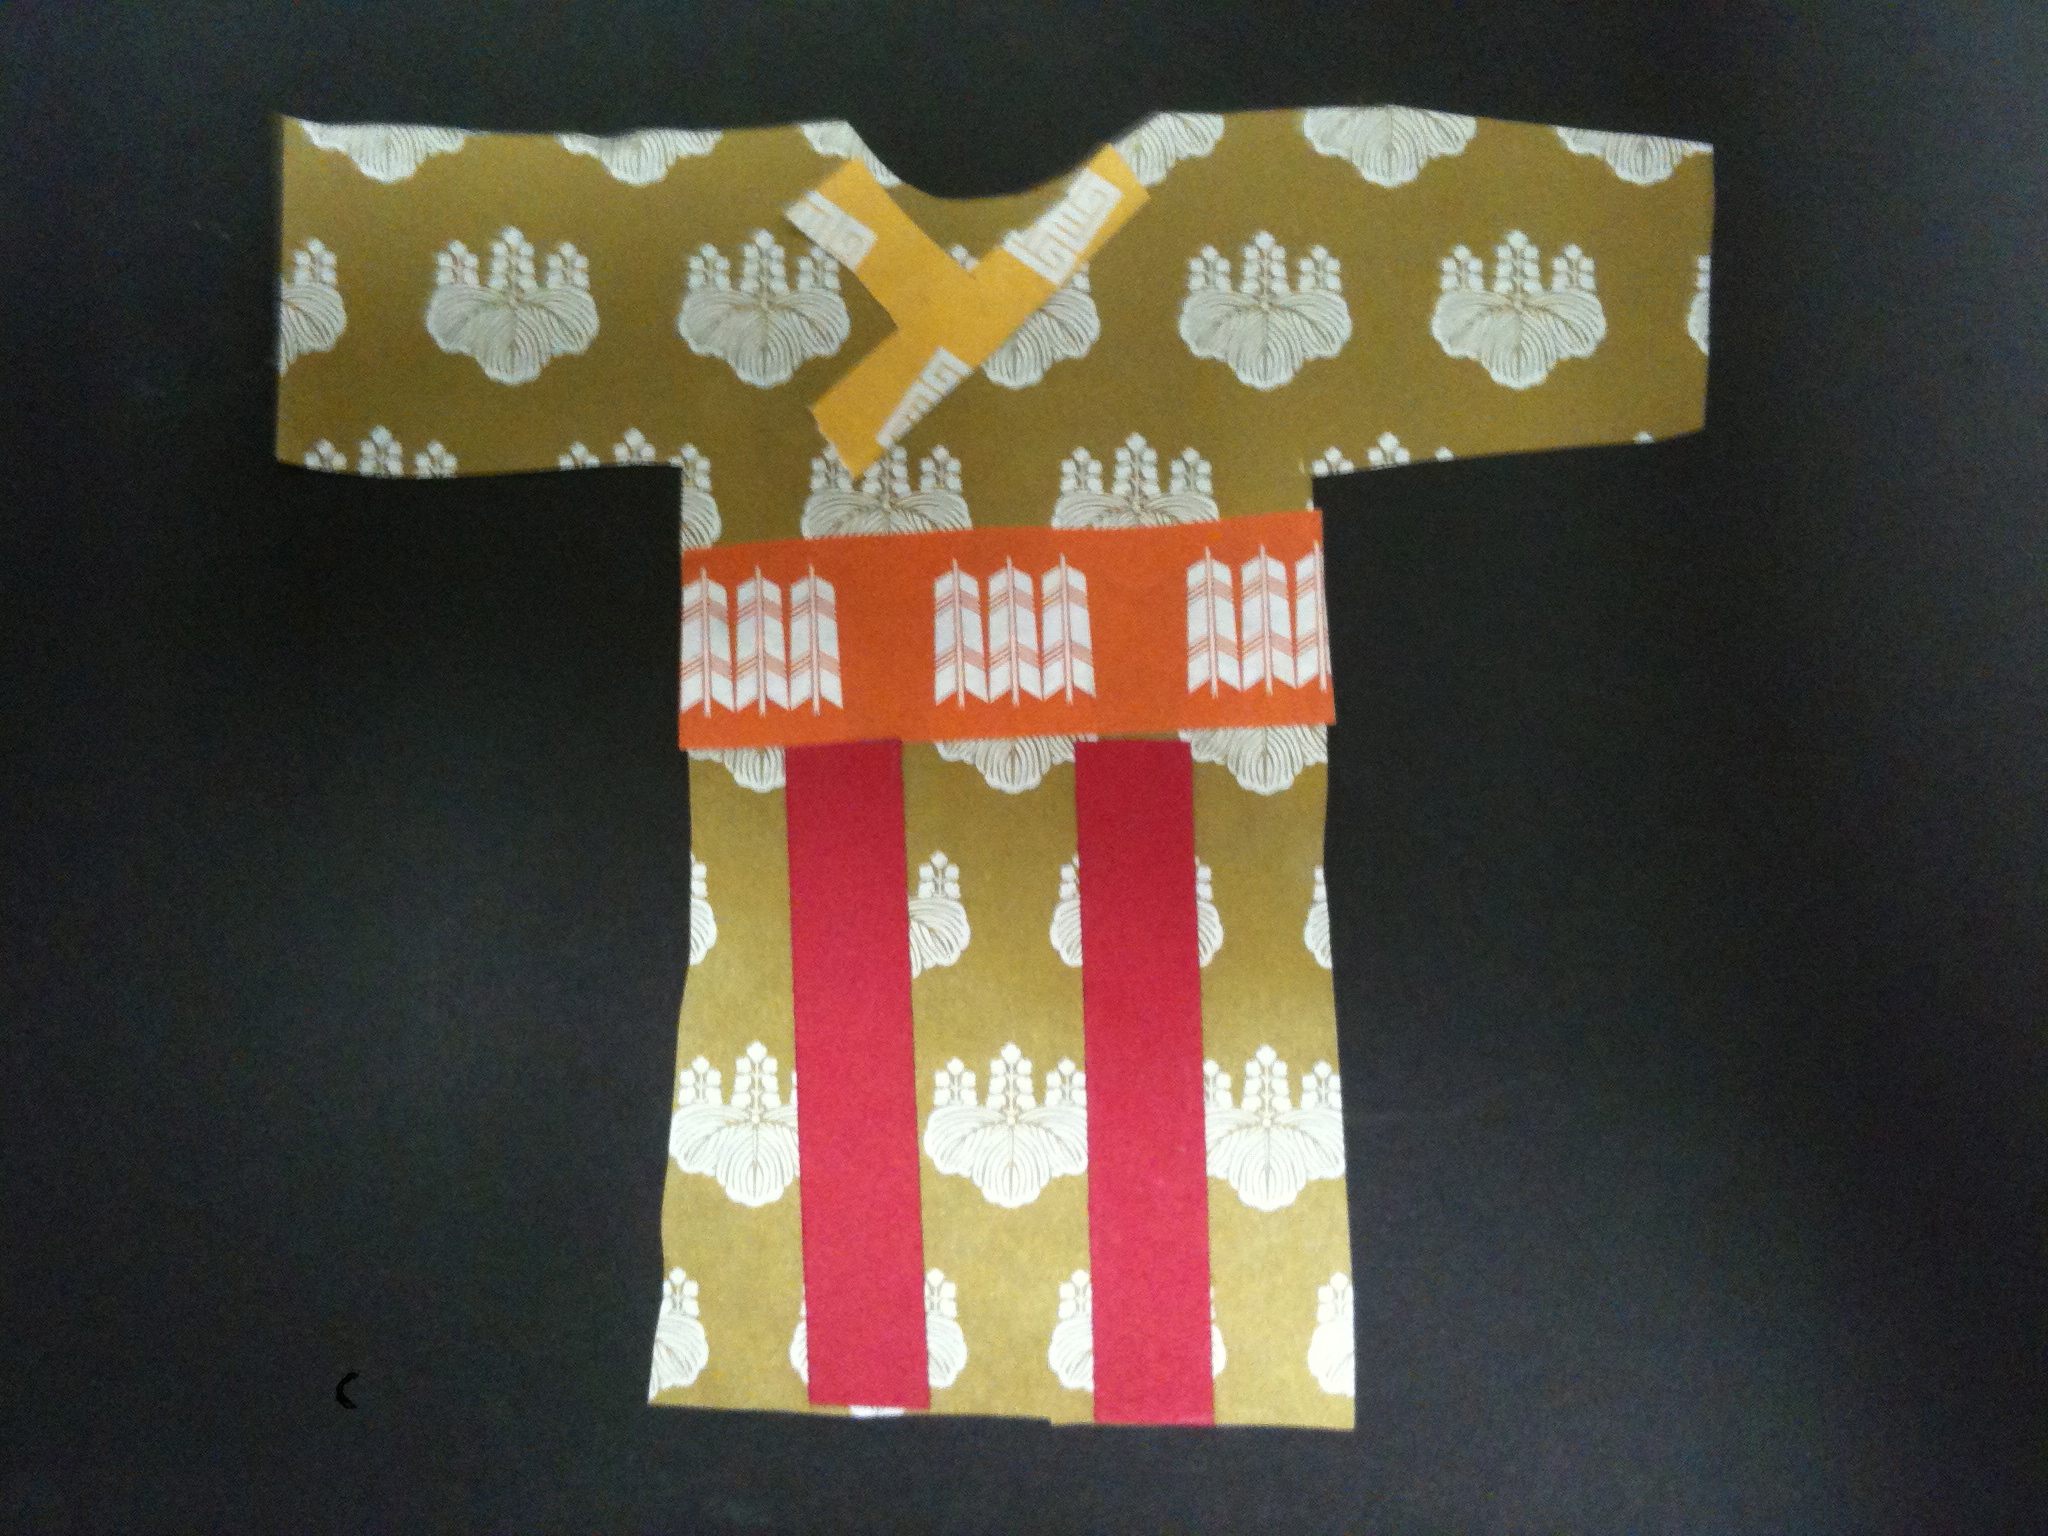
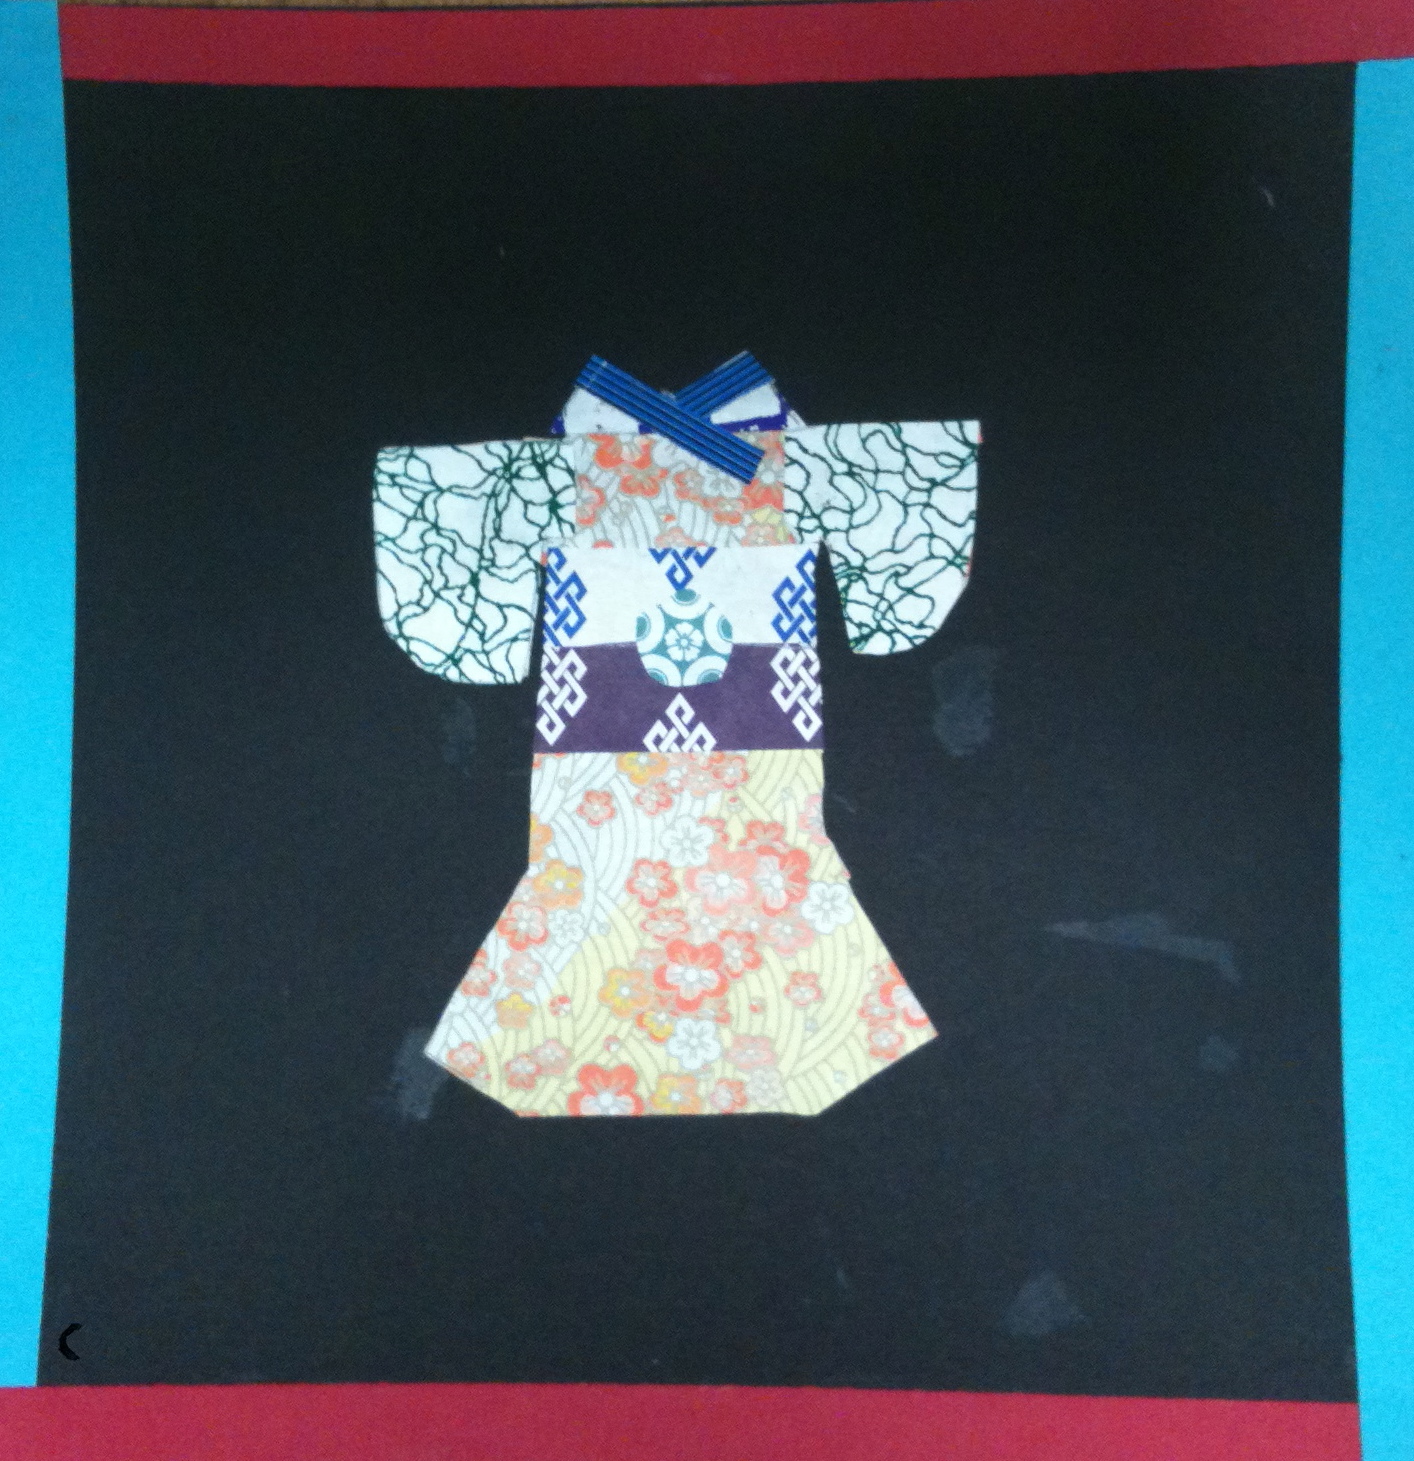
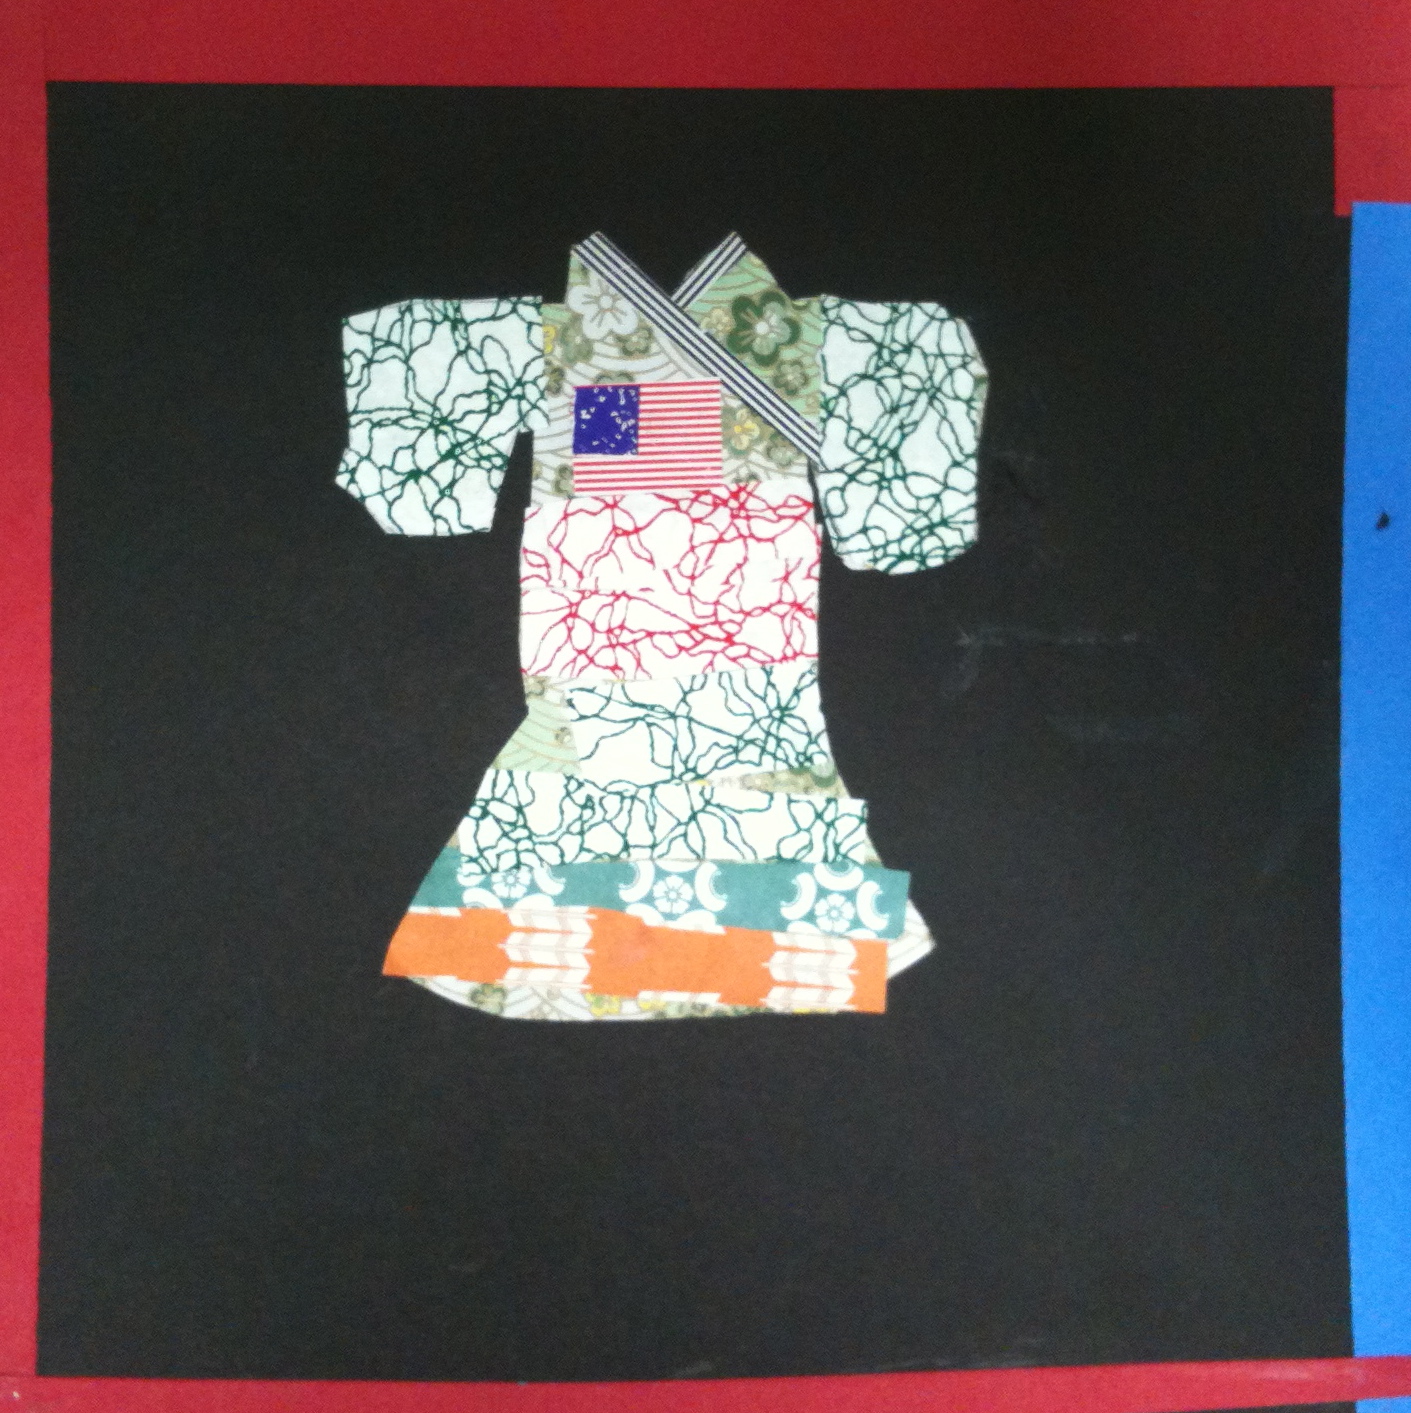
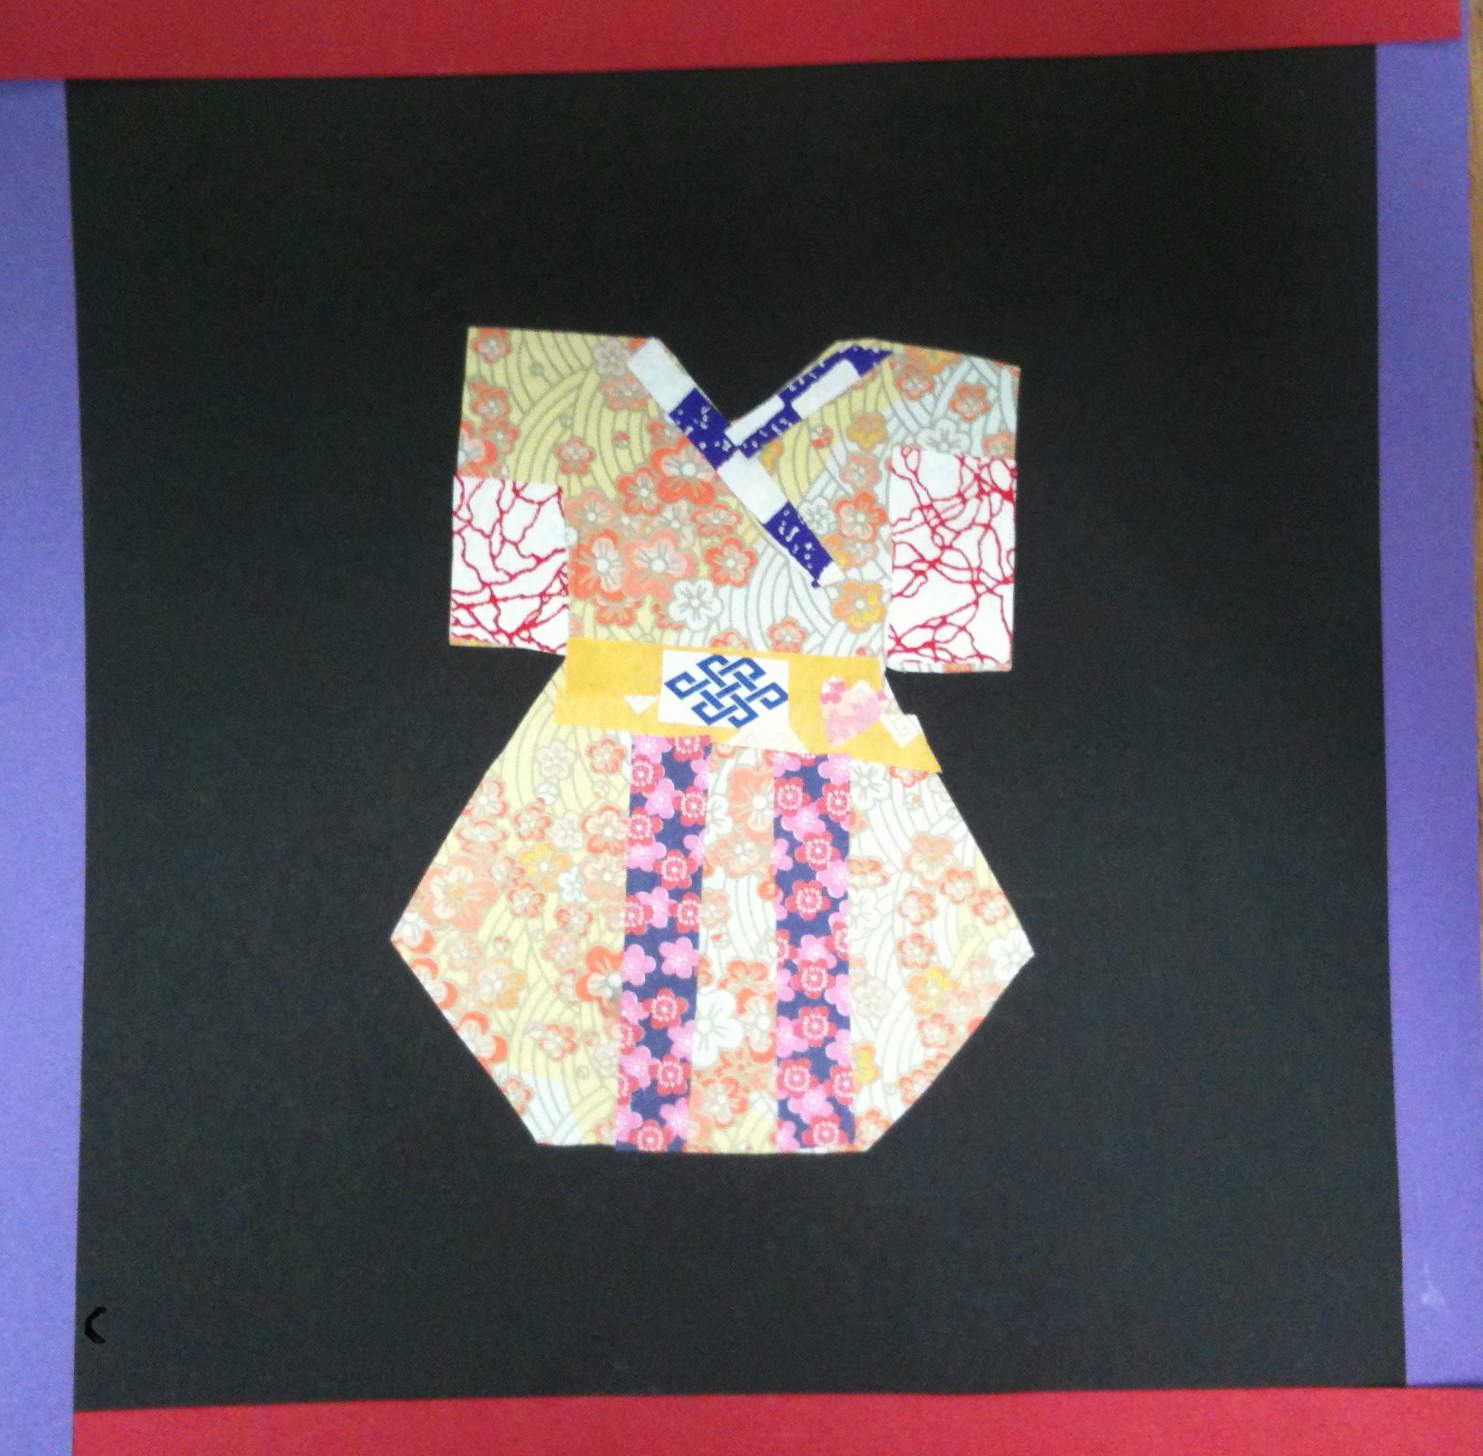
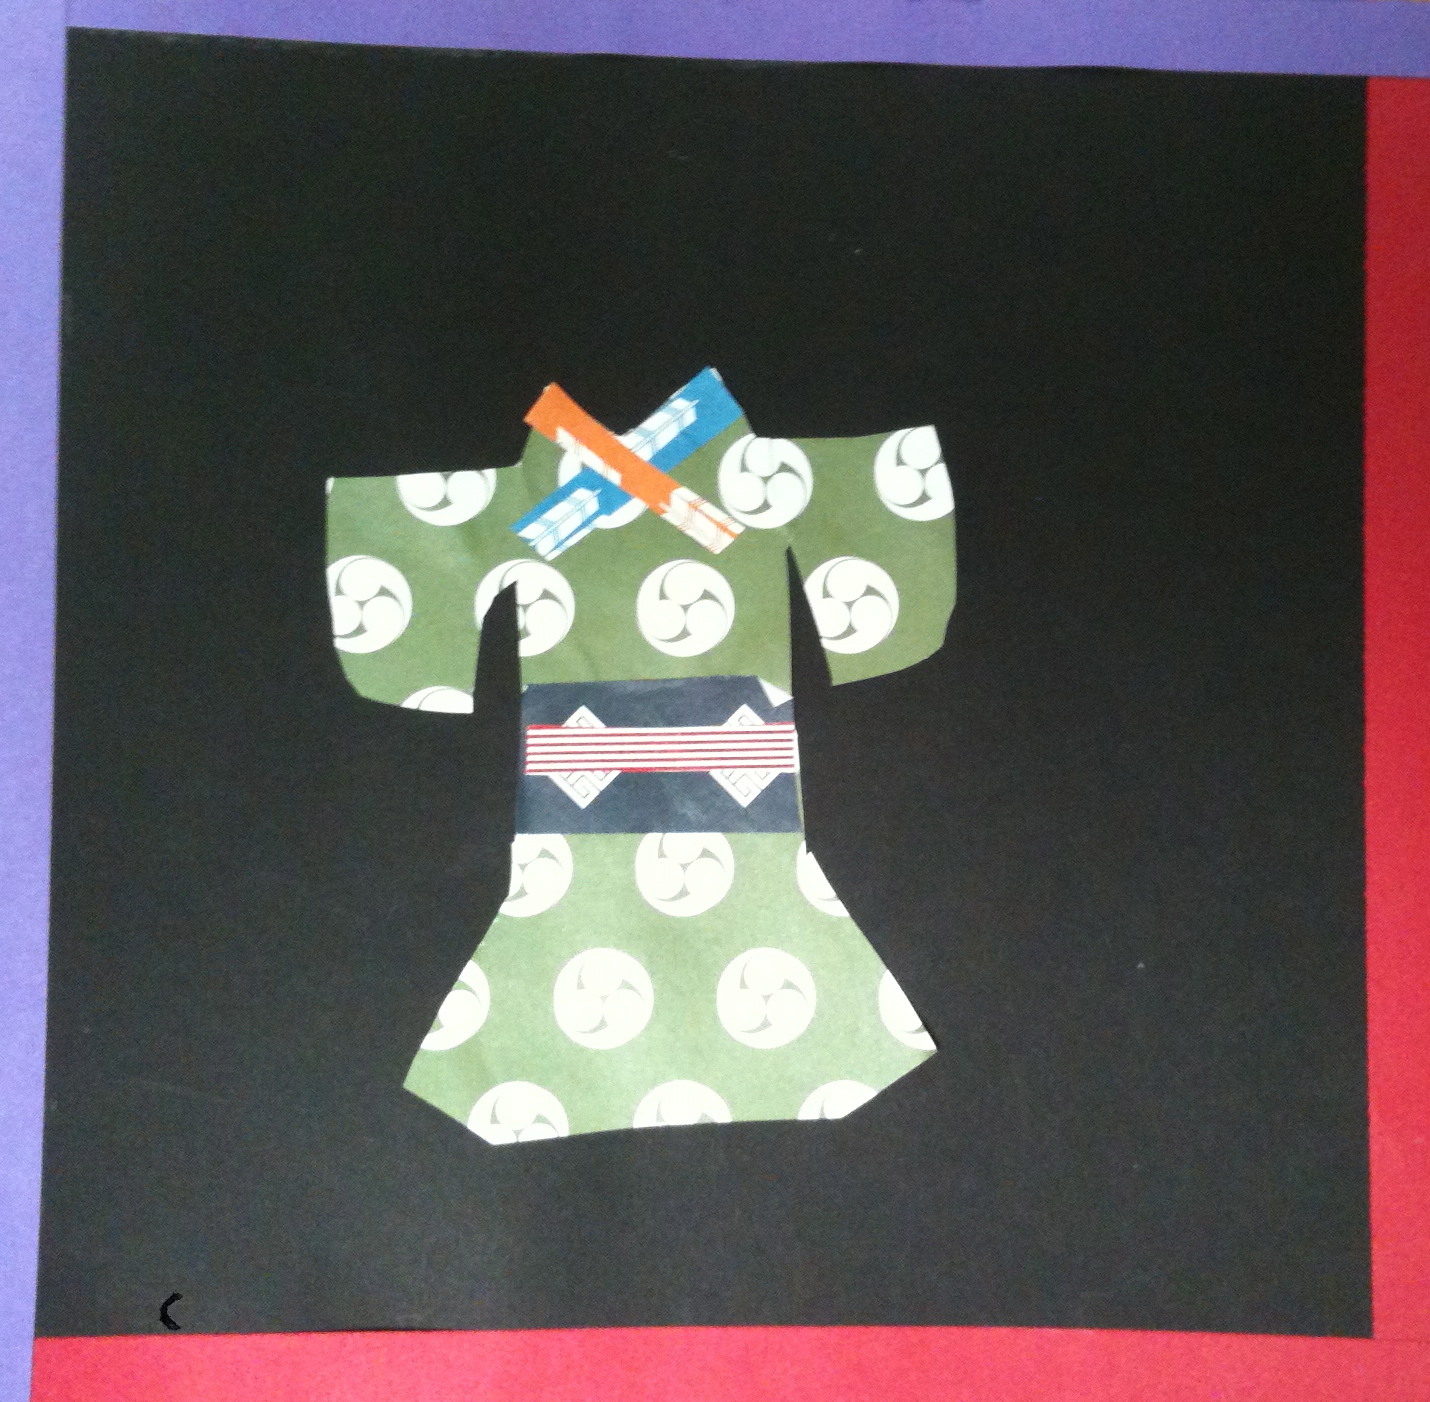
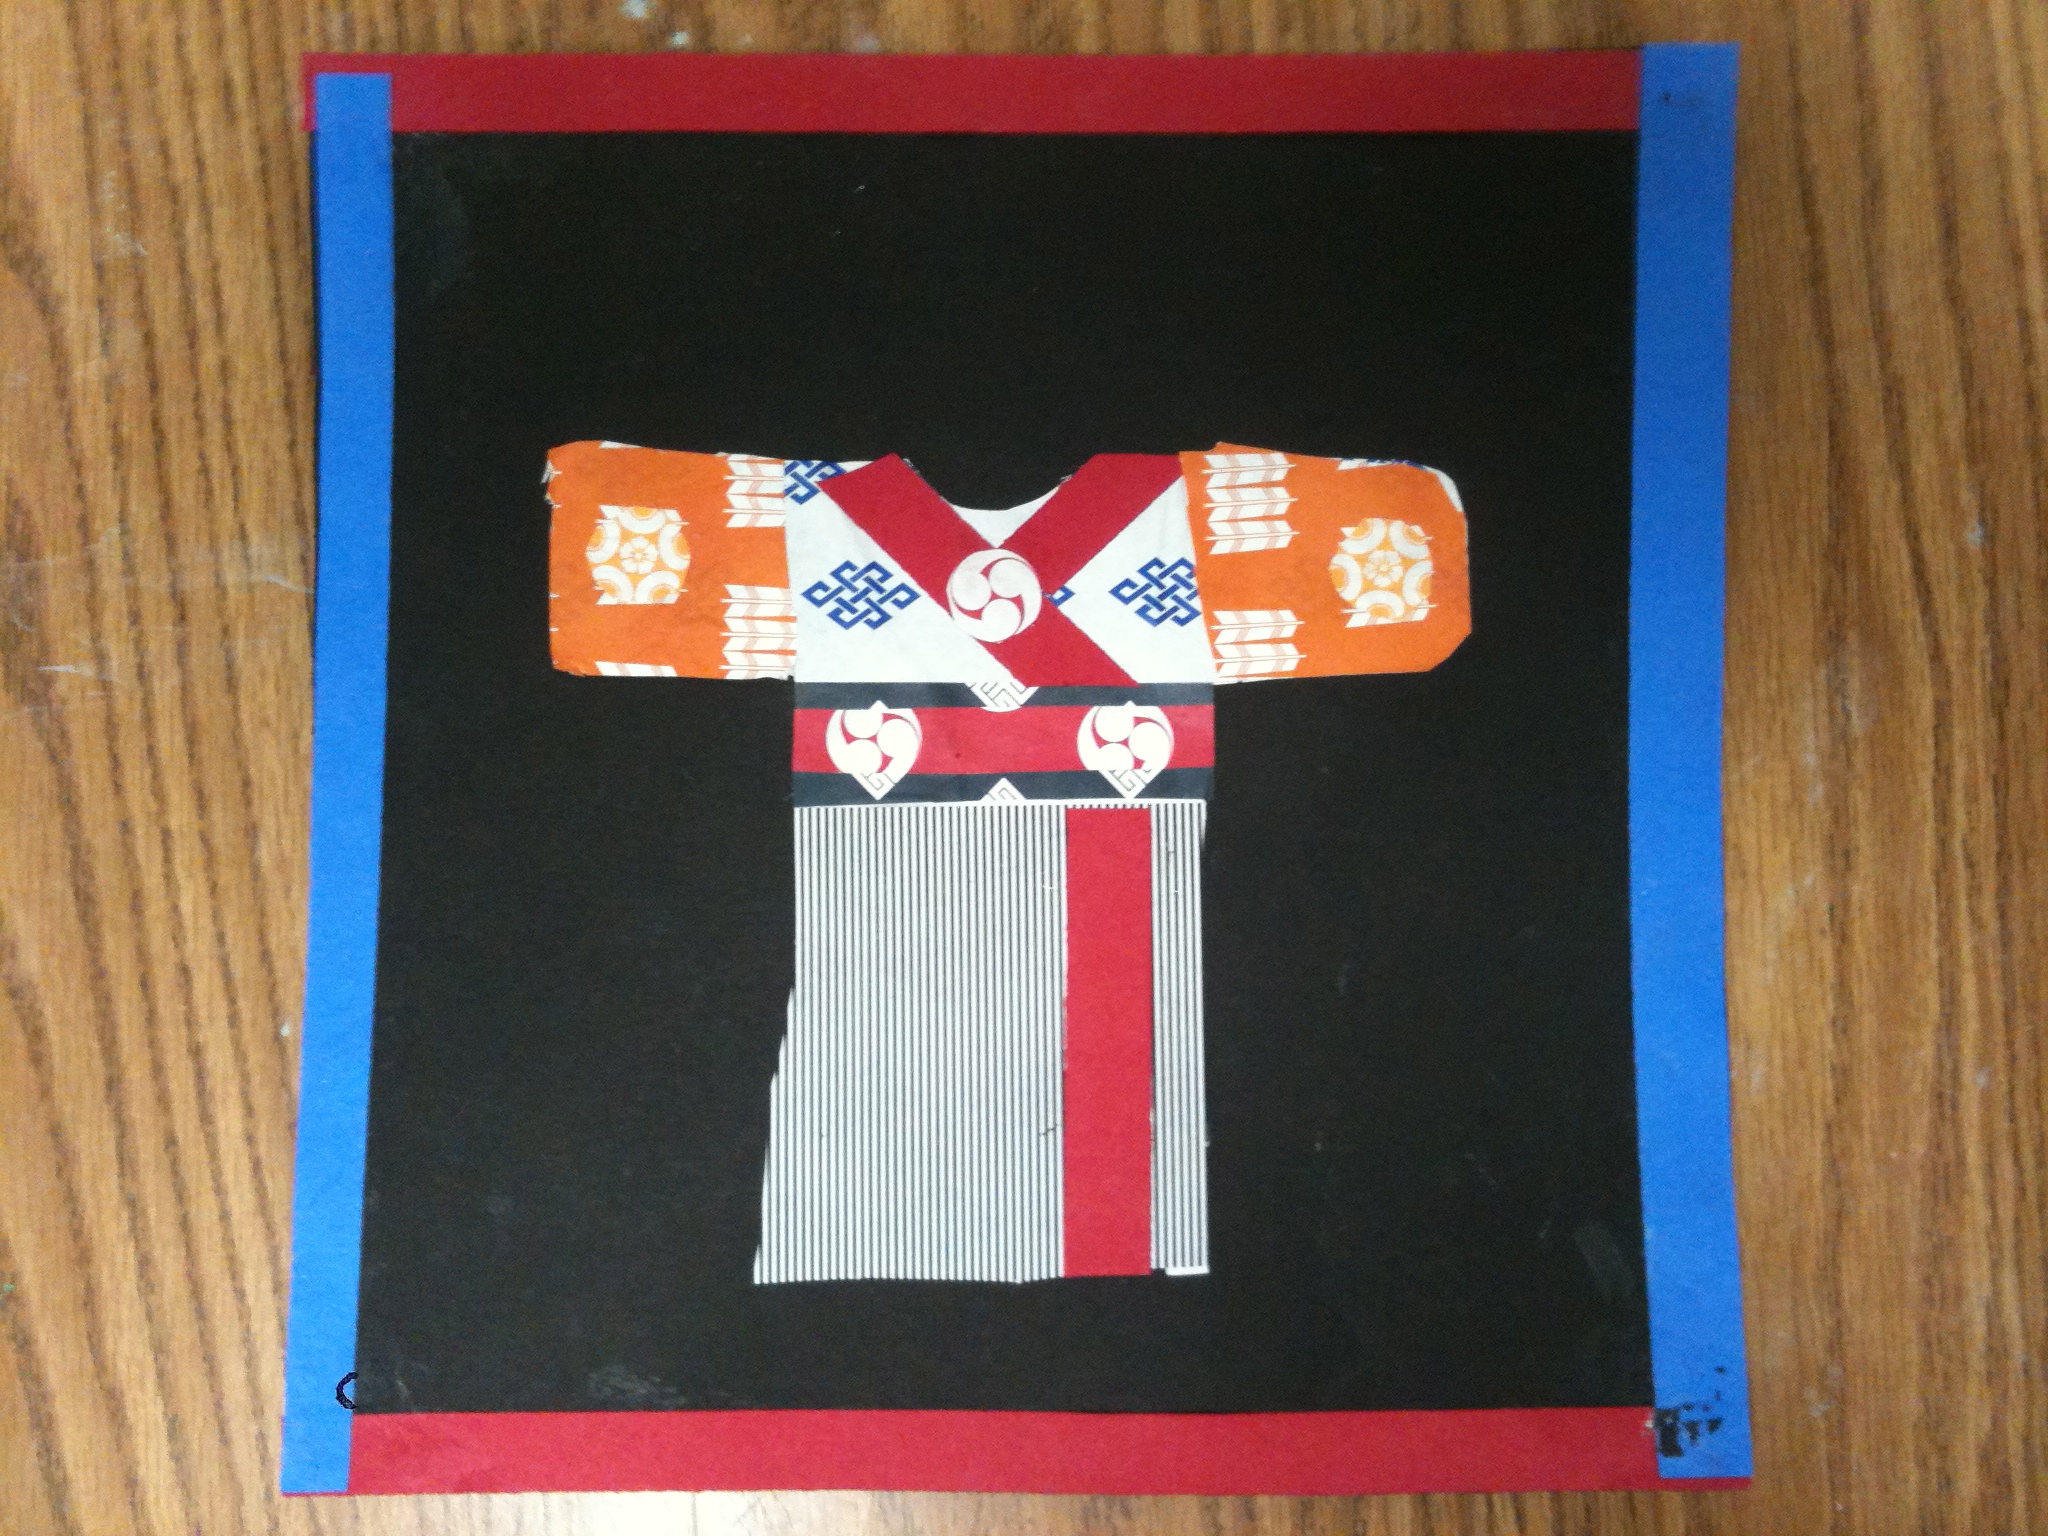
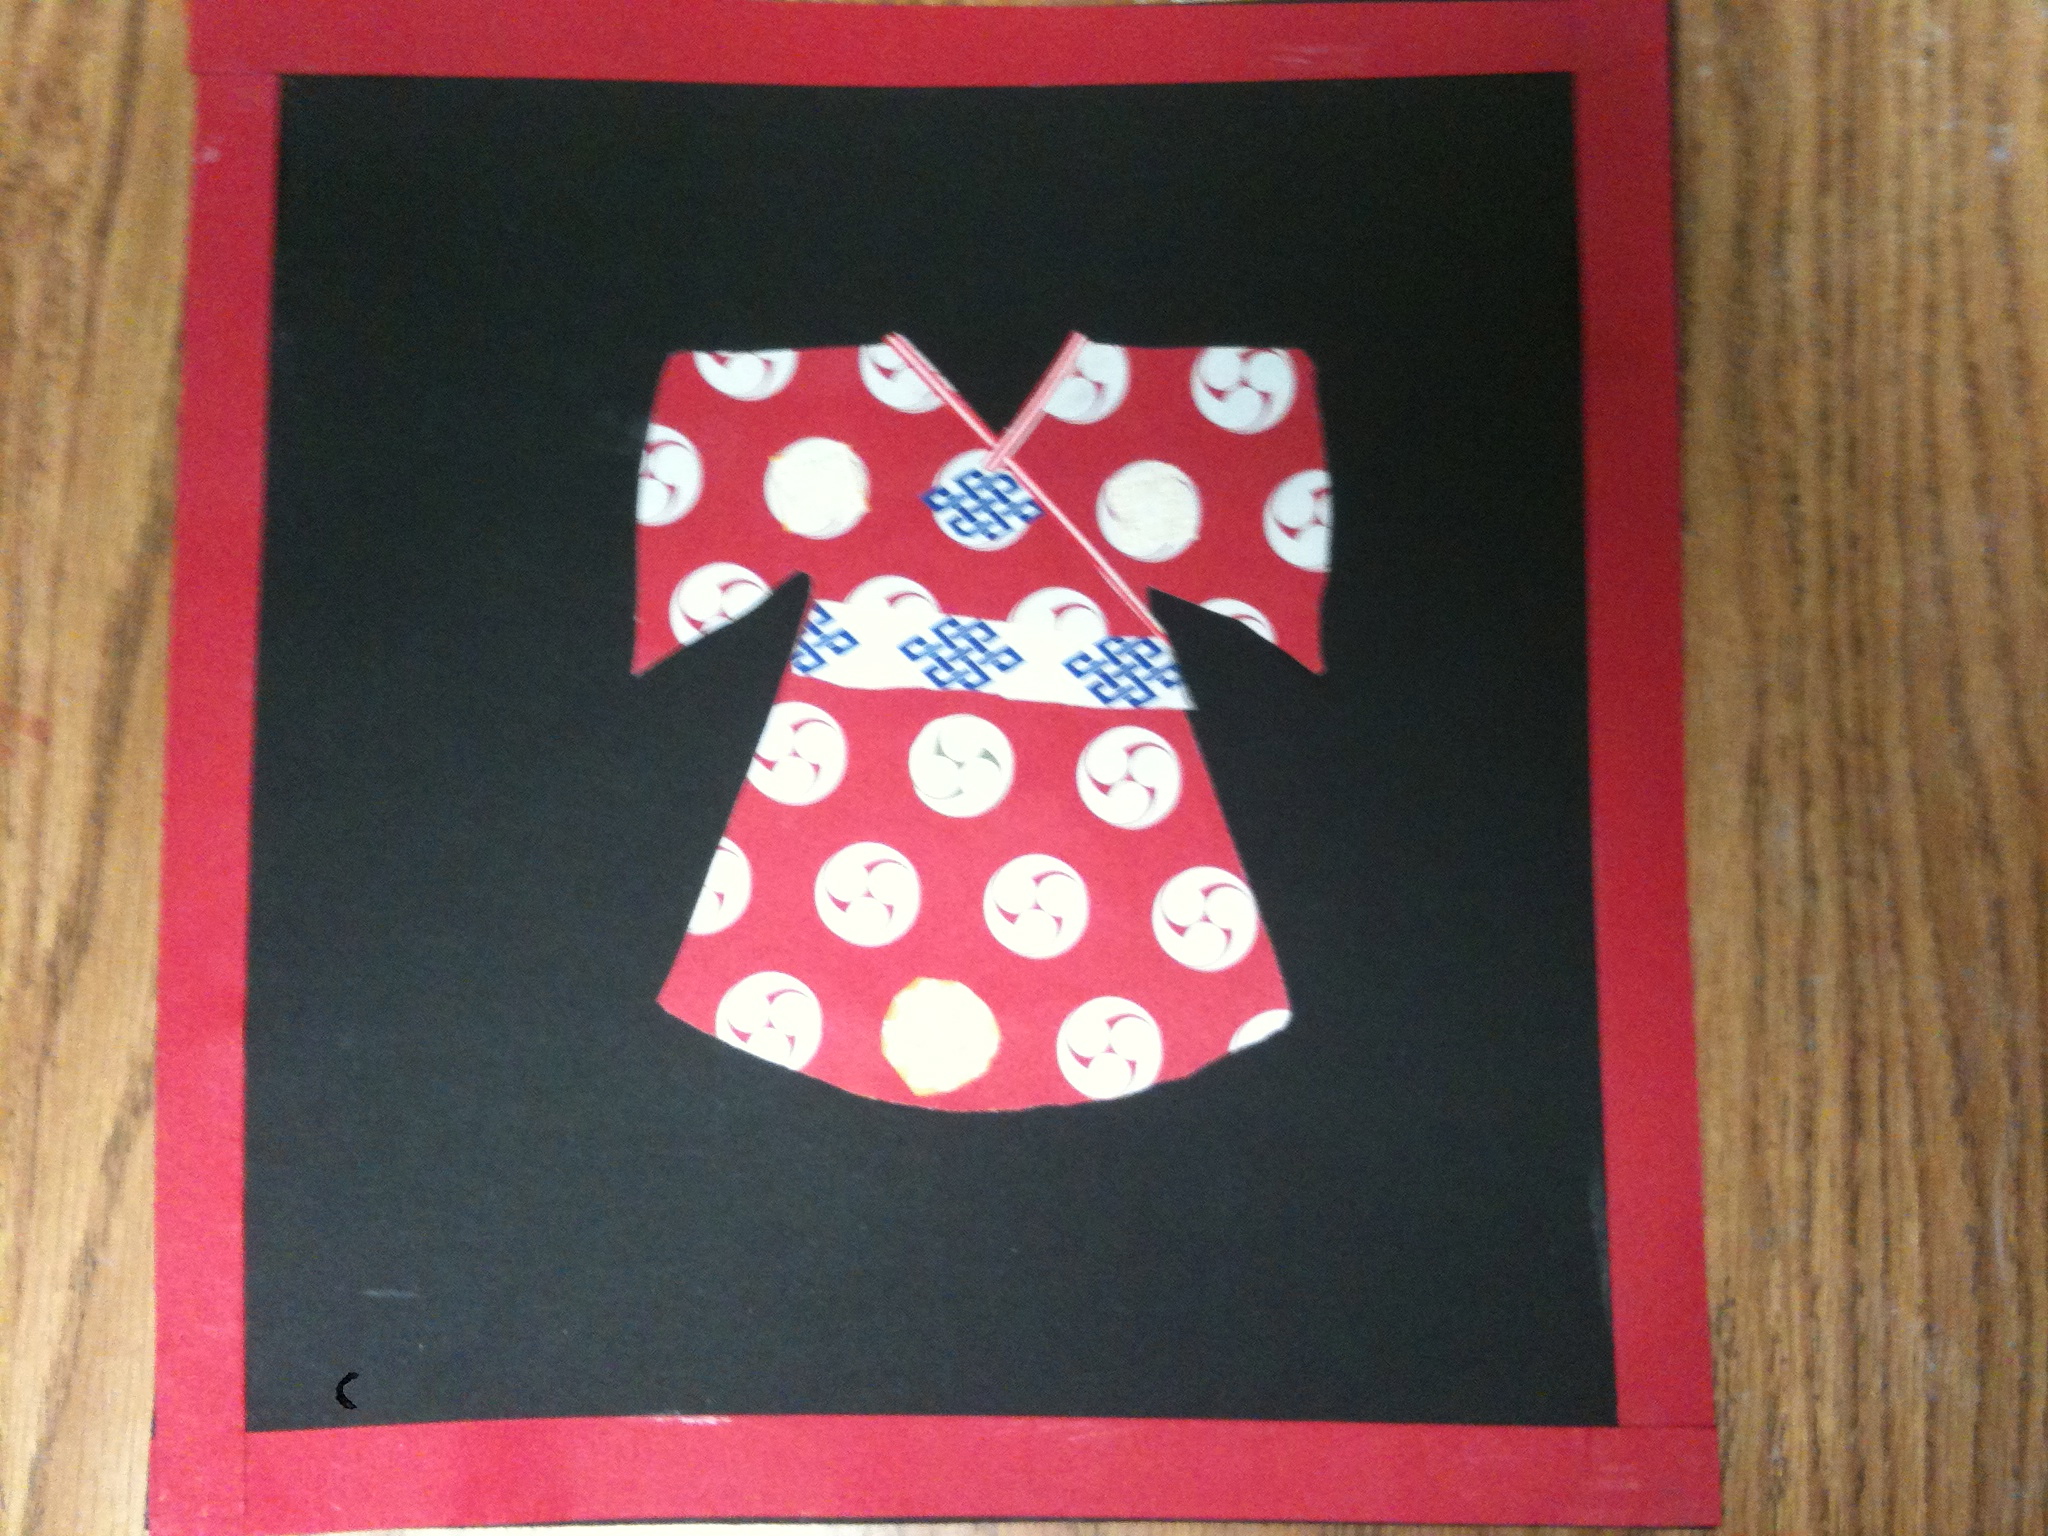
Third grade is doing a Japanese unit. In music class, they are working hard on their school play, a Japanese-themed ‘Emperor’s New Clothes’ (featuring real Taiko drums). I found this great kimono collage lesson plan developed by Renee Collins at My Adventures in Positive Space. The project was extremely successful – 100% of students made beautiful collages.
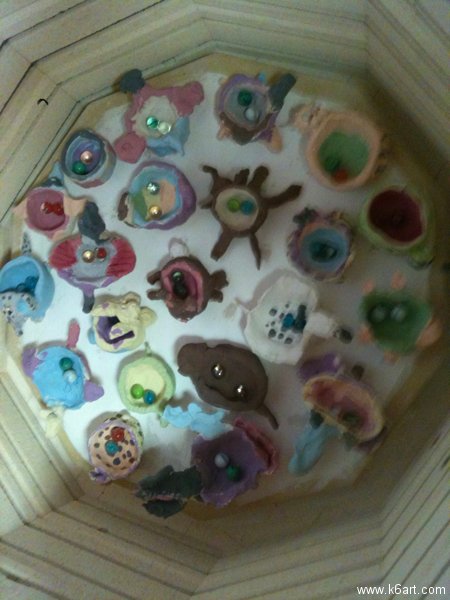
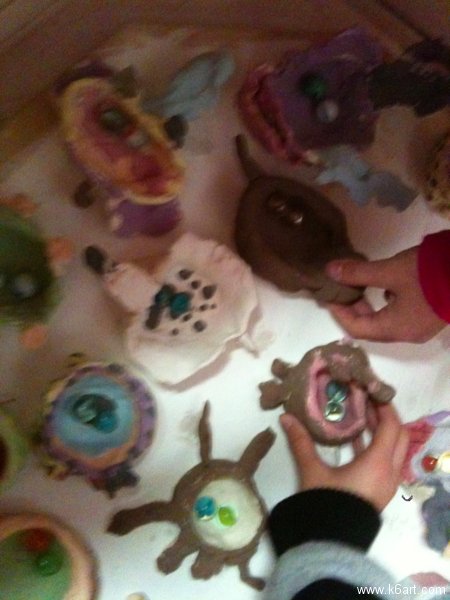
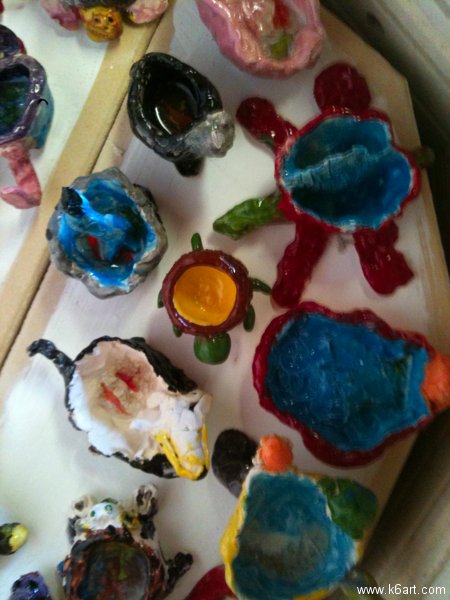
This is it! The most beloved clay project of all. Second graders use clay, glaze and marbles to make glittering animal pinch pots. They visit a kiln and load it themselves. If you are looking for a truly memorable clay project, try this.
Day 1: Make an Animal Pinch Pot
Second graders use clay to make a pinch pot, then use the ‘scratch attach’ (score and slip) method to add head, legs, tail, etc. I let students make any animal they want, real, imaginary or extinct.
I let the clay dry and then bisque fire it.
Day 2: Glaze Day
On glaze day, students paint their pots inside and out with many colors.
Glaze in 2 oz. ‘salsa cups’. I use one color per table and let students switch tables.
I put out one glaze color and several brushes on each of my tables. Students switch tables to get different colors. The brushes stay at the table and don’t travel (so I don’t need water on the tables). I use 2 oz. plastic portion cups and lids (also available at Costco) for my glazes. At the end of class I spray the leftover glaze cups with a little water and cap them.
Day 3: Marbles and The Kiln Field Trip!!!
Oh boy! The kids come up to the marble tray and pick two marbles for their pots. There is much deliberation….which to pick? I tell them the marbles don’t have to match, and no matter which they pick, they will be very surprised at the result.
I tell the students we are going to the school kiln – a super-hot oven we use to fire their clay. We then load up the pots on my cart and walk as a group to our kiln (how fortunate we are to have a kiln on site!). I always have a parent (or 6th grade) volunteer help with this step.
Each student puts his or her own pot into the kiln.
Ready for the second firing!
(Note: I use low-fire clay and underglazes. I fire the glazed clay/marbles to cone 06).
Day 4: Return the Pots
I pass back the fired pinch pots. Wow!
Students are amazed at the melted marbles. Kids describe them as ‘pools of glass’ or ‘pools of ice’. We have to see them all! So we take a ‘museum tour’ and examine ALL the pots.
You don’t have to pay a lot of money for marbles. Marbles are available at my local dollar store and in the toy section of my local drug store.
Caution: do not use this method on coil pots! You do not want molten glass leaking out of the pot onto your kiln shelf.
Kids love this project! I had some 7th graders visit the art room recently – they immediately smiled when they heard we were doing this project again. They said it was their favorite and that they still have their pots.
After creating chalk pastel stencil art with multiple classes last week I had a lot of colorful used stencils. I sprayed them with fixative (Aqua Net unscented hairspray) and glued them to construction paper.
Students outlines stencil opening with chalk pastel and brushes color inward.
Used die-cut and hand-cut stencils make another kind of Valentine.
Which is more beautiful- stencil art or used stencil art? I can’t decide…Happy Valentine’s Day!
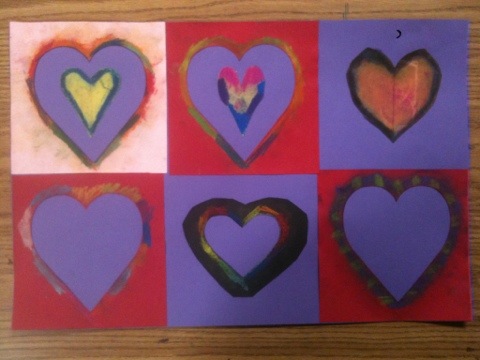
5th graders used chalk pastels and cut paper stencils to make overlapping hearts.
These beautiful chalk pastel stencils take only one 40 minute session!
Materials:
Chalk Pastels
Stiff brush (we use our old tempera brushes)
scissors
construction paper for background (we used white 9″x12″)
construction paper cut approx. 4″x6″ for making stencils
optional: ready-made stencils
Instructions:
Fold the small rectangle in half. Draw a half heart on the fold and cut out.
Students can use both the positive and negative shapes from homemade stencils.
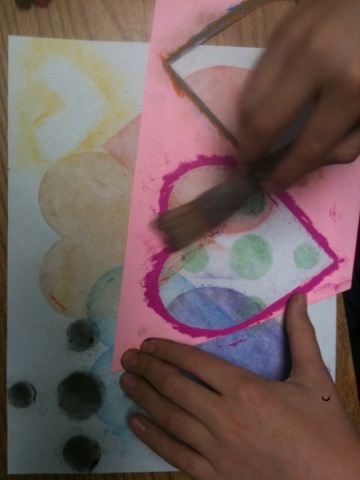
Color around the edges of the cut out 'window'.
Now take the stiff brush and brush the colored pastel into the stencil ‘window’.
These pink hearts 'stencils' were made on the school die-cut machine.
Lift up the stencil. Students will ooh and aah if they have never tried this process before! Now shift the stencil and repeat the process. Encourage students to overlap.
Now take the positive shape and color the edge with pastel. Place on the background paper, and brush the color outward onto the paper.
Positive shape can be used as a stencil.
Nice composition and color.
We reused our die-cut stencils for three classes. We just colored and colored again around the edges. Tell the students to relax – it’s going to look beautiful.
Students can also color the background.
Another stencil made on the school die-cut machine.
This student used his stencils to make a bird.
This method would be very interesting with cut paper snowflakes or doilies.
Experiment with doilies.
Try a homemade snowflake stencil.
Minimize the mess: ask students to tap their excess chalk pastel dust onto a piece of newspaper.
3rd graders stamped a line landscape with black acrylic paint, then painted with pan watercolors. Allow two 40-minute sessions.
Do you want a landscape lesson plan that delivers gorgeous art with 100% success in only two 40-minute sessions? Try the Paul Klee lesson featured in the book Dynamic Art Projects for Children by Denise M. Logan. Students spent their first class using black acrylic paint and small pieces of mat board to stamp a jagged landscape. They painted with watercolors during the second class. Here are the results:
Dynamic Art Projects for Children is a fabulous book with many colorful, engaging lesson plans for kids in grades 1-6. I wrote about the book’s Kuna mola lesson plan in this post.
Can you recommend a book with awesome lesson plans? Leave a comment!