Clay and Pasta Portraits


clay and pasta faces

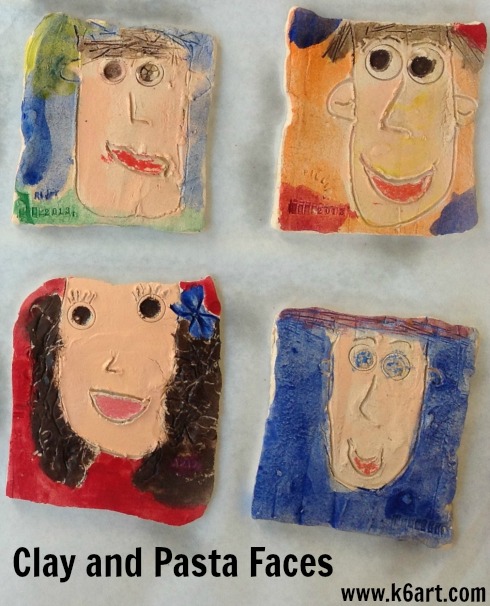
The first graders made these clay self-portraits earlier this year. They were fun to make, required a single firing, and surely will be treasured by the students and their parents for years to com.

Materials:

  • clay
  • marker or glue stick caps
  • dull pencils
  • alphabet pasta (available in the Hispanic foods section of Walmart, and through Amazon)
  • wagon wheel pasta
  • spaghetti
  • bow-tie pasta
  • ramen or egg noodles
  • optional: date stamps
  • tempera cakes (including peach)
  • Crayola multicultural paint
  • crayons
  • optional: ceramic spray gloss

Prep:

I used a multi-slab cutter to easily cut the clay block into identical clay tiles.

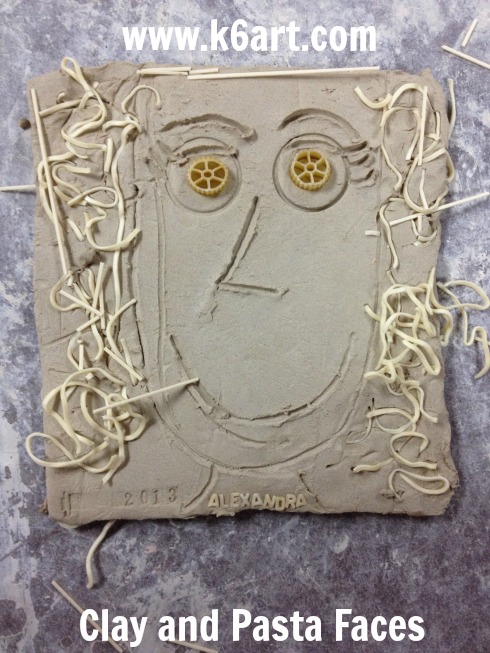
Alexandra's clay and pasta face

Making the face:

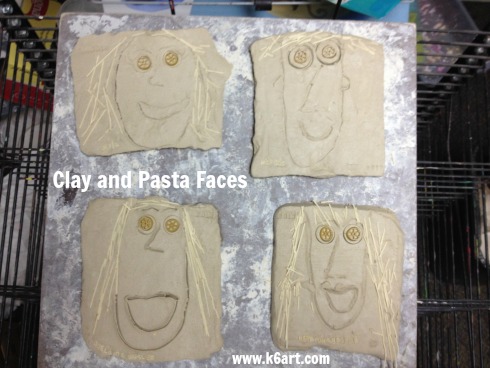
Students first used a dull pencil to draw the face, nose, smile, and neck. We stamped eyes with the glue stick caps. Then we added wagon wheel pasta for eyes. Curly-haired students pressed in Chinese egg noodles for hair; kids with straight hair pressed in broken lengths of spaghetti.  Some kids added bow tie pasta.

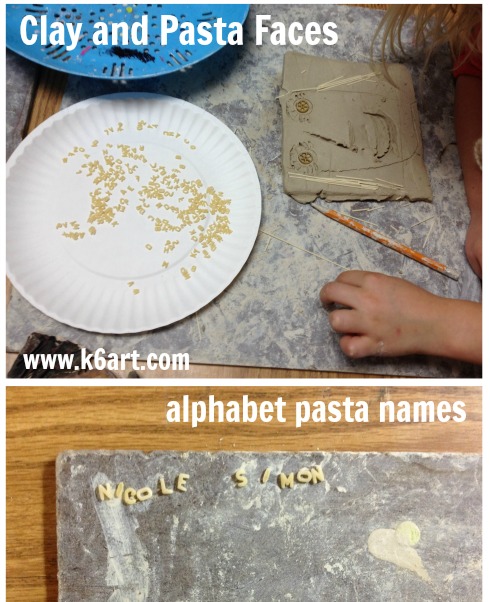
Next I passed out plates of alphabet pasta. The kids spelled out their names and pressed the letters into the clay.

Finally, I added the date with an old-school rubber date stamp from an office supply store.

Allow clay to dry, then bisque fire.

Note: we did not remove ANY of the pasta before firing – we just let it burn out in the kiln.

clay and pasta faces alphabet pasta

clay and pasta faces 3

Painting the clay:

After bisque firing, we painted them with tempera cakes. For the skin tones, I offered multicultural tempera as well as peach tempera cake. The first graders painted their faces in a snap.

Within a few minutes, the tempera settled into the porous bisque. Then the kids added mouths with crayon (or construction paper crayon). Some kids used crayon for the eye color and even for make up.

As a last step, I sprayed the clay portraits with glossy ceramic sealer.

Tips:

Live and learn – here’s what I found out:

  • don’t press to hard with the pencil when drawing the portraits. Some students cut right through the slab (but came away with nice face-shaped clay portraits!)
  • the pasta may attract rodents.
  • egg pasta leaves a yellow tint on the clay even after firing.
  • don’t press extremely hard with the wagon wheel pasta. If you do, the fired clay eyes will end up as a shallow well.

For more examples and ideas, see this post on last year’s clay self-portraits.

Enjoy!


Mixing Greens


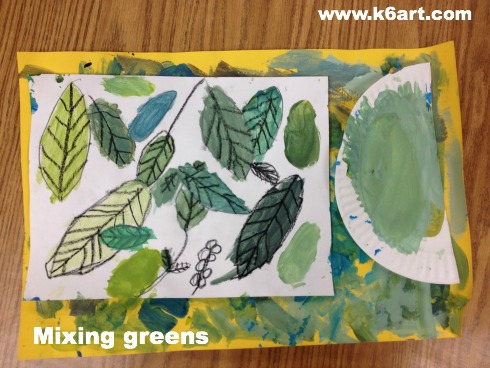
Students used tempera paint to create many shades of green.

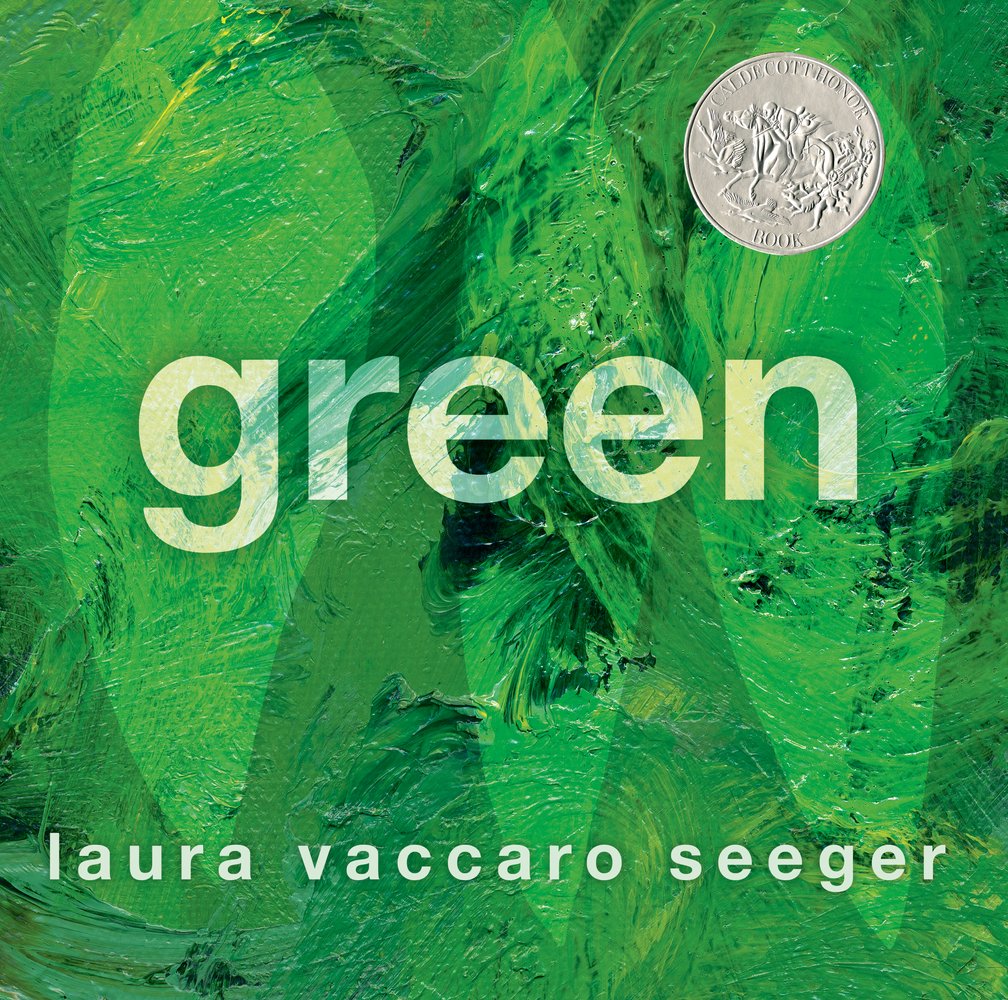
I received the book Green by Laura Vaccaro Seeger as a gift from a parent. This beautiful book (it won the Caldecott Honor in 2013) is filled with all things green.  It is the perfect tie-in to a color mixing lesson.

Green by Laura Vaccaro Seeger

Green by Laura Vaccaro Seeger, winner of the 2013 Caldecott Honor.

I read Green to my second grade art students.  They loved it – the book is full of die-cut holes and the kids enjoyed peeking through them. Can you see the die-cut holes in this video?

Materials:

  • white sulfite drawing paper (or other paper that will hold up to painting)
  • black crayons
  • paper placemats (we used 12″x18″ construction paper)
  • brushes
  • paper plates
  • tempera paint: blue and/or turquoise, yellow, black and white
  • black construction paper for mounting
  • scissors
  • glue sticks
  • colored construction paper (to create jungle animal collage)
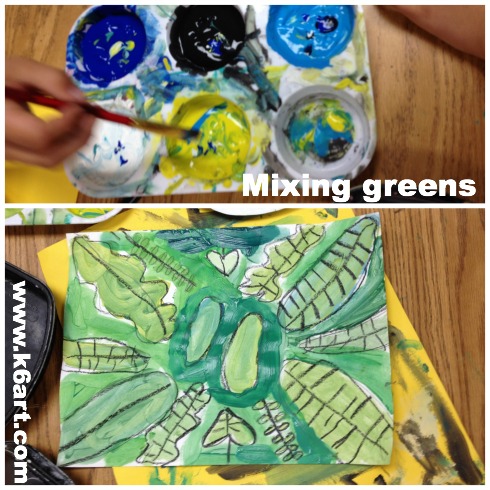
Second graders used blue, turquoise, yellow, black and white tempera to mix shades of green.

Second graders used blue, turquoise, yellow, black and white tempera to mix shades of green.

Mixing greens

After reading the book, we got to work creating our own jungle. Students began by drawing a variety of leaves on their paper. They added veins and stems. They placed their white paper onto the construction paper placemats. Next, they scooped up a small amount of yellow paint onto their paper plates. They added dots of blue paint and mixed to create green, then painted a leaf.

The students experimented – adding white to create tints and black to create shades. Students were excited to create army green and blue-green. Seriously – they called each other over when they created cool new colors. They loved color mixing so much we had to do it a second session.

We did not use water for this project. The goal was to mix a wide variety of greens. If necessary, they brushed excess paint onto their placemats.

Create a jungle collage

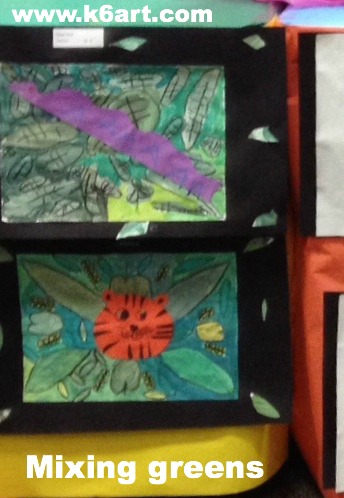
After the paints dried, we mounted the paintings on black construction paper. Students cut leaves out of their painted paper plates and used them to decorate the corners or create a border. Then they constructed jungle animals from colored paper and glued them on  top of the paintings.

mixing greens - jungle collage

This was a very successful lesson plan! The students enjoyed color mixing so much we could have done it for weeks.

Enjoy!

p.s. the project would be nice as an Henri Rousseau lesson plan.

Rainbow Footprint Tile Mural

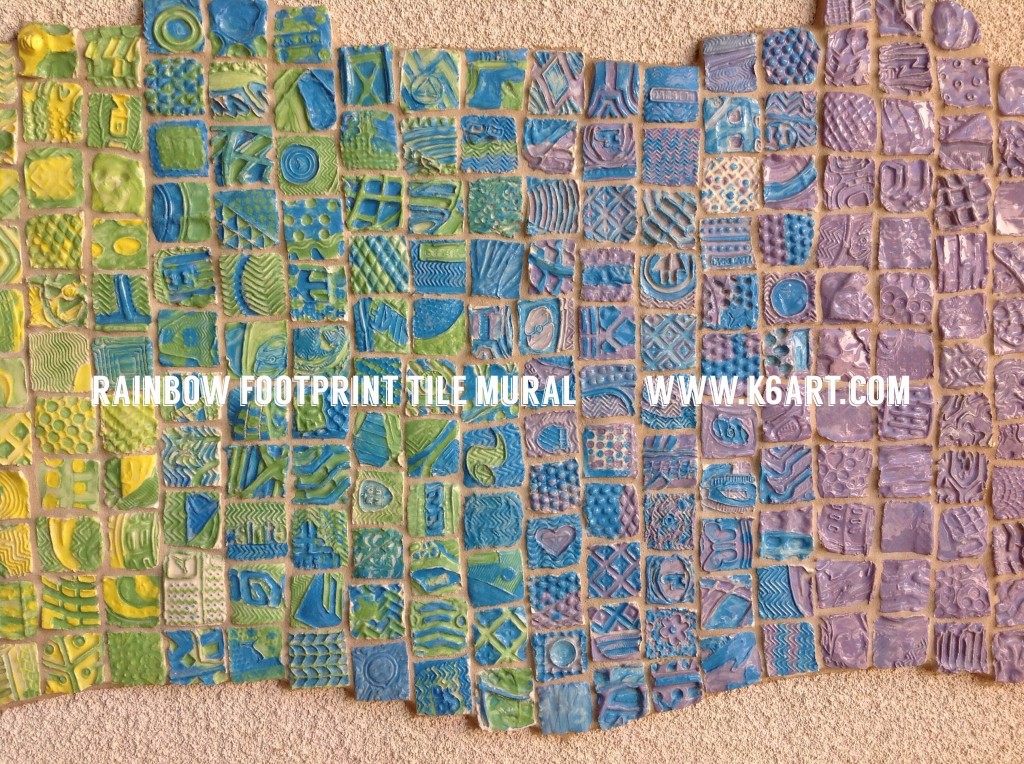
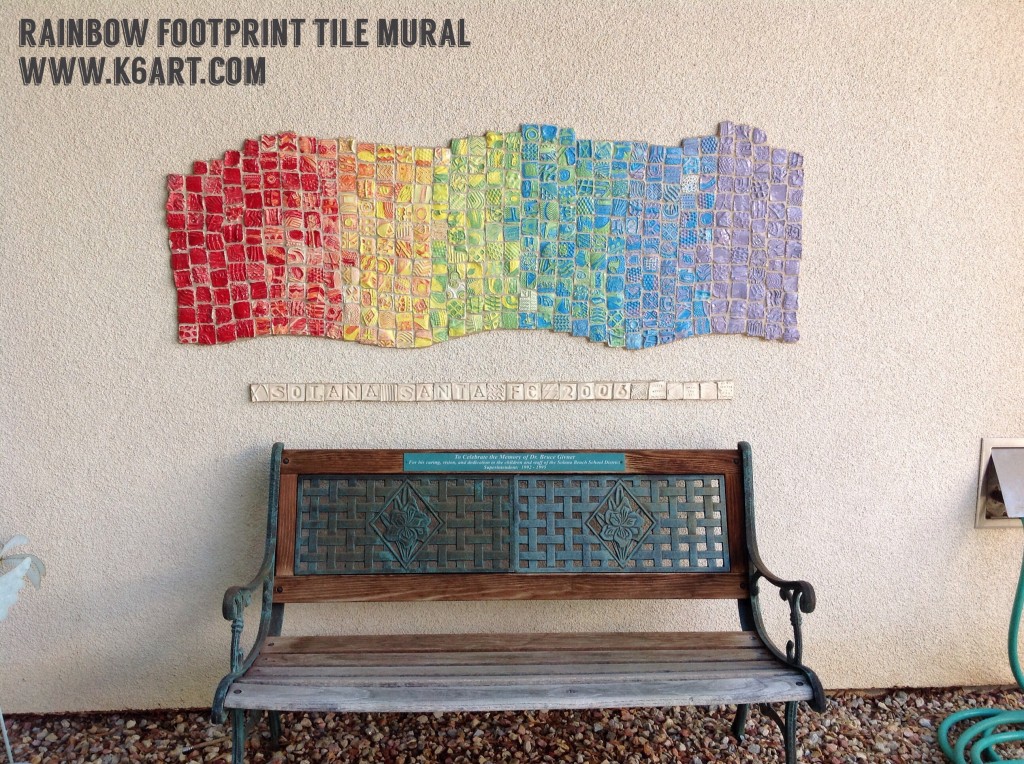
rainbow footprint tile mural

Thinking about a mural project? If you want a mural that is engaging, beautiful and enduring, consider this rainbow footprint tile mural. I used Craig Hinshaw’s Rainbow Footprint Mural lesson from Pottery Making Illustrated July/August 2004.

Whole school mural project made from individual clay tiles, each imprinted with a shoe sole.

Whole school mural project made from individual clay tiles, each imprinted with a shoe sole.

Materials for the tiles:

  • Low fire white clay
  • square viewfinders
  • pin tool or opened paperclip
  • underglaze in colors of the rainbow
  • small brushes
  • clear glaze
  • your shoes!
  • optional – for lettering: magnetic letters (refrigerator magnets), alphabet pasta

Creating the footprint tiles

We followed all the directions in the magazine article. The students were THRILLED to stomp their foot down onto a ball of clay.

Cutting the tile though the viewfinder opening was a bit of the challenge for the younger students. Instead of neat squares, we had a lot of irregular shapes. These tiles had to be remade, but it only took a few extra minutes. I had extra sixth grade volunteers on hand to help cut out the tiles for the kindergarteners.

 Creating Text

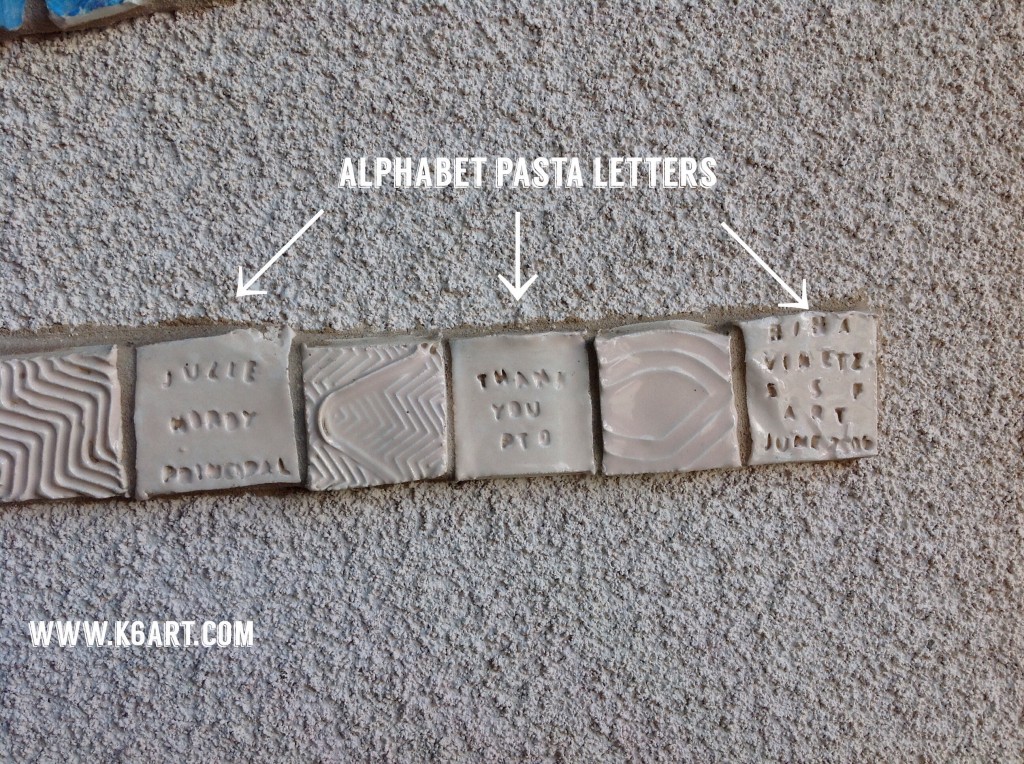
We created text two ways: 1) large text was created by pressing magnetic letters into clay, and 2) small text was created by pressing alphabet pasta into clay.  (Don’t worry – the pasta burns out in firing).

For the large letters, we pressed magnetic letters into the clay tiles.

For the large letters, we pressed magnetic letters into the clay tiles.

For the small text, we pressed alphabet pasta into the clay tiles.

For the small text, we pressed alphabet pasta into the clay tiles.

I did this mural with the students of Solana Santa Fe School. We prepared all the tiles and had them professionally installed on an exterior stucco wall.  Eight years later, it is still standing and looking great!

Another school in our district did a twist on the same mural project. Artist (and parent) Christie Beniston create a rainbow footprint mural with the students of Skyline School. Click here to see this mural. Note the rectangular and circular tiles.

If you are planning a whole-school mural, consider this project. The kids LOVED making the tiles. Each tile is uniques, just like our students. They mural is beautiful to look it and fun to touch. After it is installed, kids will look for their shoe prints. It is a permanent reminder of unity in the school community.

Enjoy!

Japanese Fish Kites (Koinobori)

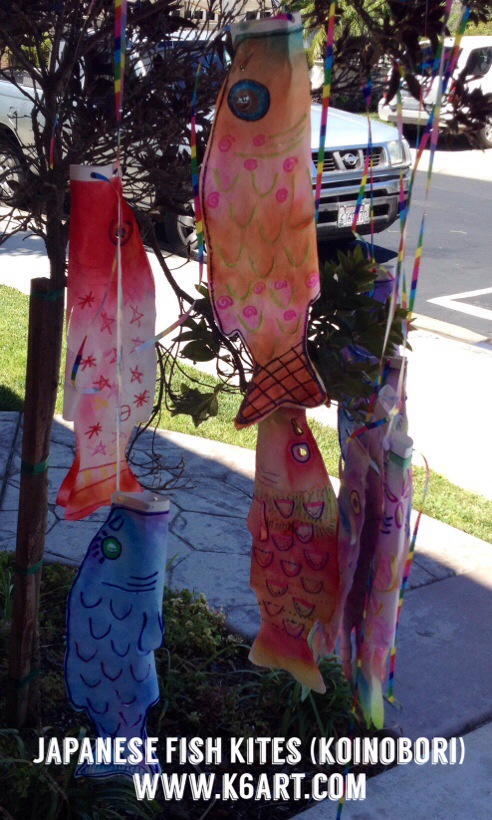
Koinobori fish kites

What are koinobori?

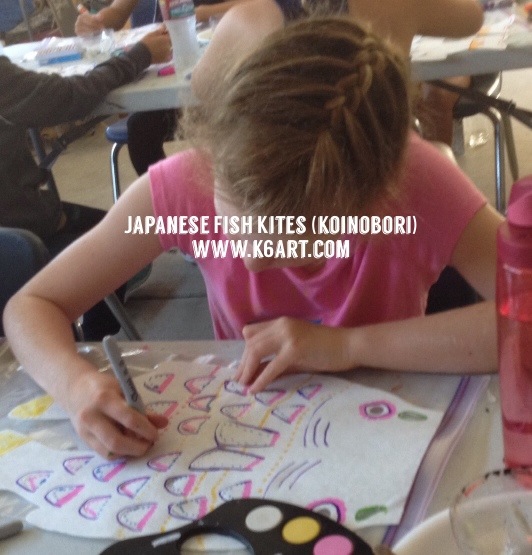
Koinobori are carp (koi) kites that are flown in Japan on Children’s Day (May 5th). The koi fish embodies the qualities that parents want for their children: courage, strength and determination. The holiday was formerly known as Boy’s Day, but now celebrates all children.

I Live in Tokyo by Mari Takabayashi covers the Japanese holidays and life in Japan month-by-month.

We learned about Children’s Day in the book I Live in Tokyo by Mari Takabayashi. The book covers Japanese holidays month-by-month. In Japan, families display koinobori on a flagpole: the top black fish is the father, the red fish is the mother, and the smaller fish are the children.

Koinobori are also flown in large group displays, as in this video. I love when the wind hits and koinobori actually look like they are swimming upstream.

The Art Project:

I saw this fabulous, simple koinobori project on Cassie Stephens blog. Click here for Cassie’s detailed instructions and gorgeous photos.

Materials:

  • Roylco Japanese Carp Windsock kit
  • colored Sharpies
  • oil pastels (especially white)
  • watercolor markers (we used Crayola markers) and/or
  • watercolors
  • Ziploc bags, two per fish, taped together to create a long rectangle
  • tape
  • spray bottle
  • white glue or hot glue
  • clothespins (to clamp the mouth until glue sets)
  • hole punch
  • ribbon or yarn for hanging

Instructions:

Decorate paper kites with colored Sharpies and oil pastel

Kids drew patterns, outlined eyes and scales, and created a border with oil pastels and colored Sharpies. To create white areas, color with white oil pastel to create a resist.

Color selectively with marker and watercolor


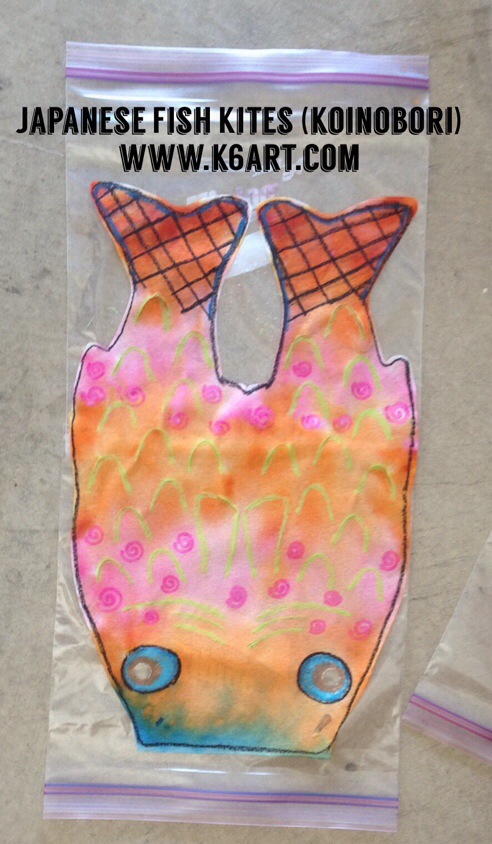
Next they added a some color with Crayola markers and watercolors. I emphasized they didn’t have to color in the whole fish as the markers and watercolors would diffuse when sprayed with water.

Kids colored paper koinobori with colored Sharpie, watercolor markers, and oil pastels.

Kids colored paper koinobori with colored Sharpie, watercolor markers, and oil pastels.

Spray with water

Then the kids placed their kites on the long Ziploc ‘placemats’ and sprayed them with water. Some carefully tilted the setup so the colors would diffuse in a certain direction. Let dry on mats.

20140714-223703.jpg

Koinobori paper fish kite drying on its double-Ziploc ‘placemat’. When sprayed with water, the Sharpie and oil pastel lines stayed crisp, while the watercolor marker diffused.

Glue and hang

After drying, I used hot glue to assemble the kites. I attached the cardboard strips that support the kites open mouth, and clipped each with a clothespin until set. I also used hot glue to close the back and part of the tail. Finally, we added three single hole punches to the cardboard mouth, and strung the kites with ribbon. All the instructions are included in the Roylco kit.

Enjoy!

This project was part of my ‘Let’s Go To Japan’ art + cooking camp. Here are our other art and cooking projects:

Plus tons of kids books about Japan!

Thanks to Dahra and Ilana, our fabulous teenage helpers for all their assistance at camp

Japanese Gyotaku Fish Prints

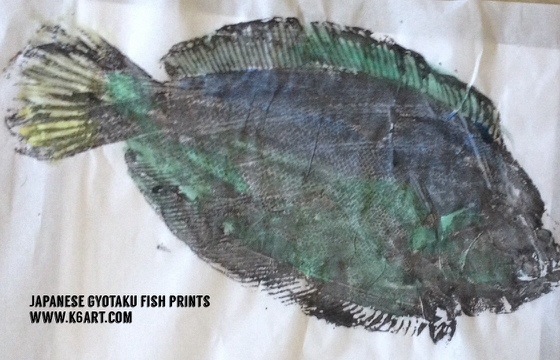
20140714-215156.jpg

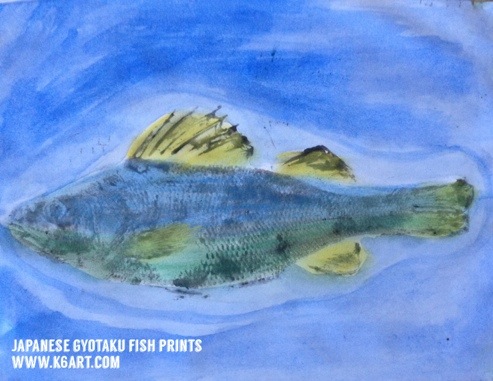
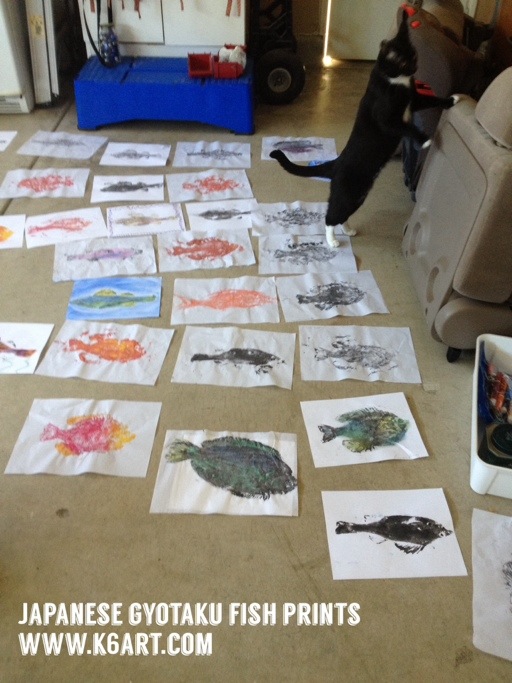
Gyotaku means ‘fish rubbing’ and is a printmaking technique traditionally used by Japanese fishermen to record their catches. It was the perfect project for my Japan-themed art camp.

We began by watching this brief video of Hawaiian gyotaku artist/fisherman Naoki.

The campers were really excited to start!

Materials:

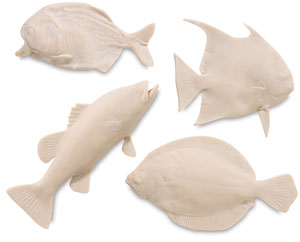
  • rubber Gyotaku Fish Printing Replicas (or fresh real whole fish).
  • black tempera cake, water and stiff brush
  • copy paper
  • paper towels
  • chalk pastels
  • watercolors

(note: this post contains compensated affiliate links. Which means if you buy the rubber fish, I get a small commission. The rubber fish rock, BTW. They last forever, and you can share them with other teachers).

Instructions

20140714-215533.jpg

We tried printing with thin Japanese paper and with copy paper. The thin paper wrinkled and copy paper stayed smooth. We also tried printing with liquid orange tempera.

Paint the fish with black tempera cake. Cover fish with copy paper and rub (don’t wiggle the paper!). Pull the print.
If the fine details (such as scales) don’t show, try Naoiki’s method: re-coat the fish and then pounce with a balled up paper towel to remove some paint. Cover with copy paper and take another print. Let dry.

Color the print with chalk pastels

In the video, Naoki hand-colors his gyotaku prints with watercolors. We used chalk pastels to add color to our fish. Campers blended the pastels with their hands or with tissues.
20140714-214632.jpg

I love how they turned out!

Campers also had the option of painting or decorating the negative spaces with watercolor. I really think they did a nice job.

The project was inspired by this post at the Fine Lines blog.

Enjoy!

This project was taught in my Japan-themed art + cooking camp. Each day we made an art project and a cooking project.


Gyotaku Fish Printing Replicas

from: Blick Art Materials

Related Posts Plugin for WordPress, Blogger...