This is a long post on a topic near and dear to my heart: art room volunteers. We are very fortunate to have a lot of parent volunteers in our school, including in the art room. Ideally, we will have a parent in every art class.
I’m especially grateful for all the help because I’m a part-time teacher. My motto is ‘delegate, delegate, delegate’. Here’s what volunteers do in our art room.
Art room volunteers can:
- set the tables before class (they’d may be willing to come in a few minutes early for this – just ask)
- cut paper and templates
- wash the bottoms of ceramics
- write student name/number on wet clay art
- pass out the fired clay
- help kids (especially K-2) load the drying rack
- empty the drying rack
- file
- rinse brushes
- staple portfolios
- make photocopies
- help set the tables for the next class.
- prep for other grades (i.e.not just their child’s grade).
- hang posters
- hang students work on bulletin boards in the hallway
- be a guest readers (see below)
Our volunteers also cut wire, plaster wrap, and clay.
Volunteers and the art show
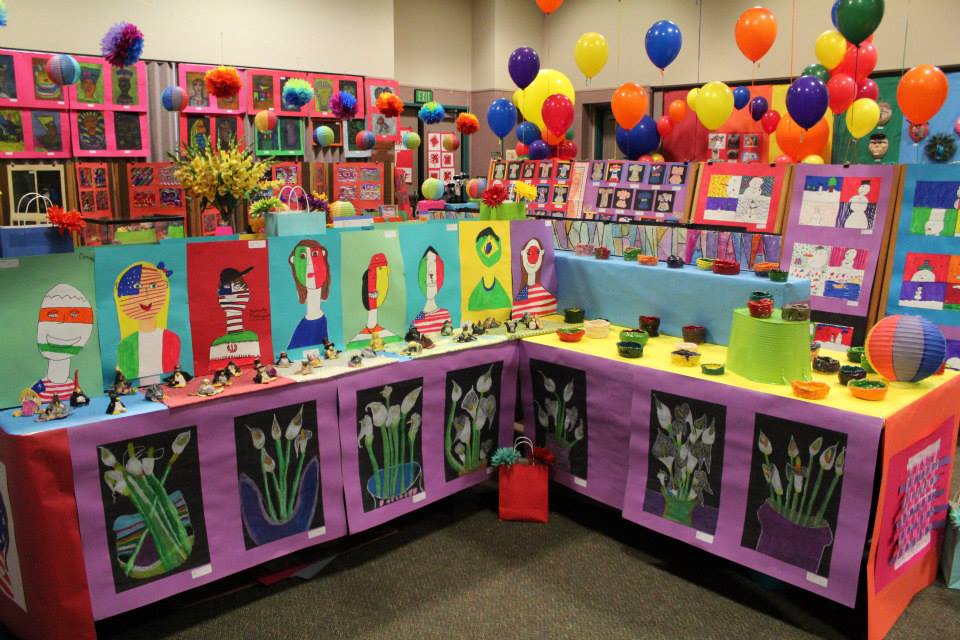
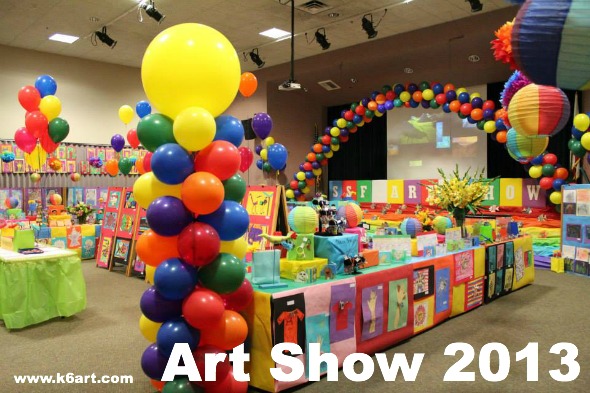
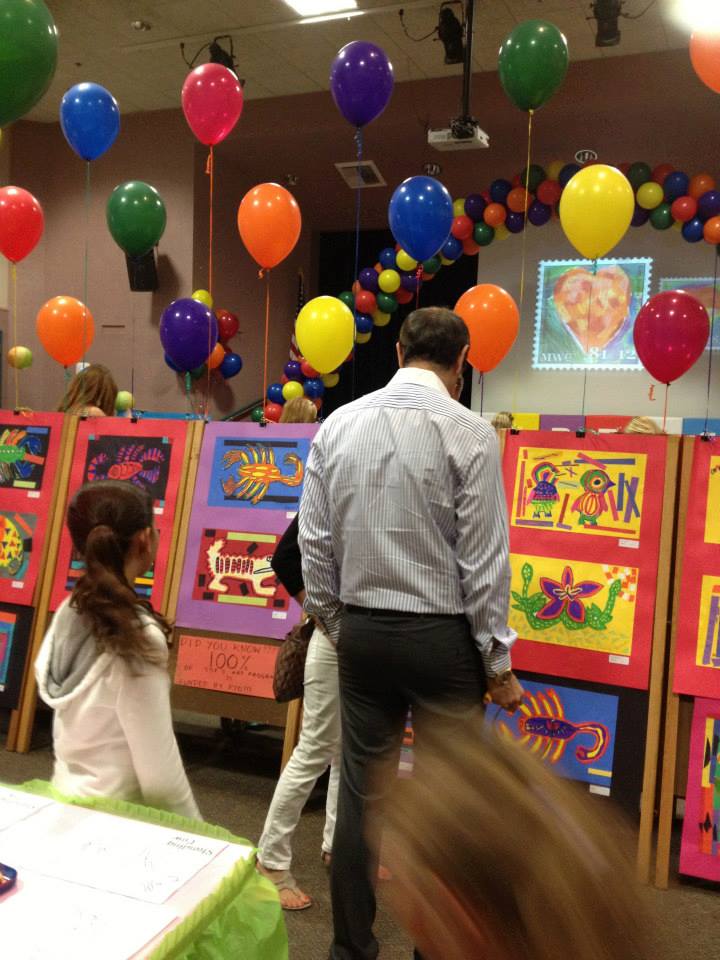
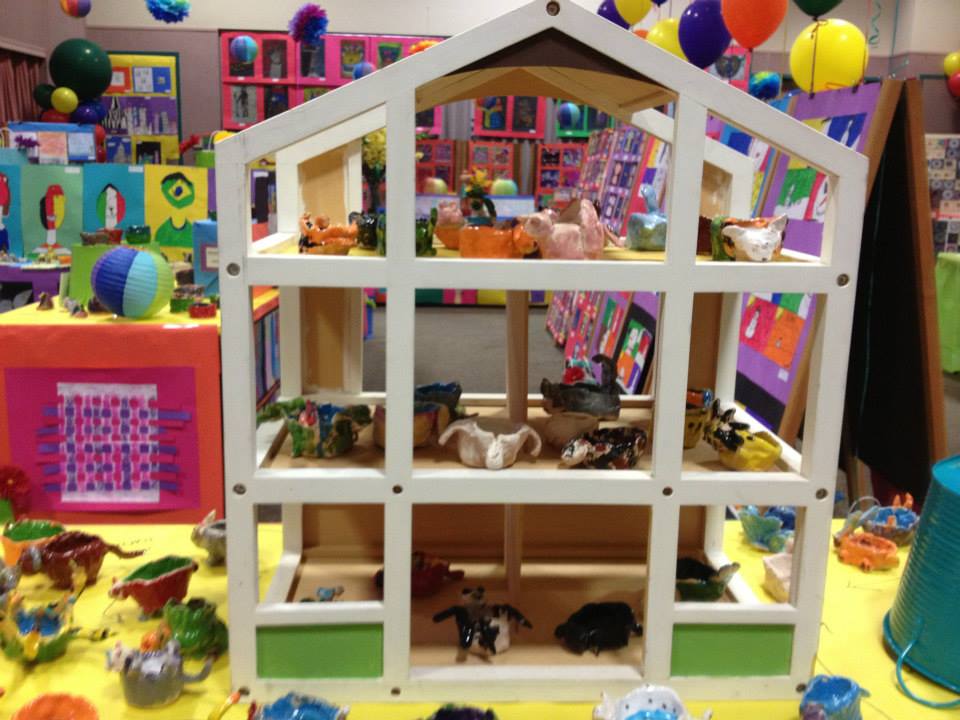
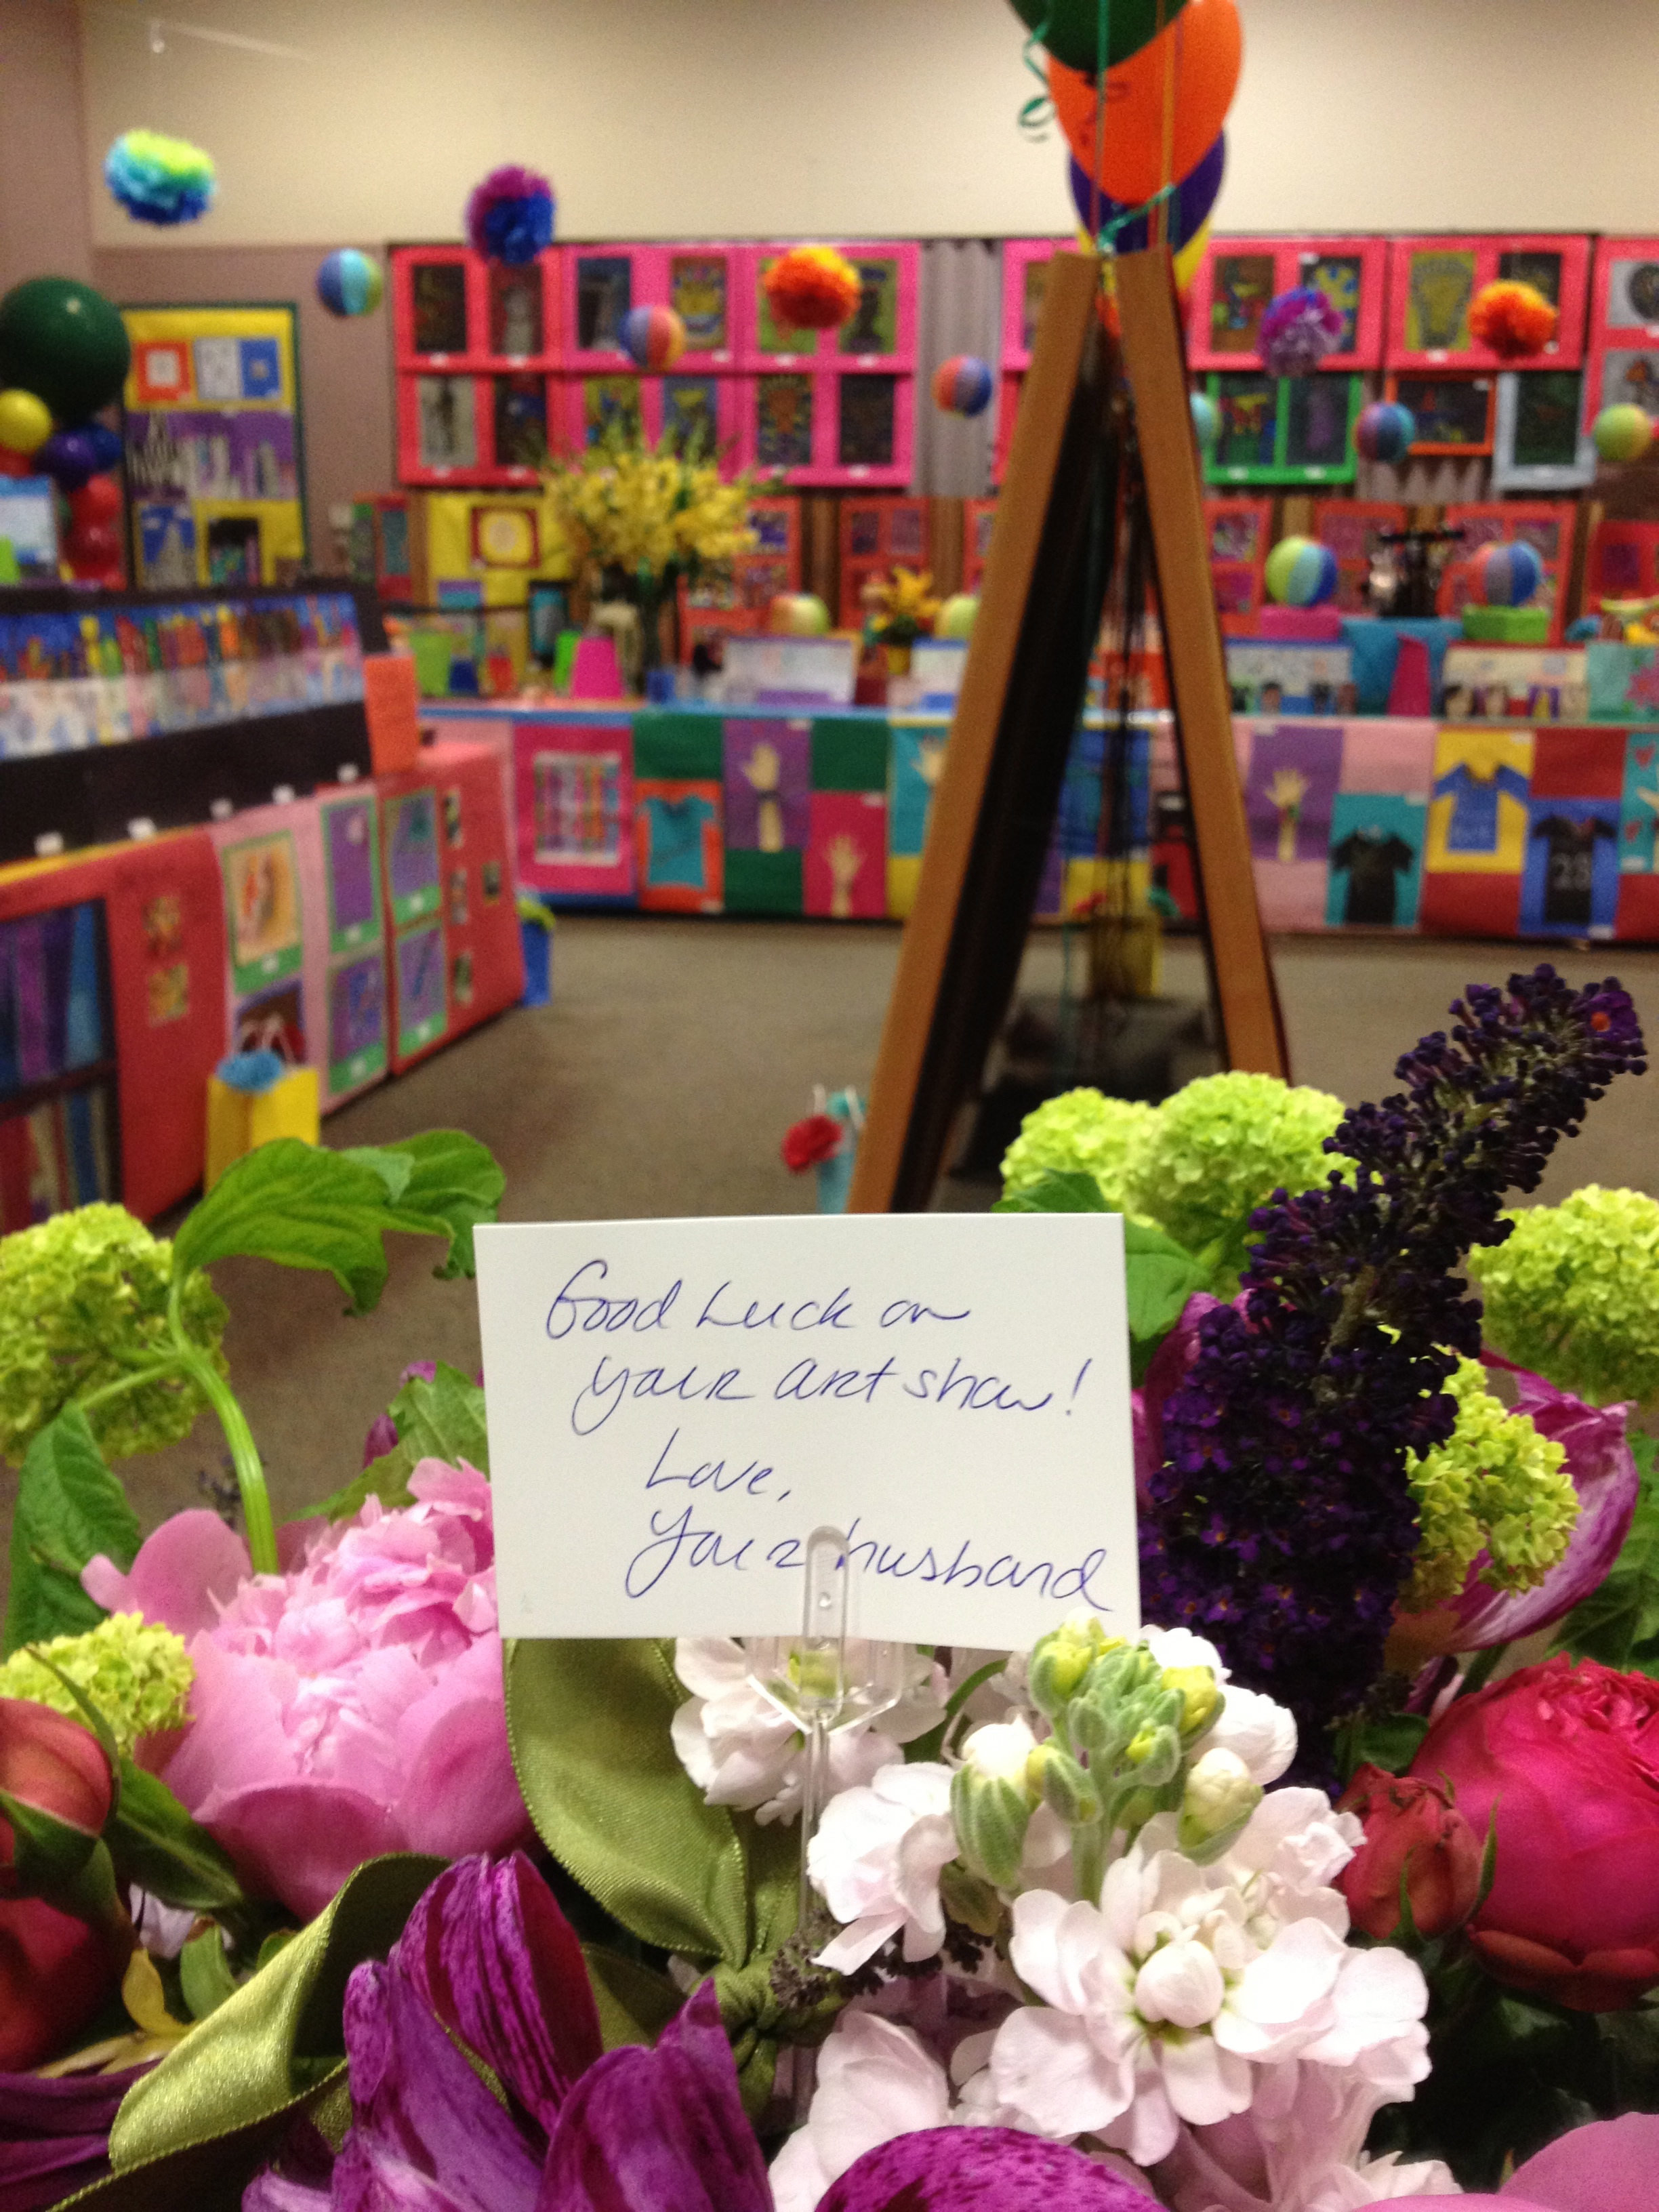
Our school is blessed with some dynamic AND RELIABLE parents who are willing to help out with the annual art show. I have an art show chair I really admire and trust. As a result, I have relinquished some control over the show. I select the artwork, but I’ve given up some control for layout and theme. I work in partnership with the art show chair and volunteers and I am pleased to report it has turned out beautifully every year.
Art show volunteers can:
- chair art show committee
- decorate
- create signs
- set up tables and easels
- mat art
- hang art
- take down the art show
- recruit their friends to help
Museum exhibits
If you exhibit student art in YAM, in local museums, galleries, or even the county fair, you know the paperwork and logistics can be daunting.
Exhibit volunteers can:
- fill out the paperwork
- mat
- package individual artworks
- transport
- pick up art
Tips to keep volunteers happy and engaged
#1: Keep them busy. Parent volunteers need to feel useful. They want to be helpful. The worst thing is for a parent to show up and you have nothing for them to do. If you don’t need prep help for their child’s class, ask them if they can use the time to prep for another grade (preferably the grade of another of their children).
Model. You need to model what you want done. Trace and cut a template. Make a sample. Show the completed project. You as the art teacher need to take the time to write out instructions. Some art teachers just don’t want to be bothered. But I say go for it! It forces you to plan ahead.
Show them all their children’s artwork. I pull the siblings’ portfolios. I will also pull samples of upcoming projects for all their children’s grades. Parents will be proud of all their children, and have good feelings about your art program as a whole. This really engages the parents.
Ask them to be guest readers: if I am introducing a lesson plan that involves literature, I will ask the parent to read the book to the kids in the art room (I use this time to do more prep). Little kids are especially proud of their parents when they read to the class. More parent engagement!
Thank your volunteers regularly
Thank your parent volunteers every class. Ask the children to say ‘hello’ at the beginning of class, and ‘Thanks’ at the end of class. Write a personal thank you note to each volunteer at the holidays or the end of the year. You could even give a small gift (it could be 1/2 dozen homemade cookies). a personal note is always the best way to say thanks. I also bring bottled water and snacks for the volunteers hanging the art show, and have a thank-you bagel brunch at the end of the school year.
Student volunteers are awesome
I also have 6th grade student volunteers in the art room. They don’t use the paper cutter, but they can do almost everything else if you model it for them. They often already know how to do the projects, and I’ve found they love to help younger students.
Ask the classroom teachers for help signing up volunteers
Let the classroom teachers know that you are interested in parent (and student) volunteers. At our school we sign up volunteers on back to school night (BTSN).
Count on 80% Attendance
Parents won’t be there for every class. Their children get sick or have school plays, they have their own doctor’s appointments, they go on trips. Fine! Any help is better than no help. Every time they help out it is a gift.
Ask parents to sign a volunteer agreement form
Click here to see our district’s volunteer agreement form. For example, parents have to agree to sign in at the front desk, wear a name tag, and pass a TB test.
Use free online tools to coordinate volunteer jobs
This year I am experimenting with online art show sign ups. I looked at VolunteerSpot and Sign Up Genius. Both have mobile apps. I am leaning towards Sign Up Genius because it syncs with Apple’s iCal calendar system.
The end result….success!
This year I teach 18 classes per week, and have 20 volunteers signed up in the art room so far. Some parents love volunteering in the art room so much they sign up year after year. One mom volunteered a record 9 years in the art room!
With volunteers on board, you don’t just teach art: you manage the art program.
Enjoy!

Do you have parent volunteers in the art room?
How have they helped your art program?