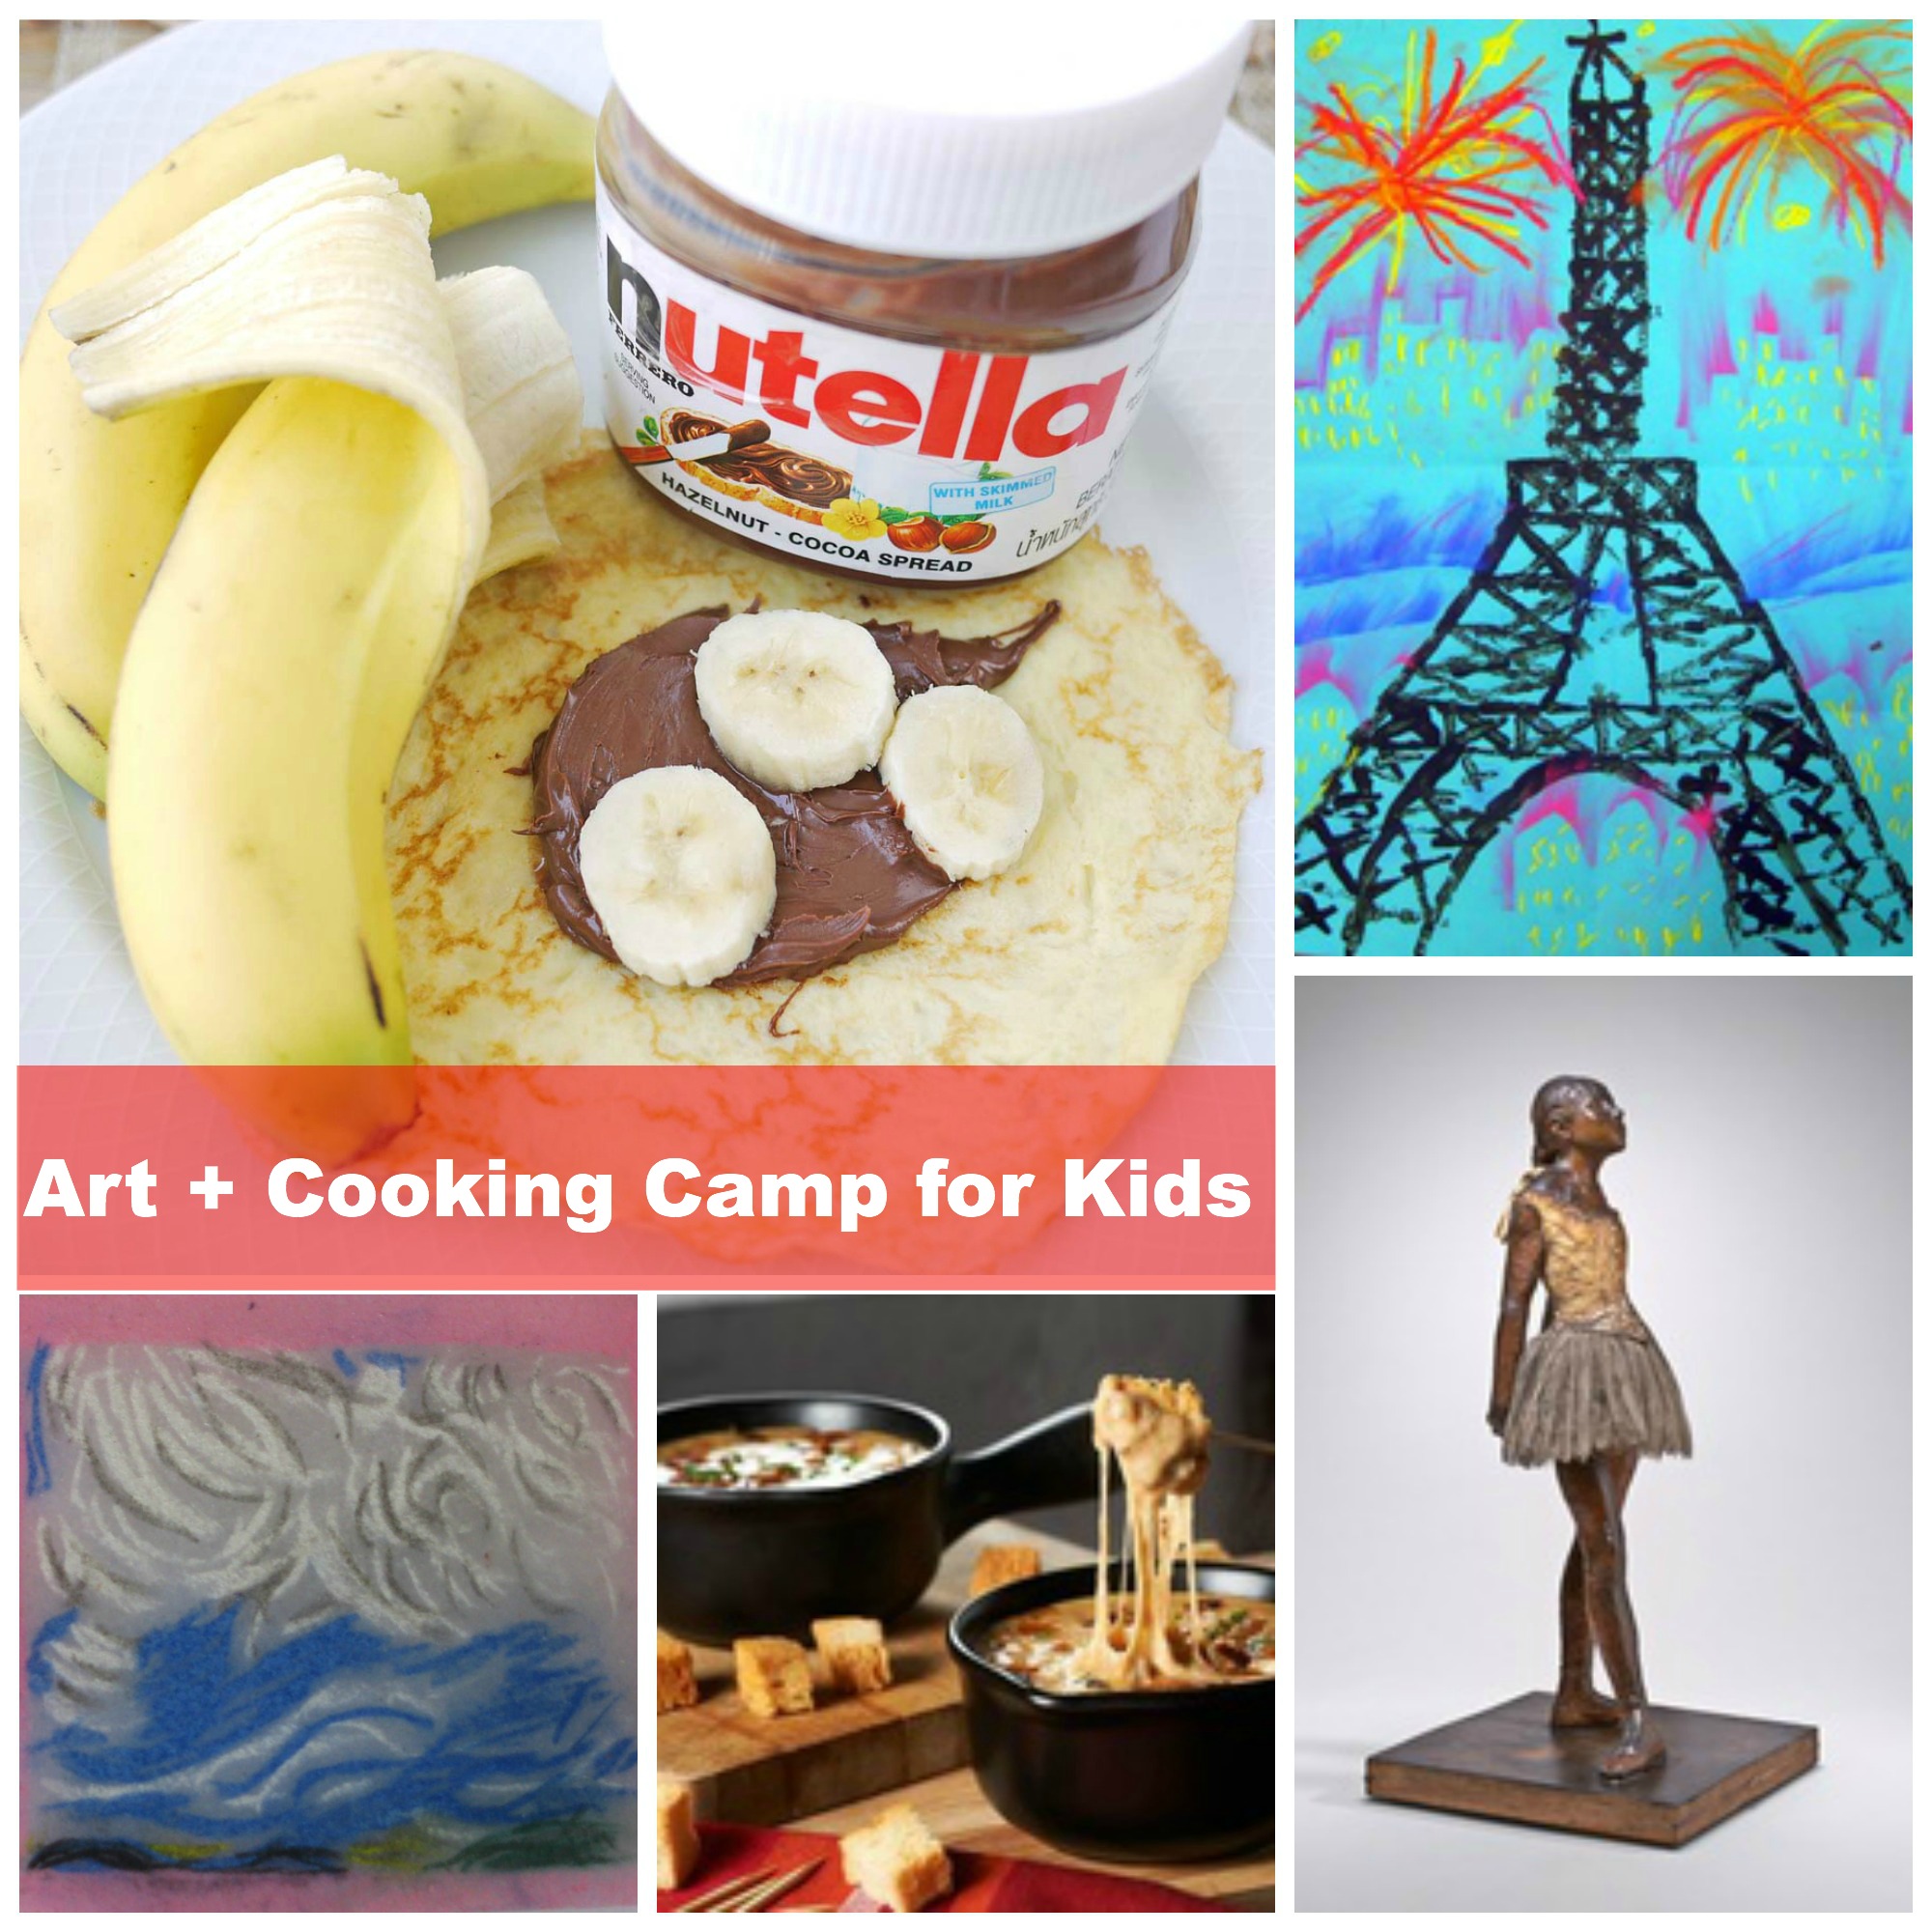
Today was Day Two of my Paris-themed art and cooking camp. We made lemon madeleines and began a ‘Printed Paris’ Eiffel Tower project.
Madeleines
Our lemon madeleines were delicious. CLICK HERE FOR THE RECIPE. I bought my own silicone madeleine pan for this project. It worked perfectly – all the little cakes popped right out intact. The recipe made a lot of madeleines – we put the extra batter in cupcake papers and baked them up as little muffins. The kids doused them in powdered sugar. Really fun cooking project!
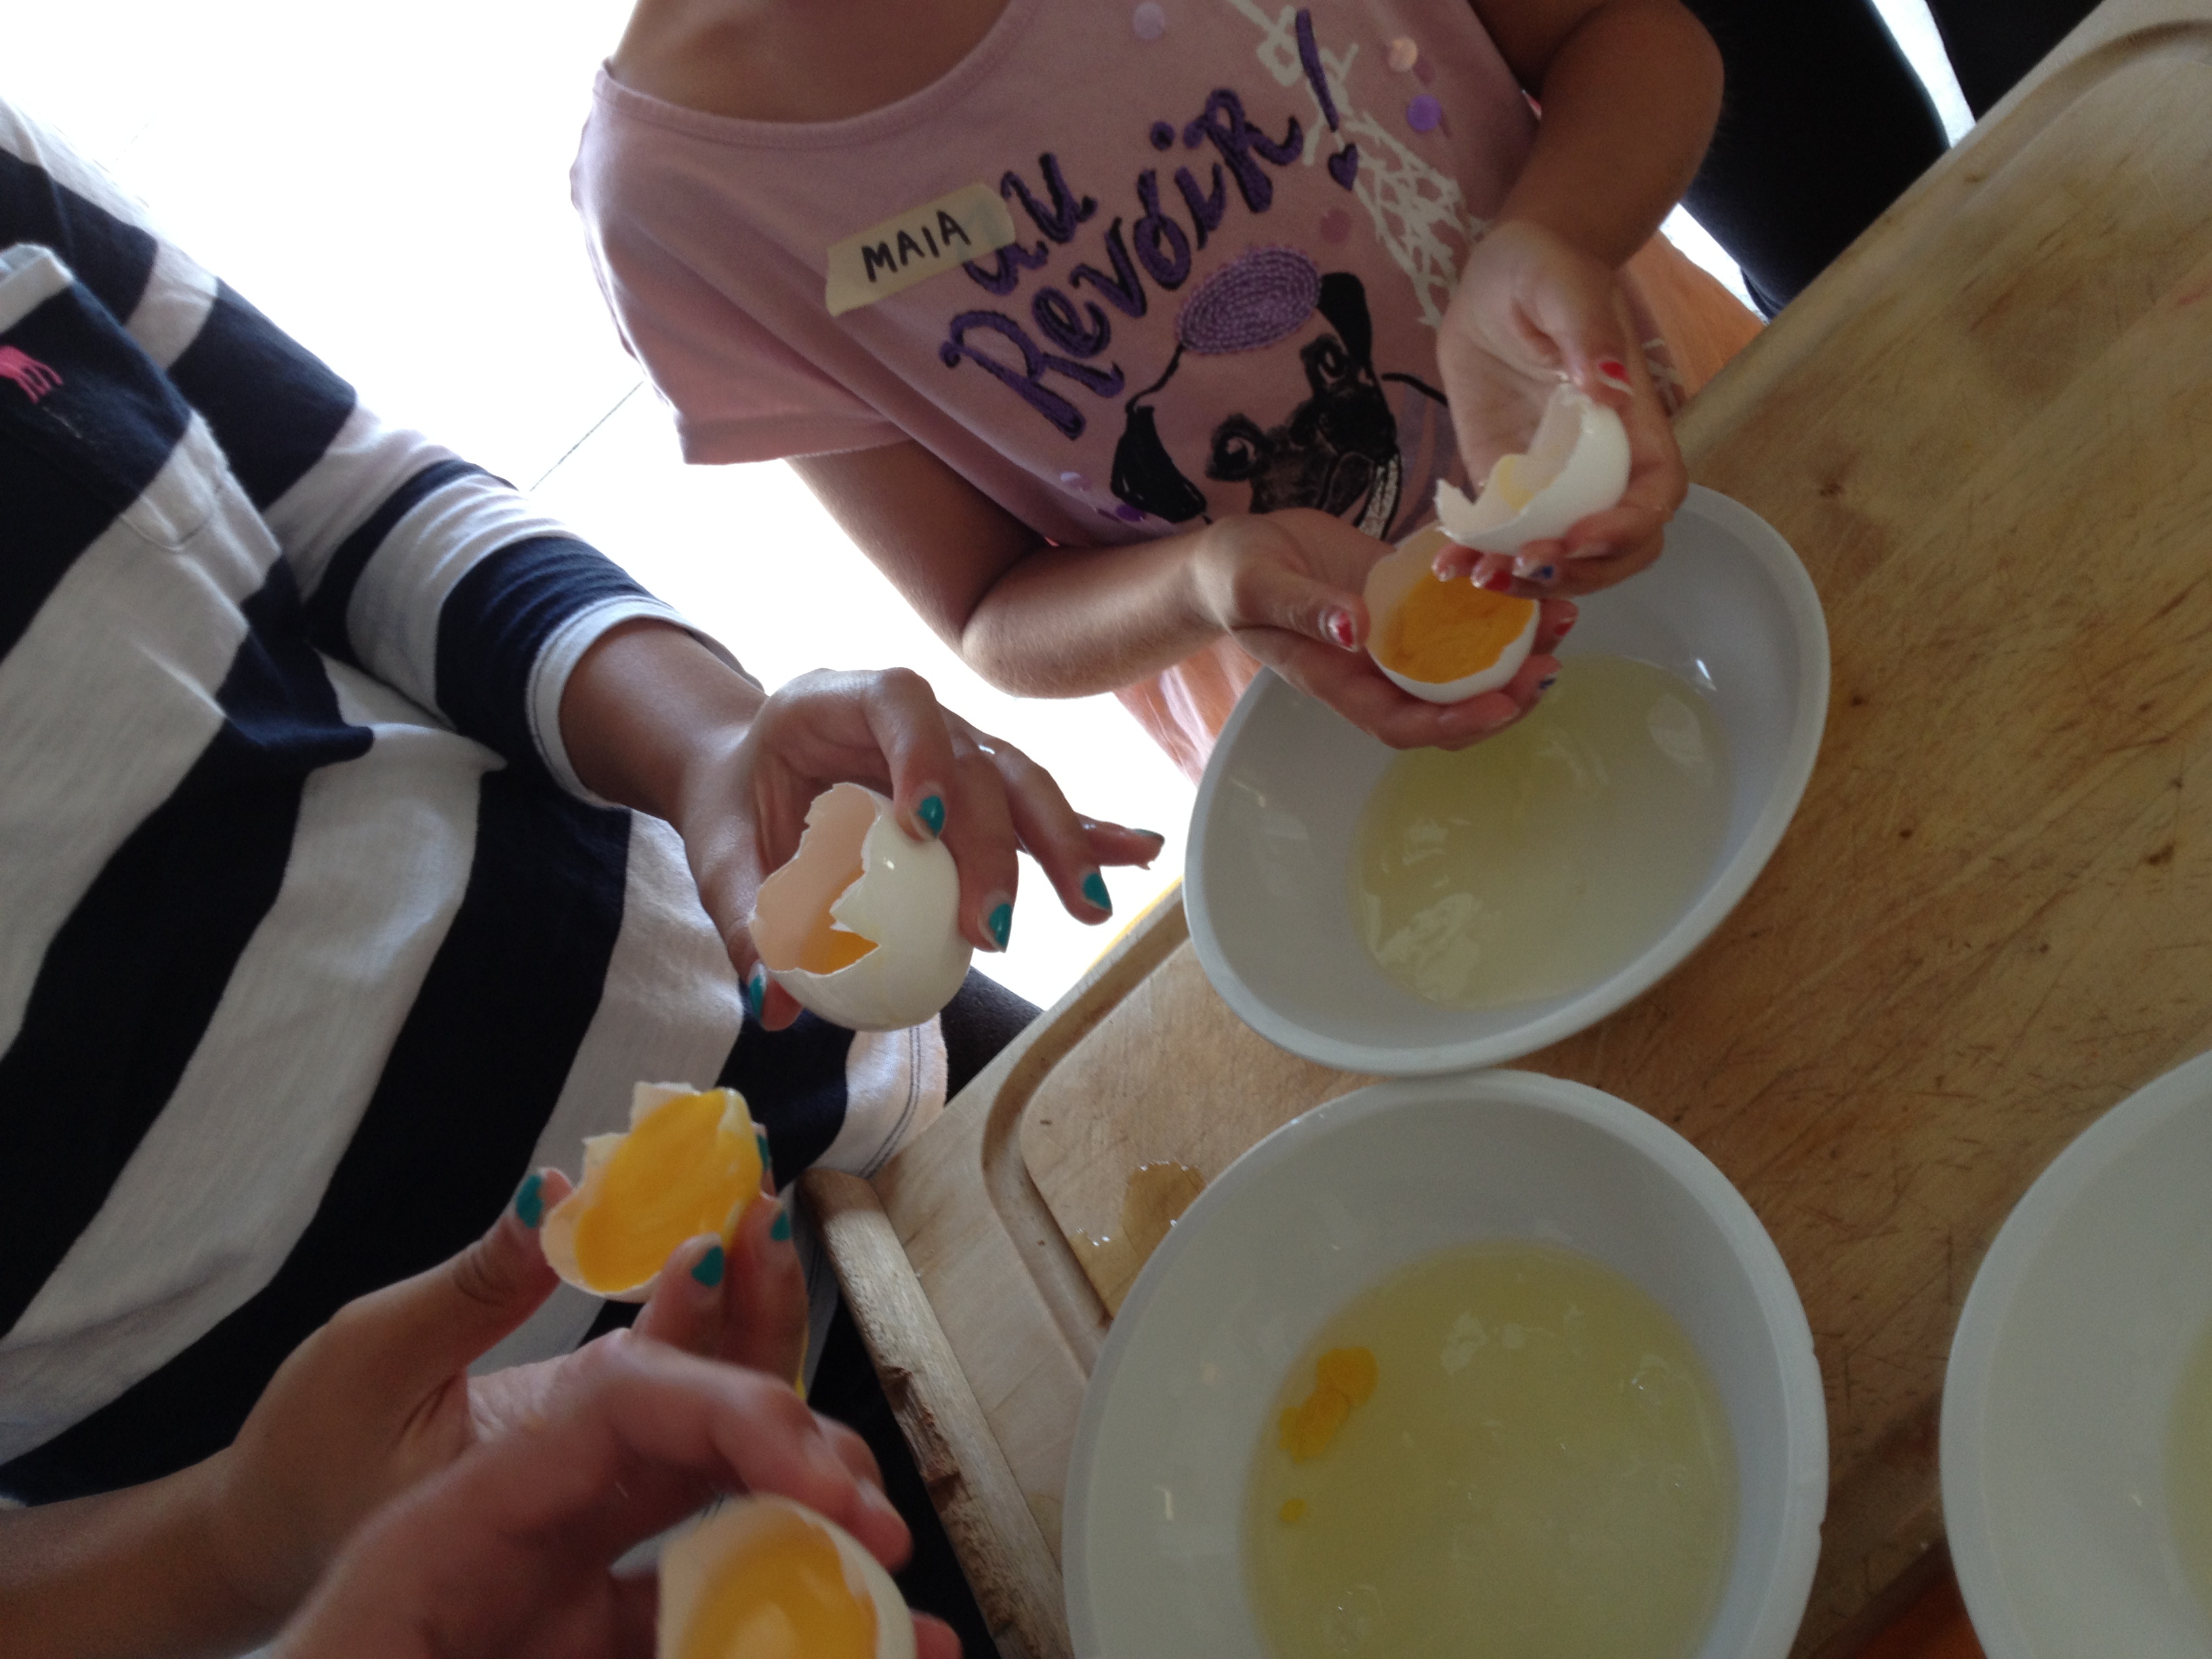
Separating eggs.
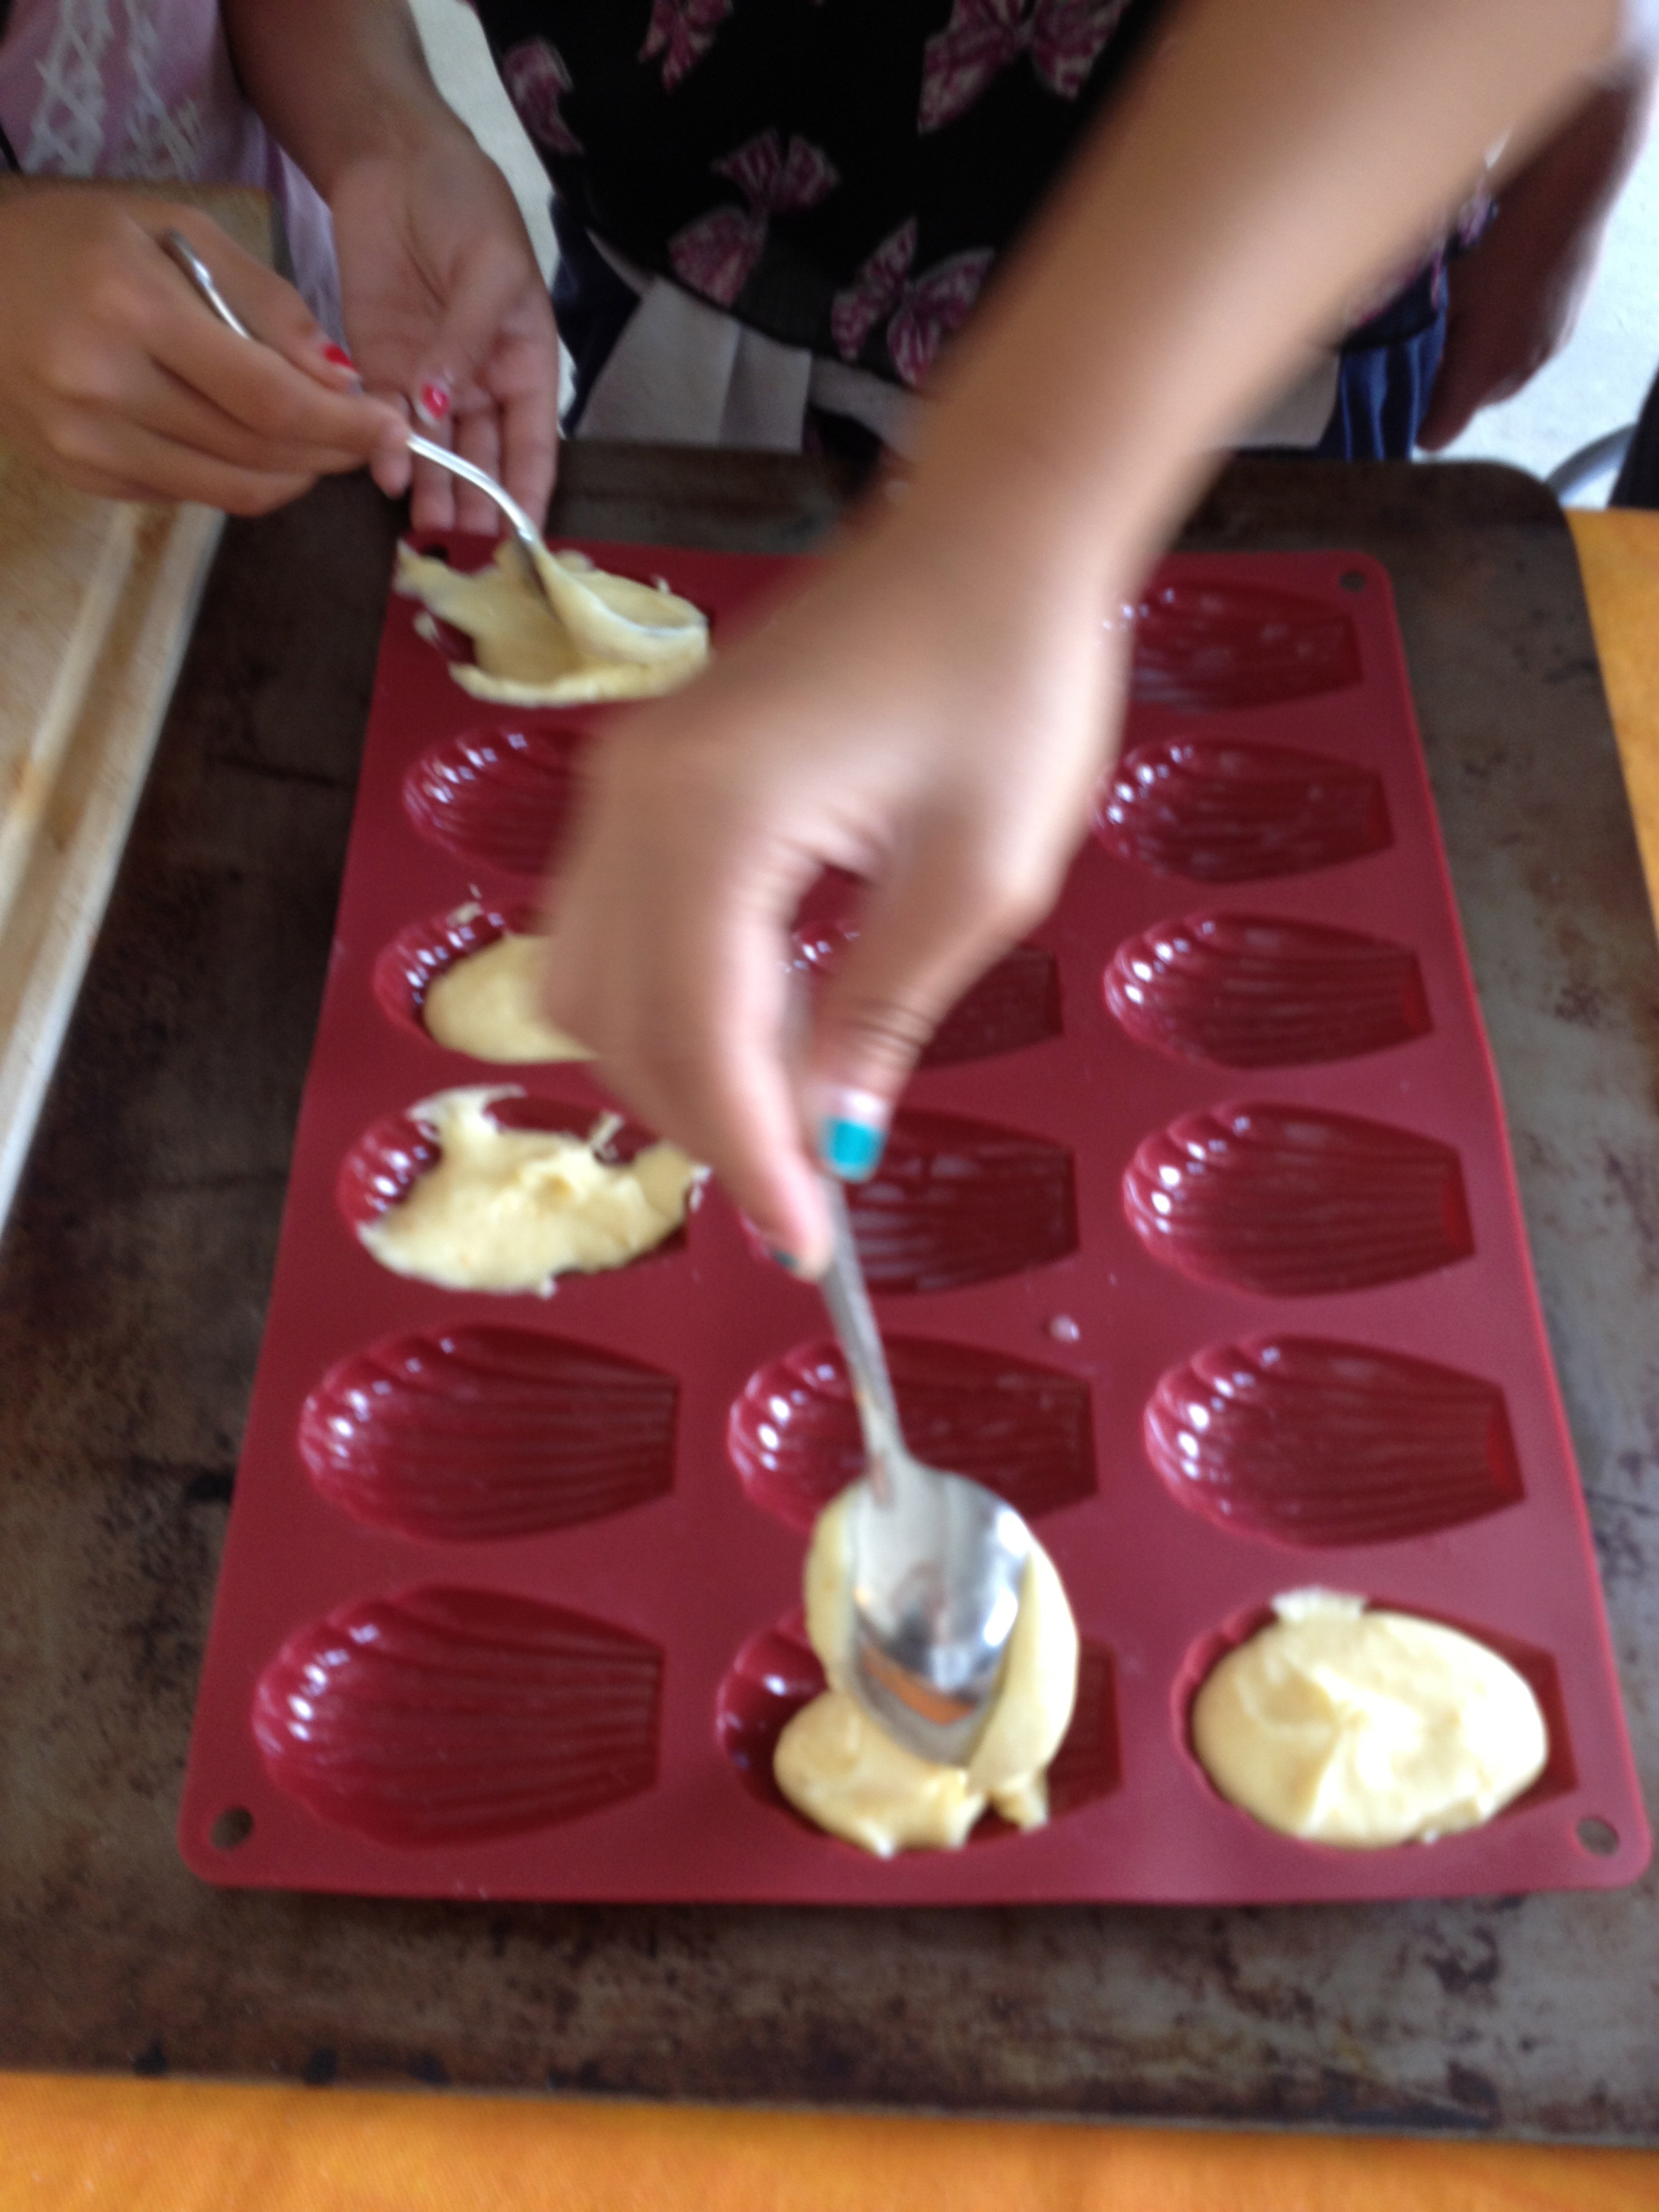
We used silicone madeleine pans.
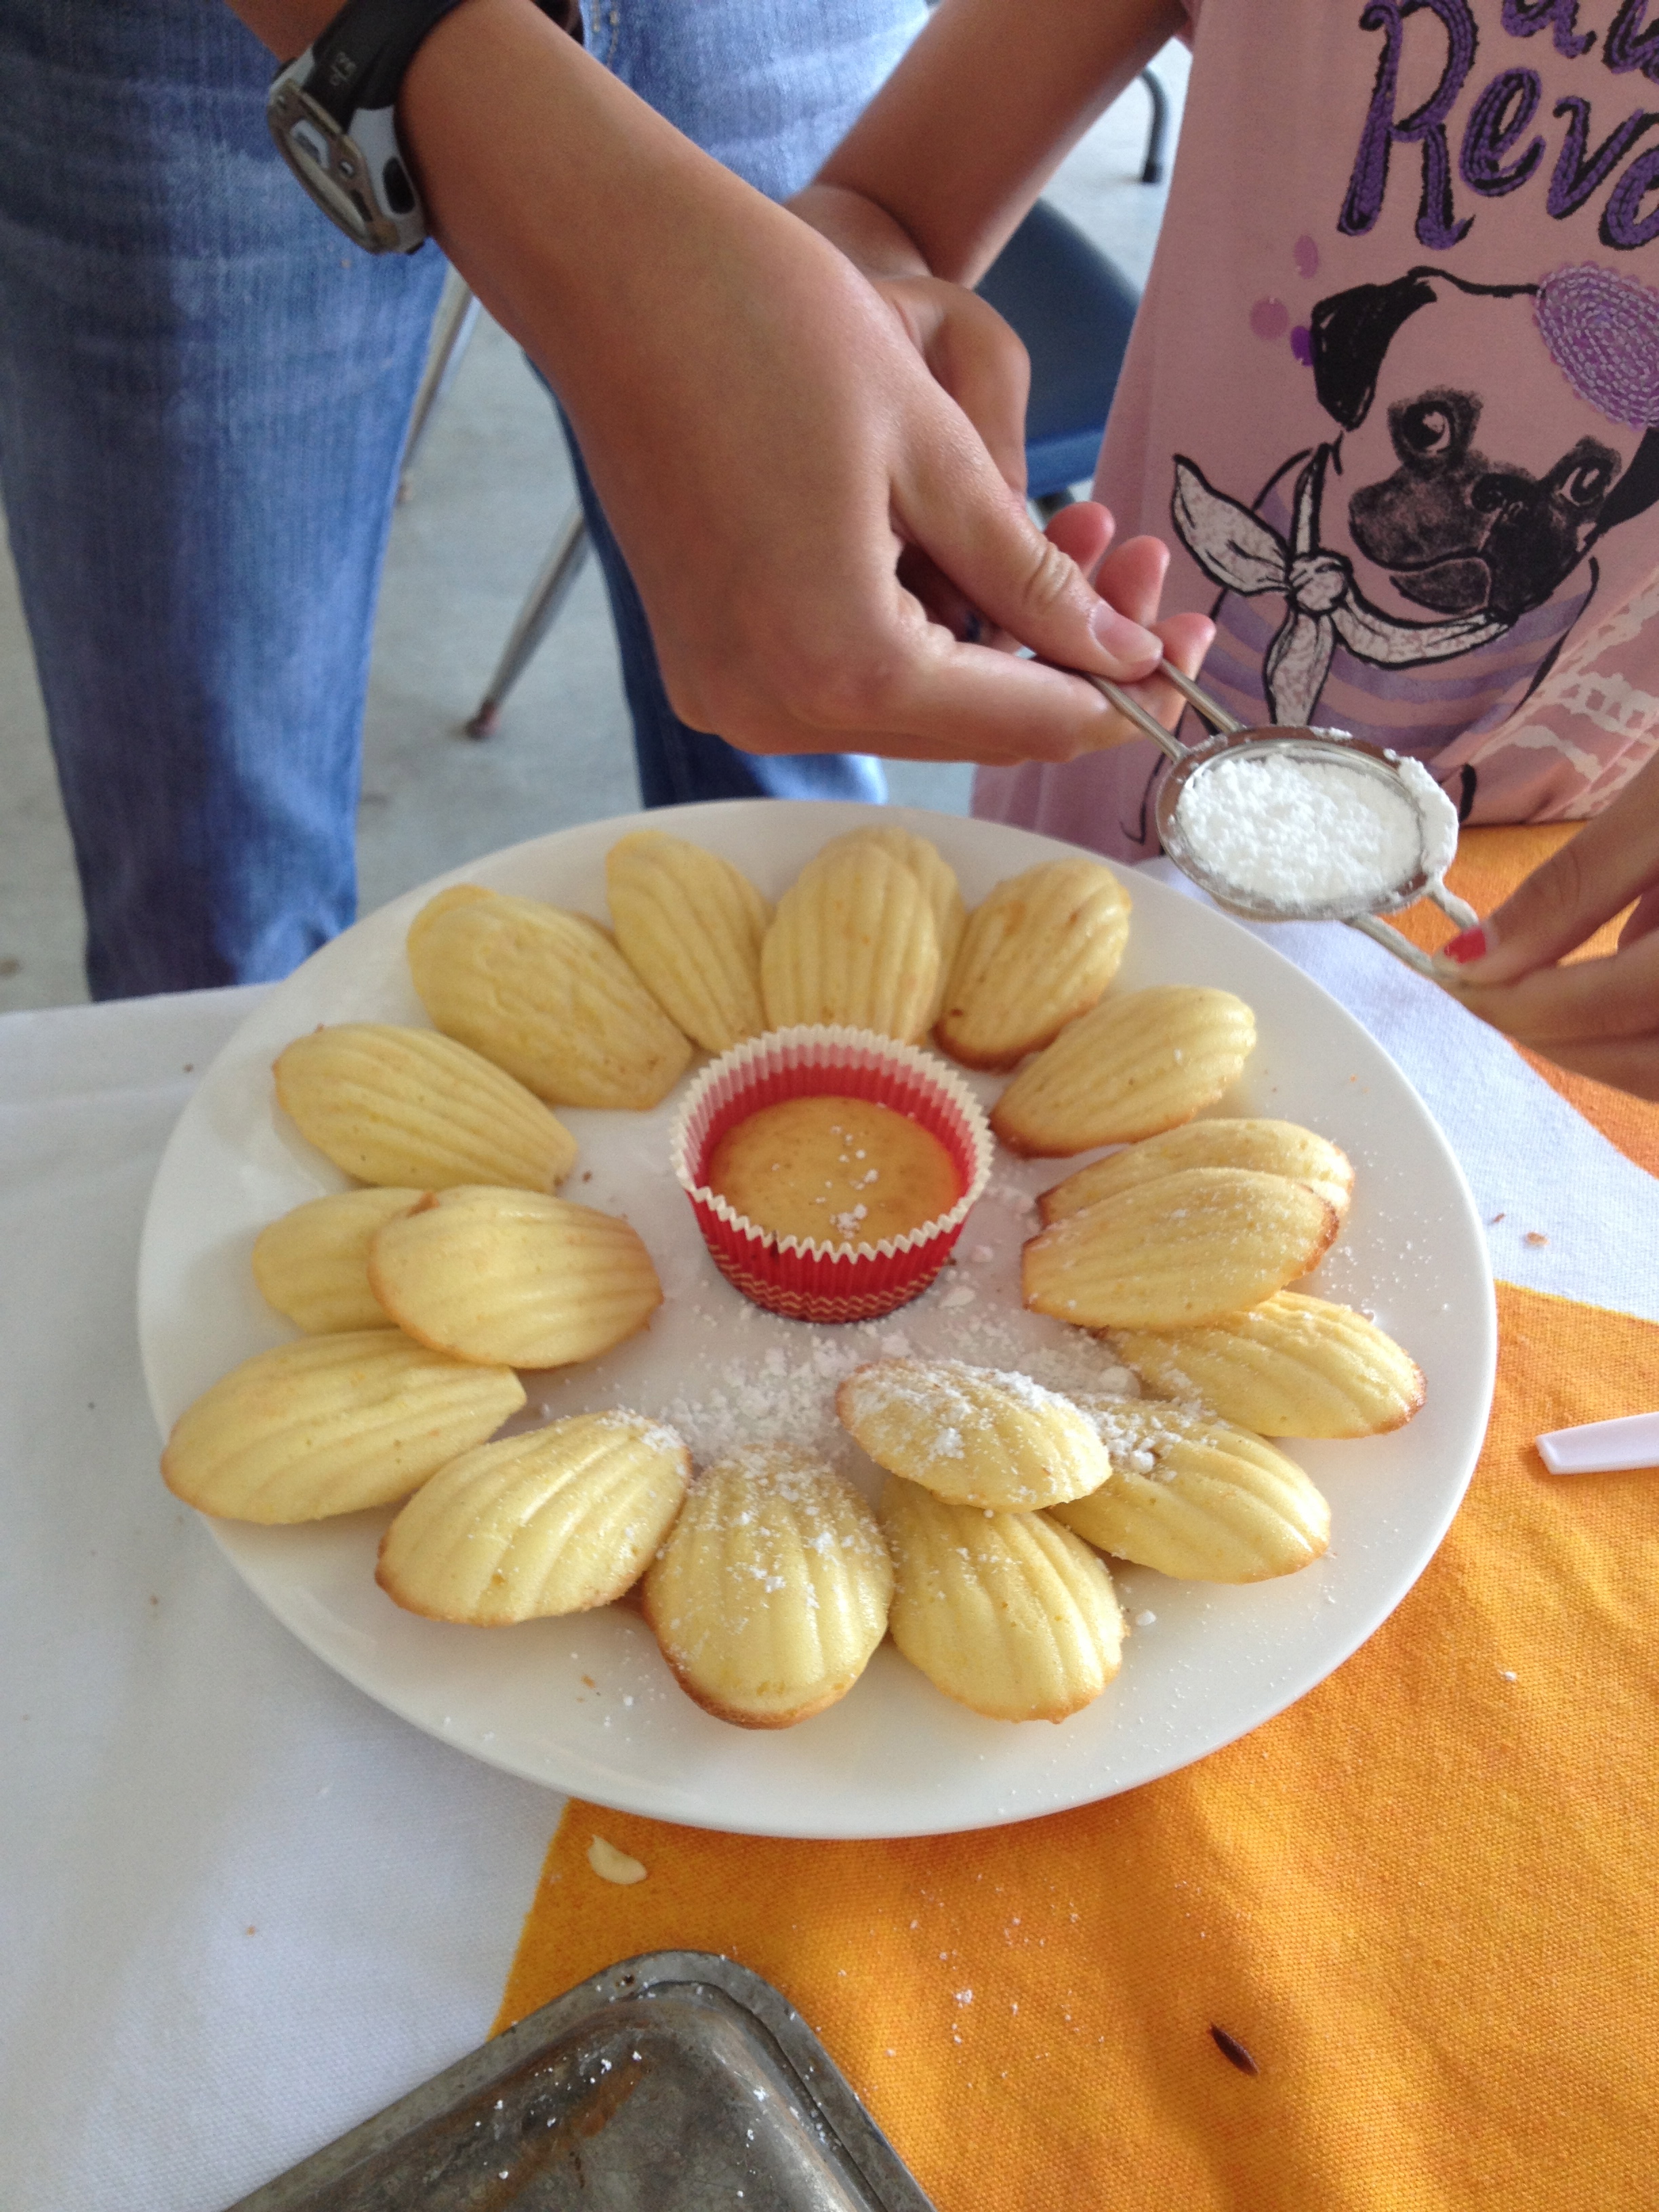
The little cakes popped out perfectly. Yum!
Printed Eiffel Towers
We started our printed Eiffel Towers. The project was inspired by this fabulous post at the Cassie Stephens blog.
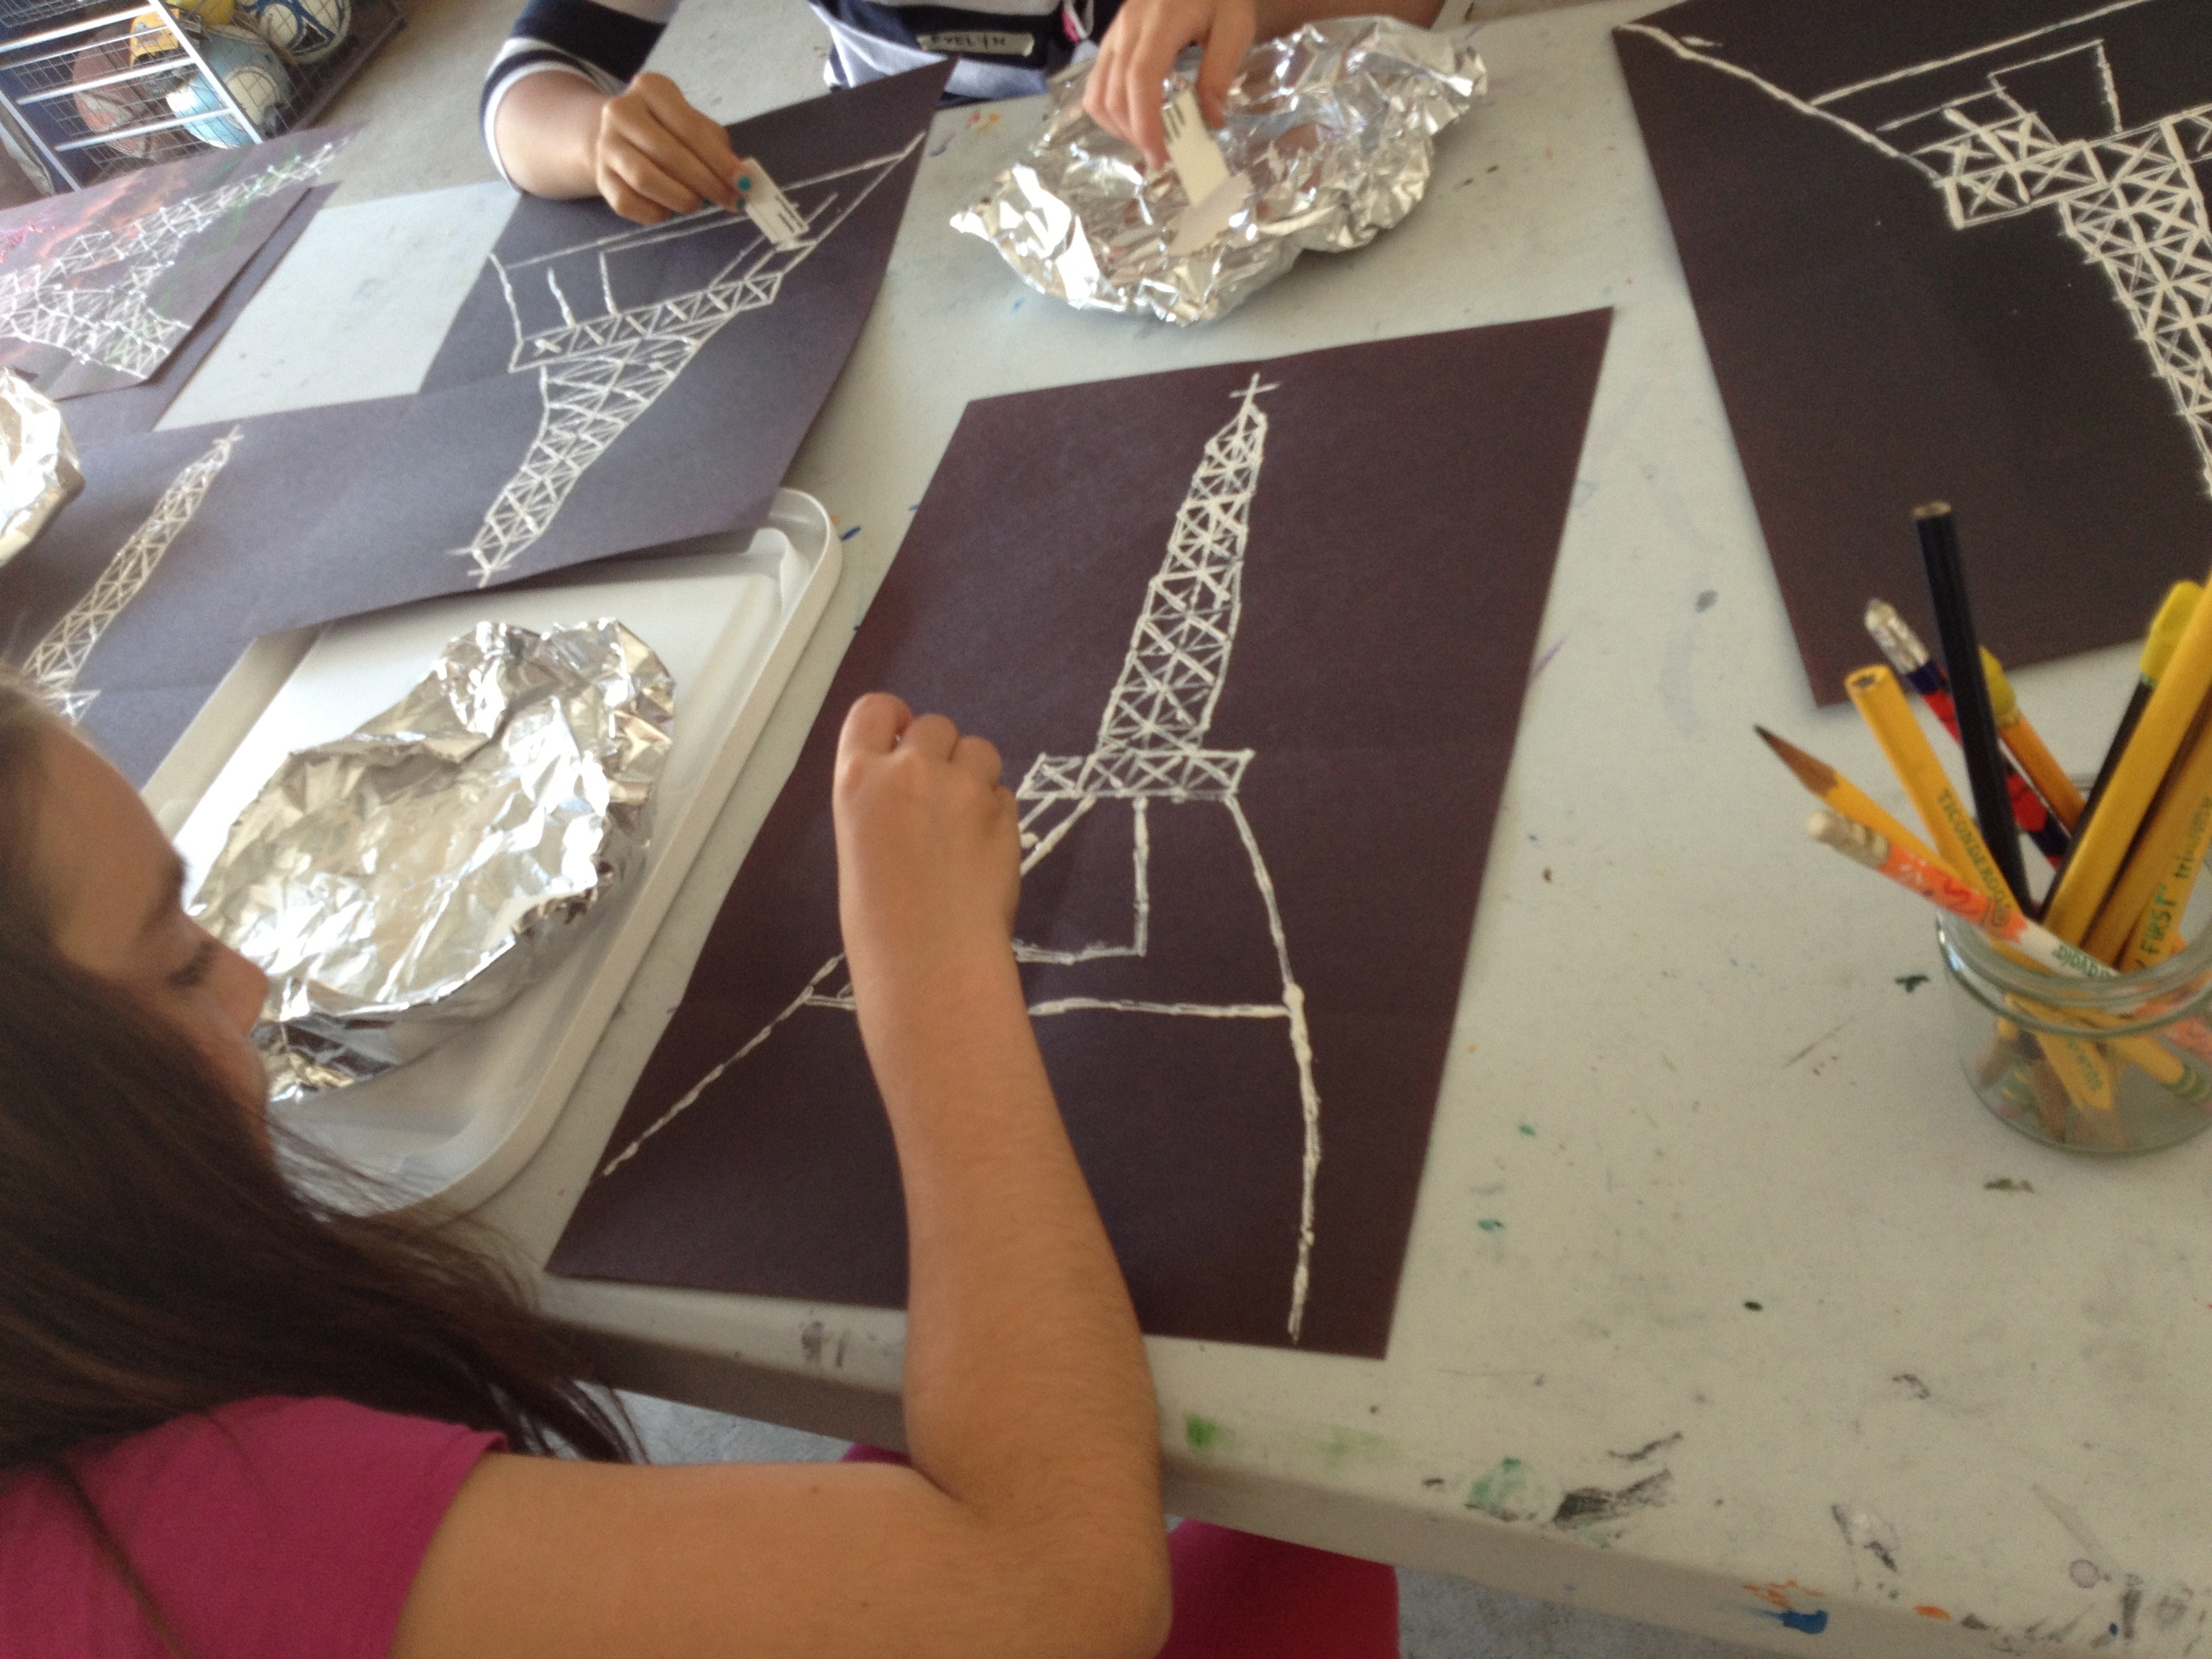
We used mat board scraps and white paint to print the Eiffel Tower.
Tomorrow we will finish up the Eiffel Towers, make meringues, and start on our Degas project.
Enjoy!

Are you teaching art this summer?