This is the first year I offered art club. It was so much fun! Small group. Motivated kids – sixth grade only. Friday afternoon. Ahh…
We did block printing and the kids who learned this skill were enthralled. They kept popping by the art room every day, hoping to carve a little more. They skipped recess to carve. They hung around Friday after the bell rang.
Materials:
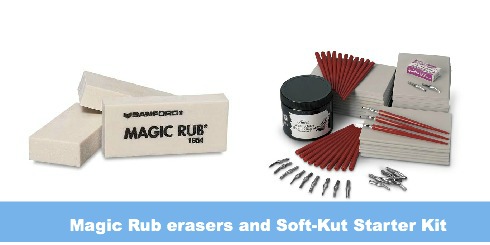
- Magic Rub Erasers
- Soft-Kut Starter Kit (includes Speedball cutters, handles, carving blocks and printer’s ink)
- copy paper and tracing paper
- pencils
- Crayola markers
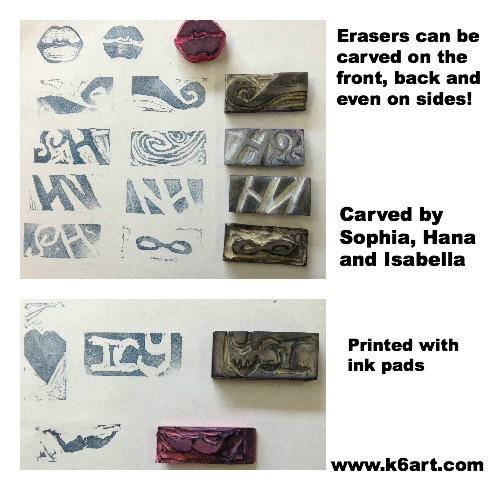
- Ink pads
- Brayer and flat surface for rolling ink
Eraser carving:
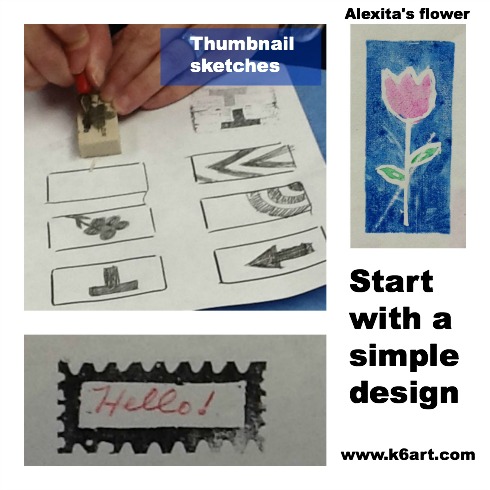
Students started by sketching a variety of simple designs using pencil and copy paper. They traced their favorite design onto tracing paper, then transferred the design to the eraser. Then they carved out the white parts of the design using a lino cutter. CLICK HERE to see an excellent carving video. I did this project with sixth grade last year – read more in this post.
Once students had a little carving experience, they moved on to more complex designs on the back of their erasers.
Soft-Kut Blocks
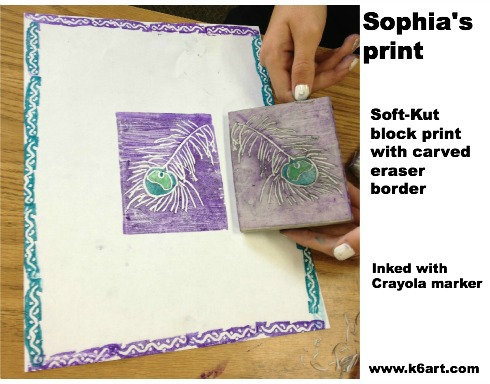
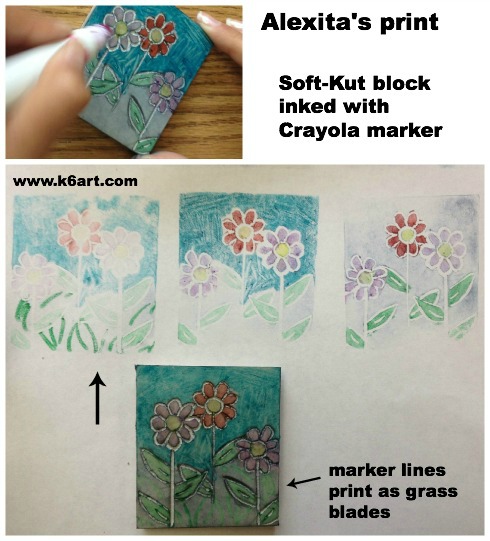
Students used the same techniques to transfer their designs onto the larger blocks. Some students used Crayola markers to ink their blocks (I think the inked blocks are beautiful on their own!).
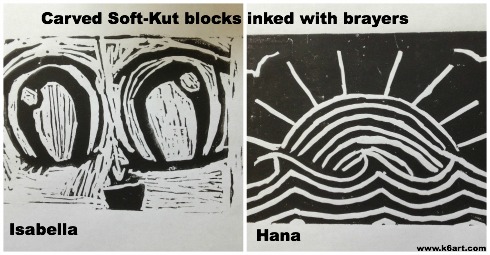
Others used block print ink applied with a brayer.
iPad in the art room:
We used iPads two different ways for this project.
- Looked at images of linoleum carvings on Google images
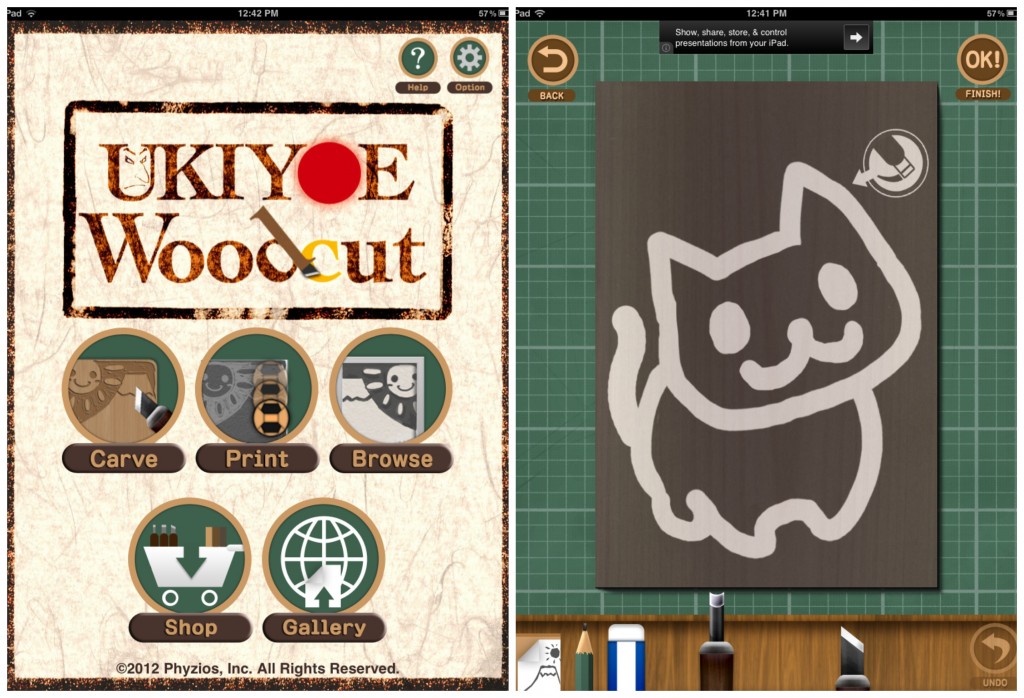
- Had fun testing out the carving process using the free Ukiyoe app (available on the app store).
Art club was a hit. Carving was a hit. I will definitely offer it to my sixth graders next year.
Do you offer art club at your school? What sort of projects do you do?

