Observational Drawing with Sixth Grade

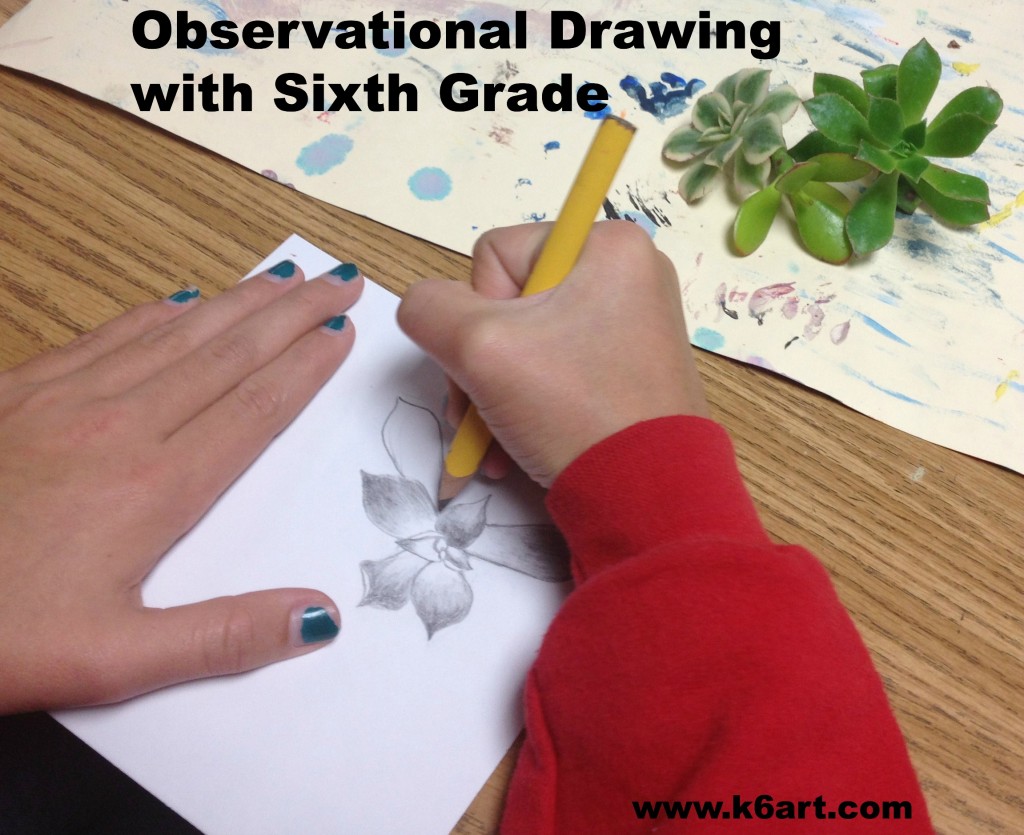
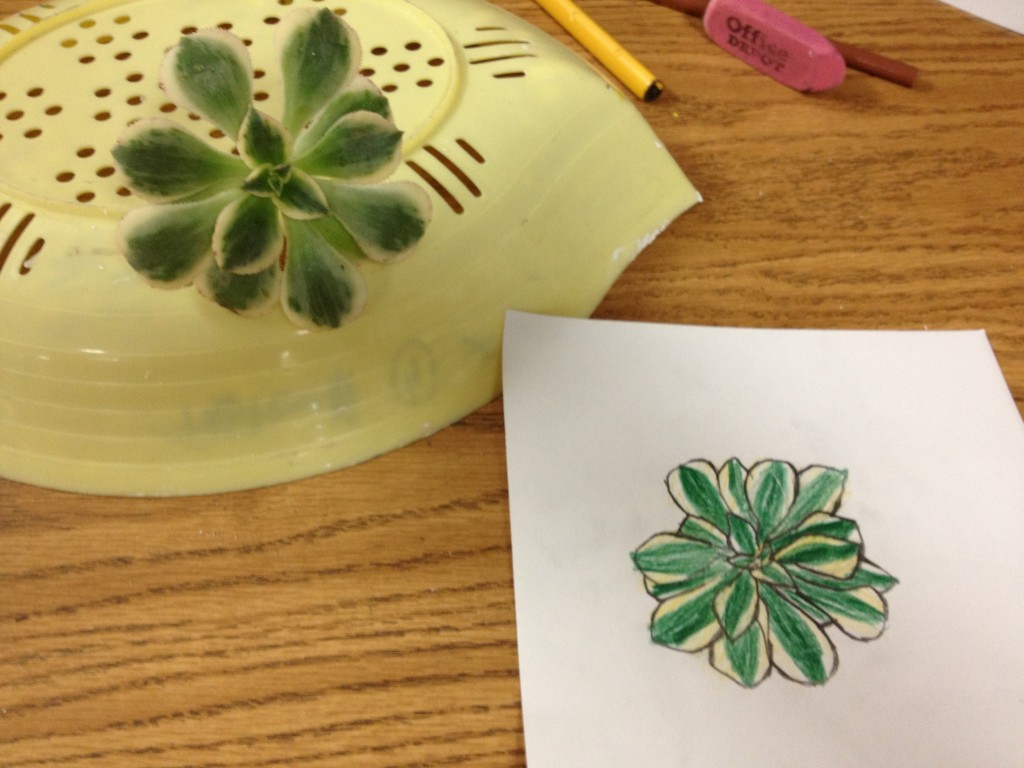
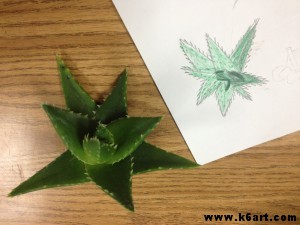
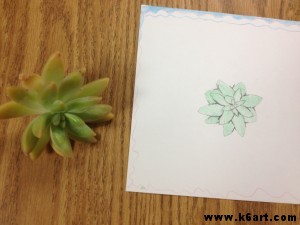
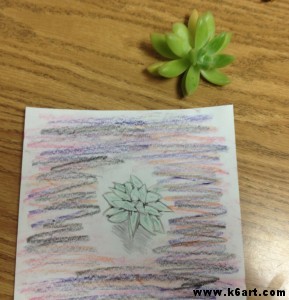
Sixth graders drew succulent plants from observation. I emphasized drawing what they observed, not drawing from imagination or what they think the plant should look like. They should focus on shape.

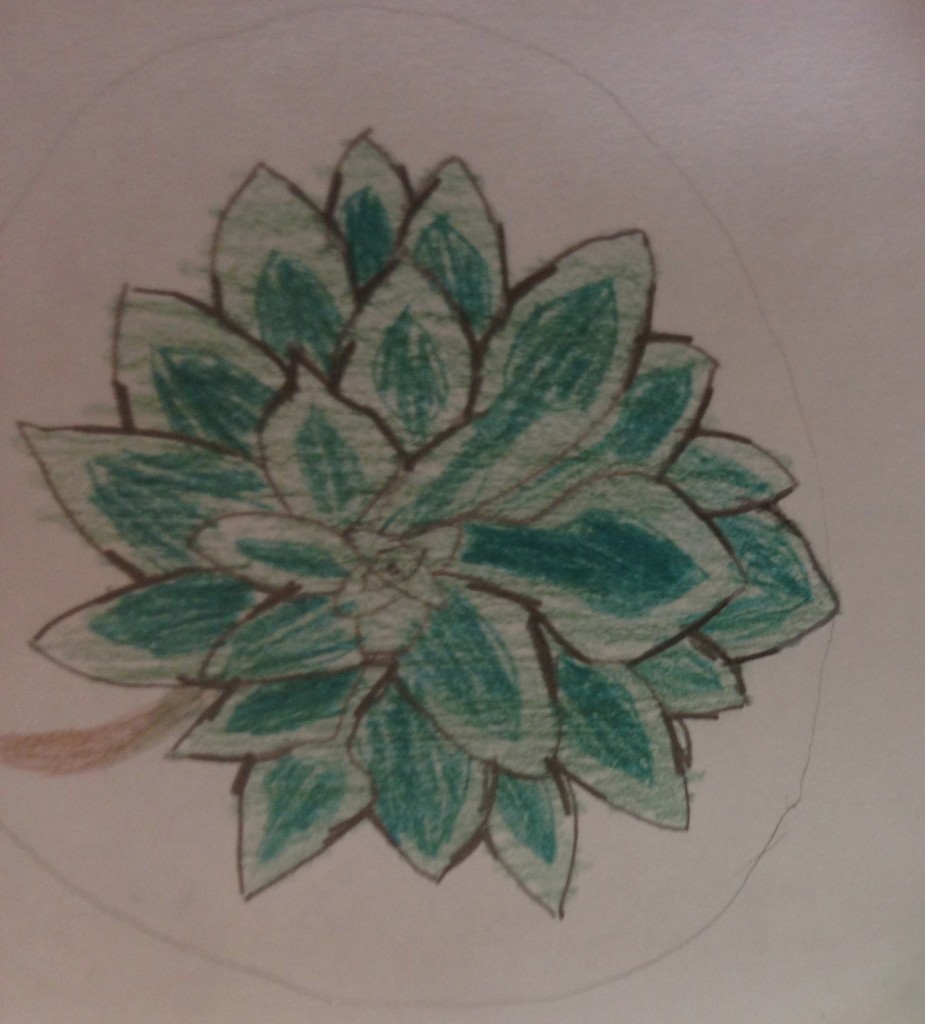
Sixth graders made observational drawings of fresh cut succulents.

They used pencil and colored pencil on 6″x6″ squares of white paper.

After the students had a basic drawing, I asked them to look at the areas where the leaves overlapped. Each overlap creates the letter ‘Y’. I asked them to darken all the ‘Ys’, and then taper the pencil lines.

Darken the ‘Ys’ formed where the leaves overlap.

It was quiet in the art room as the sixth graders concentrated on their drawings. Most students enjoyed this activity, some loved it, and no one complained.

Earlier this fall we studied value and drawing and shading forms (thank you Pinterest!)  and I am happy to say that these exercises have increased student confidence: several students who have stated they ‘can’t draw’ are now turning out drawings with pride.

This is one of those times I wish I had more than 40 minutes a week to teach each class. I would love to start every class with a quick observational draw.

Regarding our plant cuttings:

We have many varieties of fleshy-leaved succulents here in Southern California. Succulents are similar to cactus, but do not have needles. Succulent cuttings are great for observational drawing: the cuttings do not need water and do not wilt. In fact, if your students do not pull off the leaves they will look great in a week, without any water or soil!

Succulents are super-easy to grow from cuttings. After class, I poked all the cuttings into the ground. They root in about three weeks.

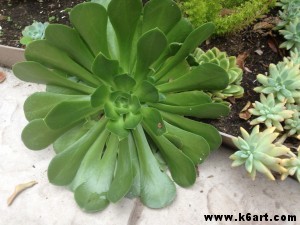
All the succulents were fresh cut the day of class from our school garden and my  San Diego backyard.

Succulents in my San Diego backyard.


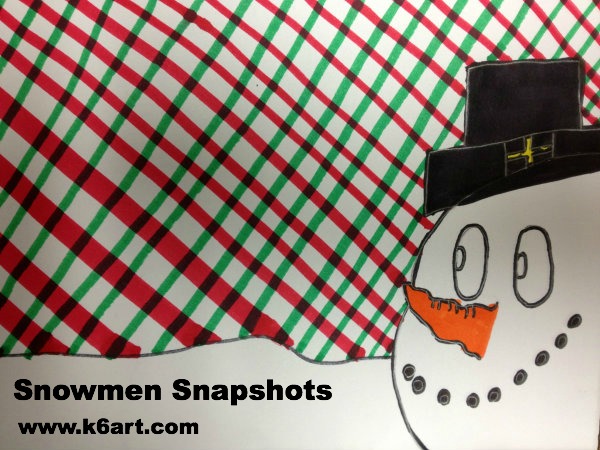
Snowmen Snapshots

snowmen snapshots


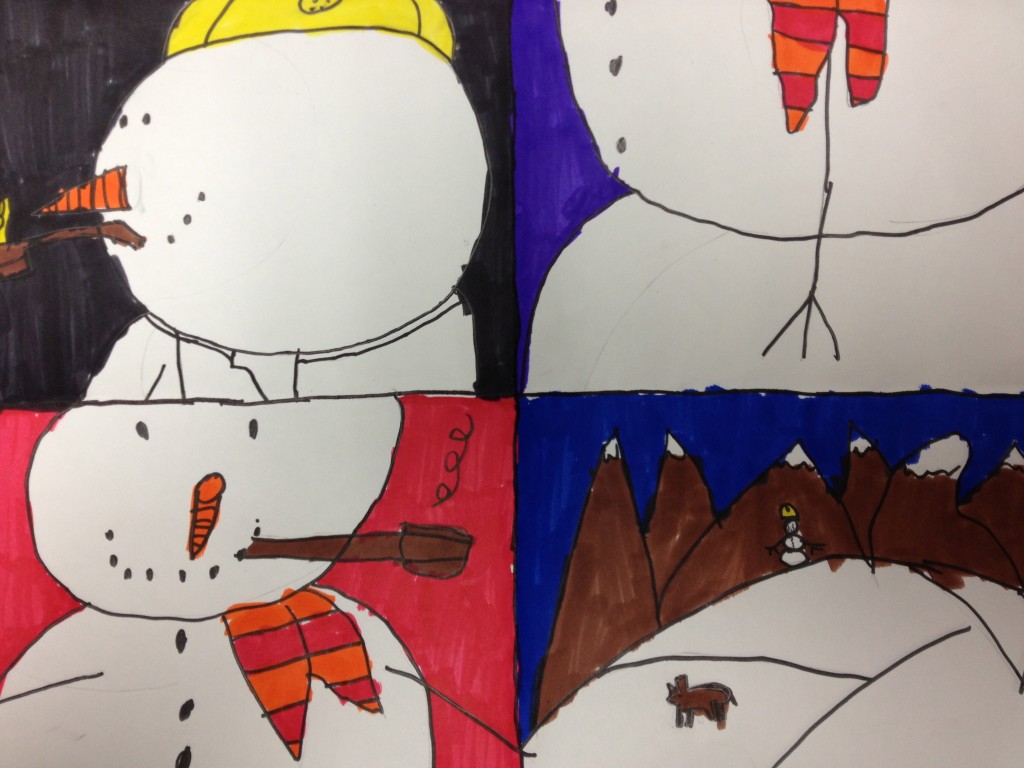
Third grade just finished their snowmen ‘snapshots’. I found this great lesson at Mrs. Knight’s Smartest Artists.

snowmen

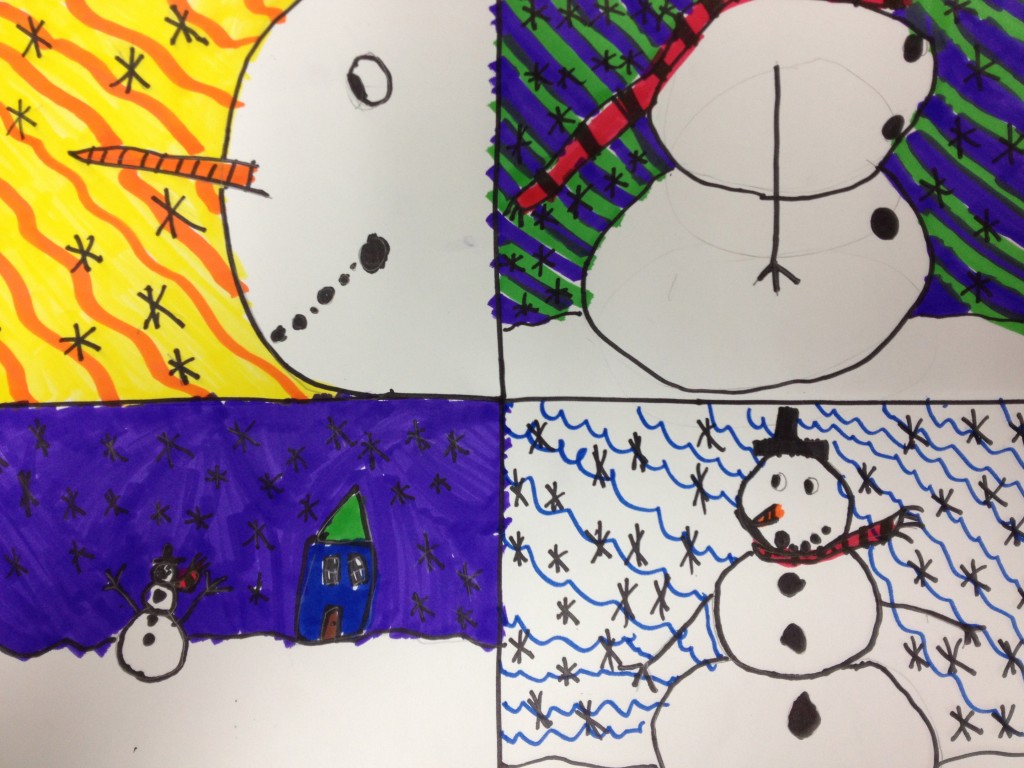
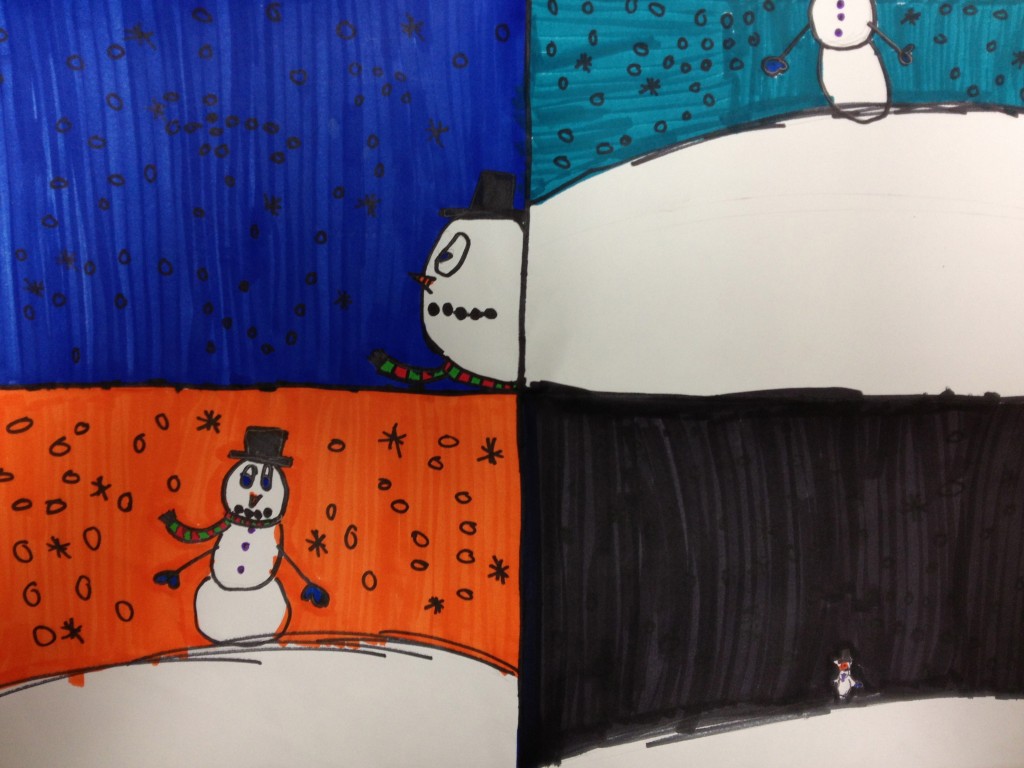
Third graders drew snowmen from four different points-of-view. Allow three 40-minutes classes.

Materials:

  • sketch paper
  • pencils and erasers
  • white construction paper, 12″x18″
  • Sharpie
  • viewfinders
  • colored markers, thin-tip and chisel-tip

Day 1:

We looked at all the student examples at Mrs. Knights’ blog. Students learned some new photography vocabulary to describe point-of-view:

  • zoom in/close up
  • zoom out
  • profile/side view
  • 3/4 view
  • viewfinder
  • crop

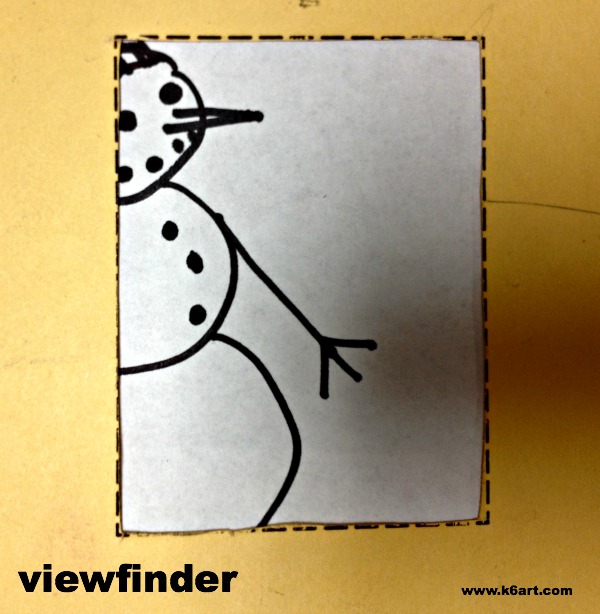
The third graders sketched their snowmen in all the points-of-view on a sheet of copy paper. Then they moved their viewfinders over the snowmen drawings to crop the picture.

snowman viewfinder

Days 2-3:

Students folded their white construction paper into quarters. Using pencil, they drew the snowmen from four different points-of-view, one in each quarter. They went over their lines with Sharpie, then erased.

Students had to pick a unique color  (or pattern) for each section. I modeled coloring with the markers, and emphasized neatness. This was a ‘no spaghetti’ (no scribbling) project. Some kids still need the reminder!

Third grade results:

snowmen snapshot

snowmen snapshots


This was a very successful project. I heard a couple of kids say they thought it was the best art project they ever did. Please check out Mrs. Knight’s fabulous post – her student examples are great.


Related Posts Plugin for WordPress, Blogger...