Printing with Modeling Clay

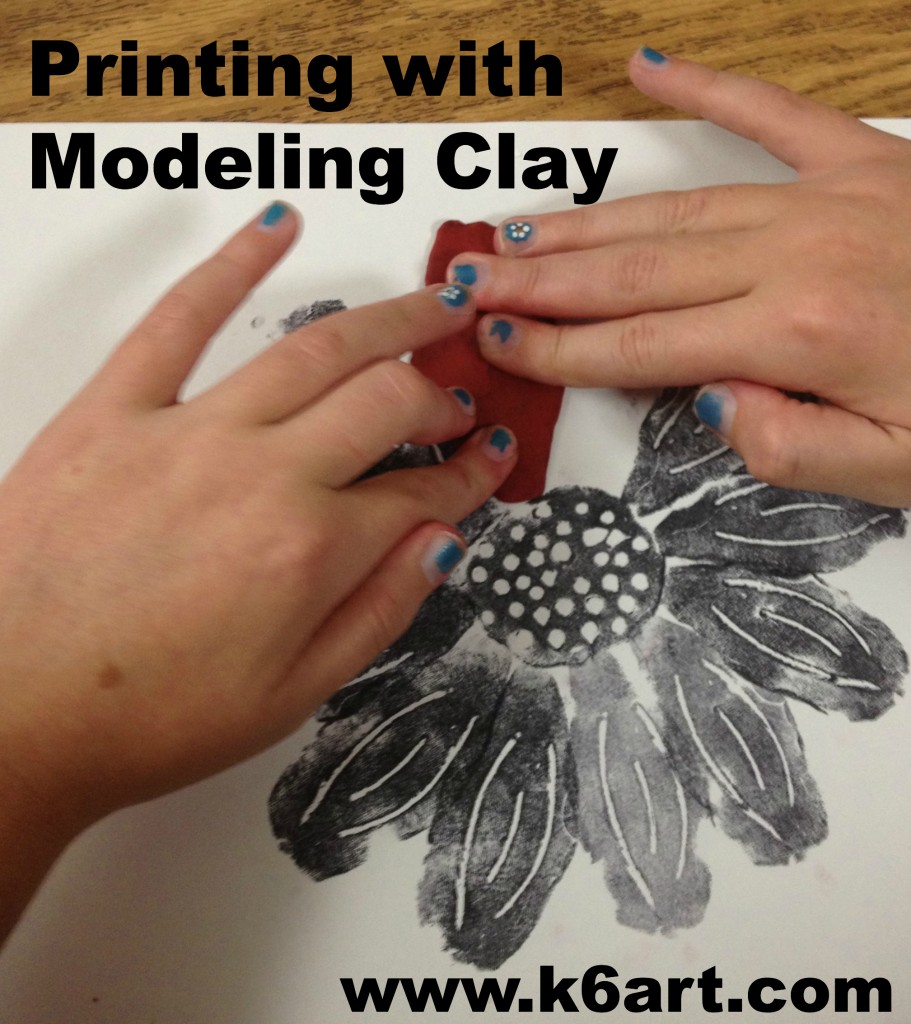
Would you like to try a creative printmaking project? Something inexpensive, that can be done quickly and easily with no fancy tools or equipment? Try printing with modeling clay. This brilliant lesson from the Filth Wizardry blog was a huge hit with our fourth graders.
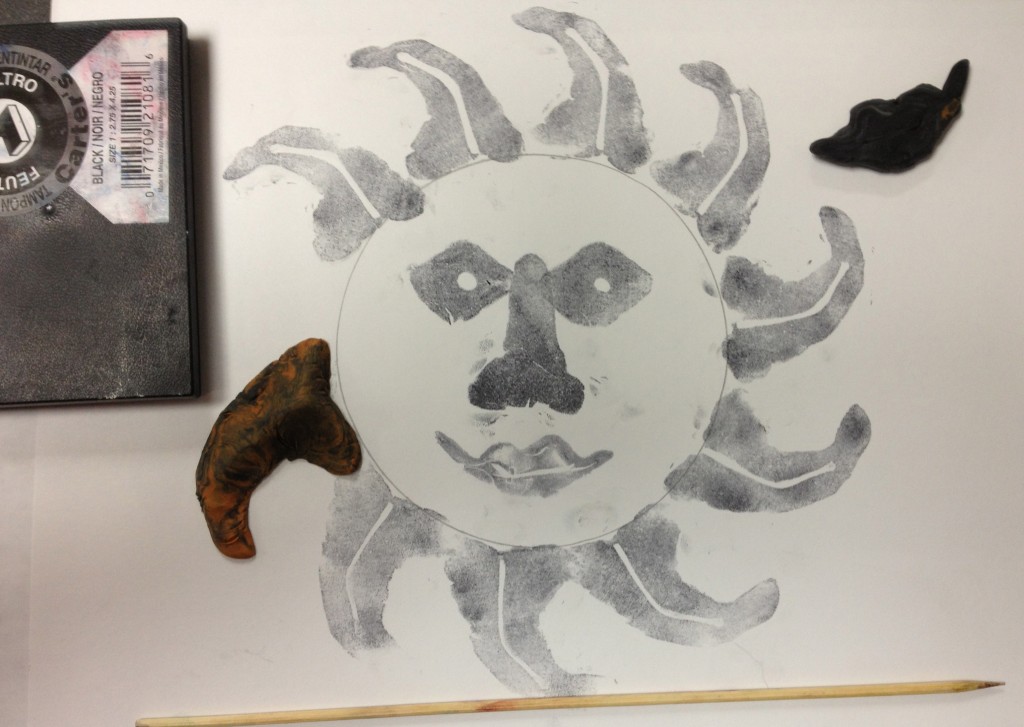
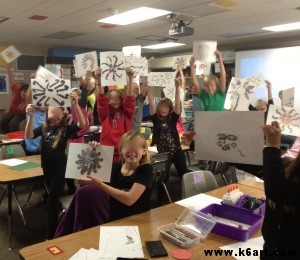
Students created printed suns or sunflowers using modeling clay and stamp pads. Allow 2-3 40-minutes sessions.

Materials:

  • Modeling Clay, AKA plasticine clay (note: I got a pack of 24 sticks of modeling clay at my local dollar store)
  • black stamp pads
  • bamboo skewers
  • paper
  • colored pencils
  • pencil and eraser
  • circle template
  • paper to cover table

Class 1: Experiment with modeling clay stamp printing

Our fourth graders began their printmaking project by experimenting with the clay stamp printing. They made a variety of marks on the clay, pressed the clay onto a black stamp pad, and printed on a piece of copy paper.

They printed clay coils and spirals. One boy took an imprint of the sole of his shoe and printed that! Another created a clay pretzel. They created clay hearts and alphabet letters. After a few prints, they smooshed the clay and started again. It was fabulously fun.

Clean up is easy. Since modeling clay never dries out and is reusable, we just placed the stamp pads, clay balls and skewers in our table bins until next class. We used baby wipes to clean the clay (but not all the ink!) off hands after class, then used the wipes to scrub any clay that might have got on the table.

Class 2: Print a sun or sunflower

We began the session by viewing a brief video of sun art  from CBS-TV Sunday Morning.

Student used the templates to trace a circle in the center of the paper. Then the fun began!
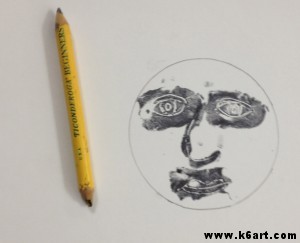
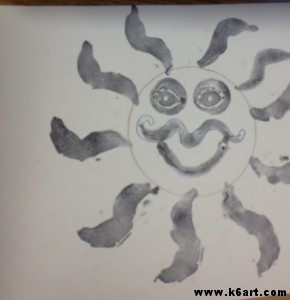
Begin by tracing a circle template. Then use the modeling clay to create individual facial feature stamps.

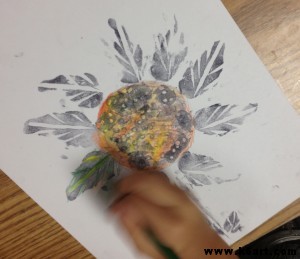
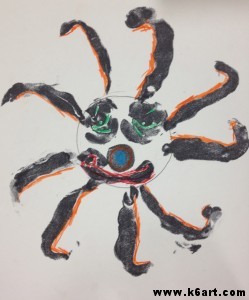
The fourth graders used the modeling clay to create facial feature stamps, sun beam stamps, petal and leaf stamps.

Fourth grade sun, printed and ready to color.

After printing, they colored their prints with colored pencils.

Coloring in a sunflower print with colored pencils.


Printed sun with colored pencil

Optional finishes:

Class 3:

Paint completed print with tempera cake:

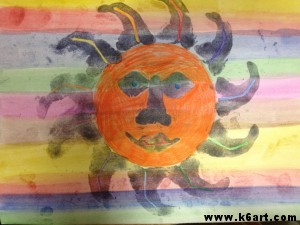
Completed prints can be painted immediately with cake tempera.

This example is printed with ink pad, colored with colored pencil, then immediately painted with tempera cake. The sheer paint looked great over the print but did not cover stray ink fingerprints. And some had A LOT of stray fingerprints.

If you want a clean look to ALL the finished artworks, you may want to have students cut out their colored work and mount to colored paper.

Have fun! Your students are guaranteed to love printing with modeling clay!

Thanks for visiting! Don’t forget to please vote for 2012 Art Ed Blog of the Year, which you can do by clicking this link and voting for K-6 Art! Voting open through December 14, 2012.

Art Ed Blog of the Year: The Golden State Bloggers

Jessica, from The Art of Education, was kind enough to let me know that K-6 Art is a finalist for Art Ed Blog of the Year.  I am so honored by this, especially when I see who the other finalists are.  I want to introduce you to some of the other art education blogs that are finalists.  If you are not reading these blogs, please do because they are incredible!!

Voting open through December 14, 2012.
Please vote for K-6 Art!

I’m starting off the list with California art ed bloggers. K-6 Art is written in San Diego…here are three more Golden State blogs:

  • Shine Brite Zamorano: If you are unfamiliar with Don’s blog, you are in for a surprise. Shine Brite Zamorano is unique: it features elementary art projects based on the work of contemporary artists and illustrators. Don often contacts these artists and shares his students’ work with them.
  • Deep Space Sparkle: Patty’s DSS blog is the go-to blog in the elementary art ed world, with good reason. She has an incredible number of colorful, successful art projects on her site. I’ve even purchased one of her top-notch eBooks. You may not know that Patty writes excellent art room organization and art show posts as well.
  • Teach Kids Art: Cheryl’s blog has a huge variety of lesson plans for grades K-8, all helpfully photographed step-by-step. I taught TKA’s op-art lesson to our 4th grade last year with great success.


Please vote for K-6 Art at this link. You may vote for multiple blogs, but you may only vote once. Voting closes December 14, 2012.

Thanks for your support!

K-6 Art Nominated for 2012 Art Ed Blog of the Year! Please Vote!

Wow! I am so thrilled to be nominated! I just received notice from the fabulous Art of Education blog that my year-old blog has been nominated for this award. Please vote at this link!


Please vote for K-6 art!

This is an incredible surprise. The other nominees on the list ARE AMAZING and I am shocked and delighted to even be on the same nominations list as they are. While you are on the Art of Ed site, please check out the other blogs on the list – they are truly inspirational.

A huge thank you to

  • my students – your art was so beautiful I had to share it with the world
  • my colleagues – I couldn’t ask for a better group of intelligent and passionate teachers
  • our parent volunteers – you make our art program run so smoothly
  • our school PTO – for fully funding our art program
  • the art education blog community – you have enriched our program by sharing ideas and support

Hurray!


How to Make a Calder Mobile

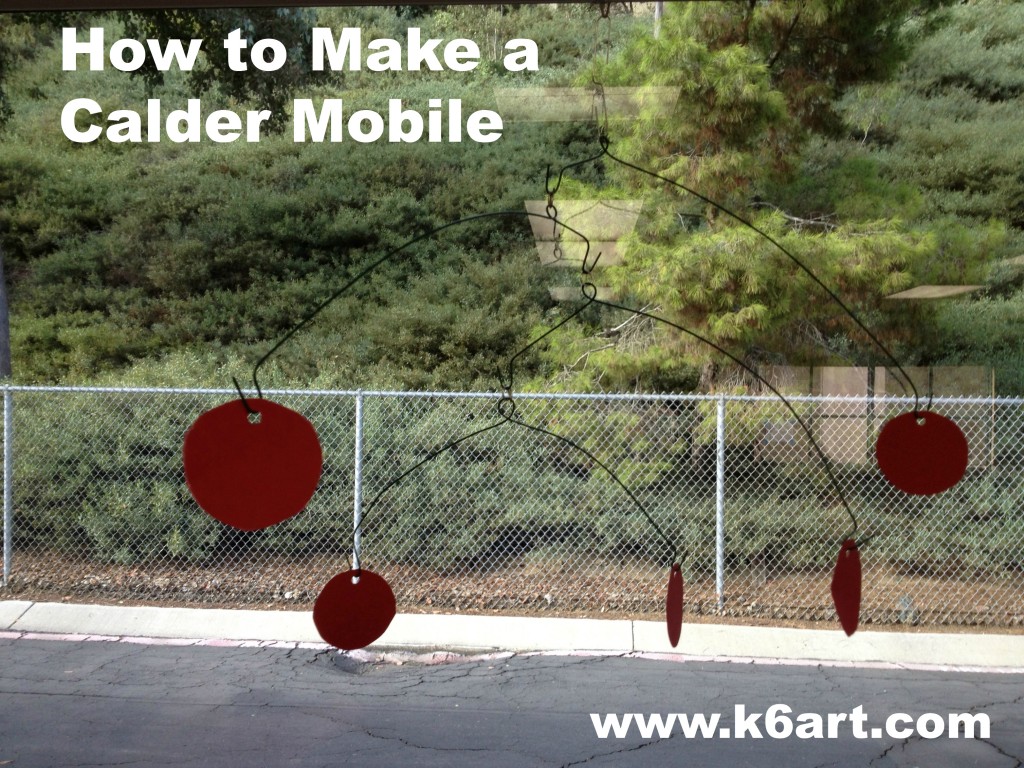
I love Alexander Calder! I teach a Calder wire project each year, but I have never successfully made a Calder-inspired mobile. Until now!

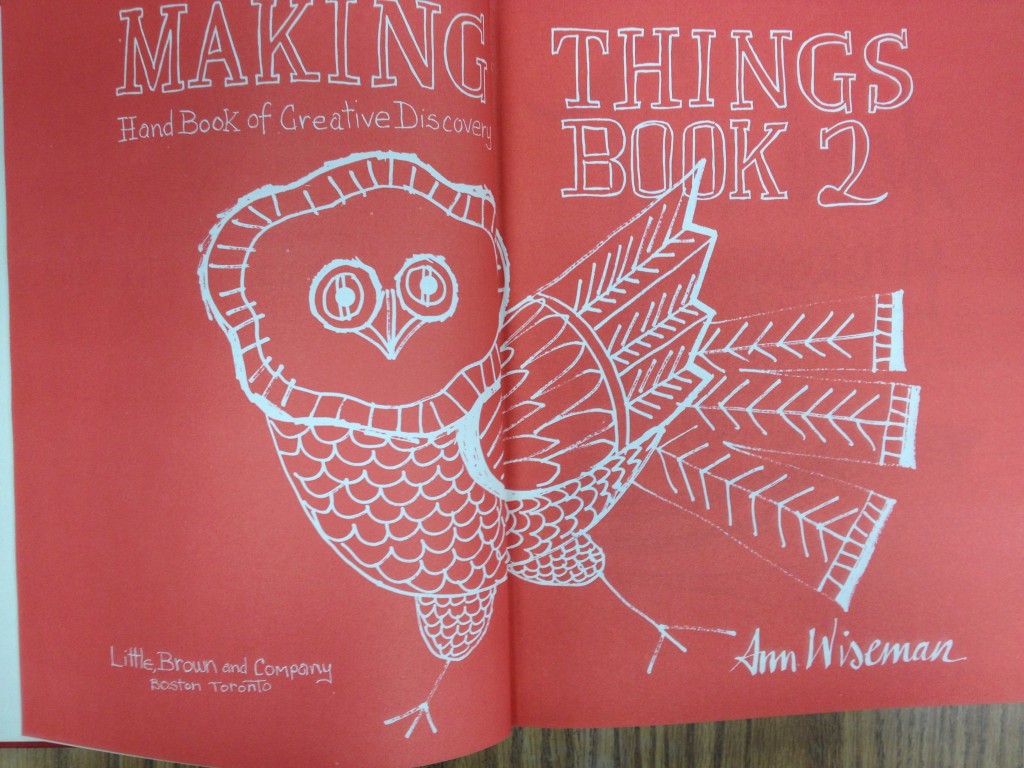
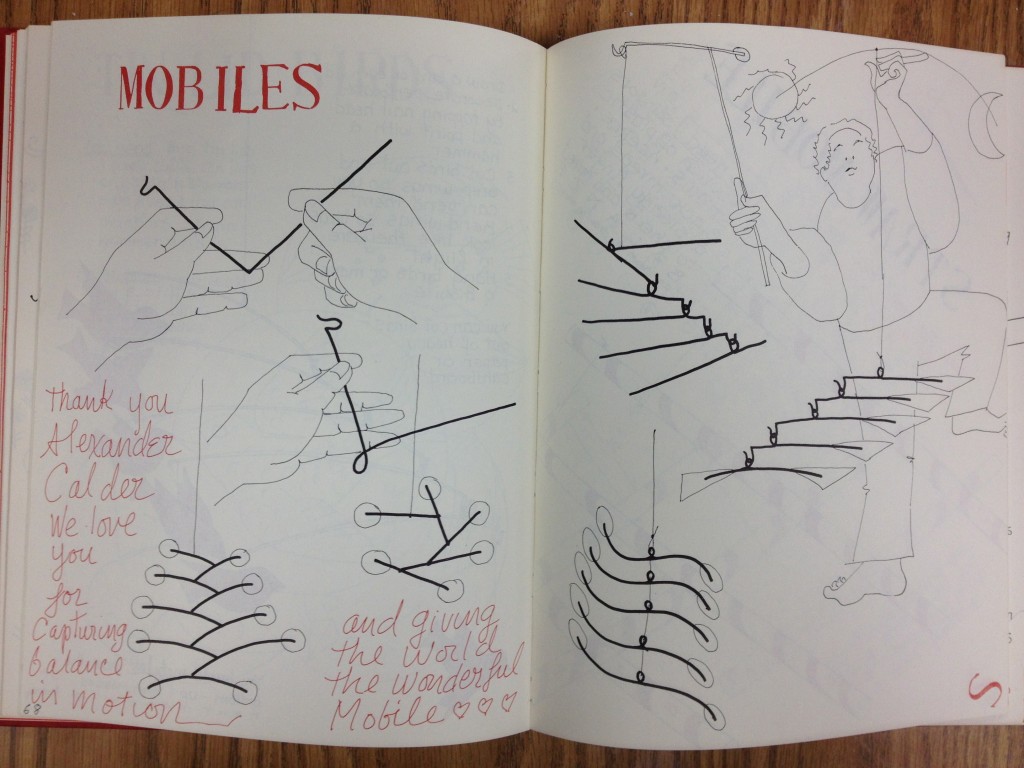
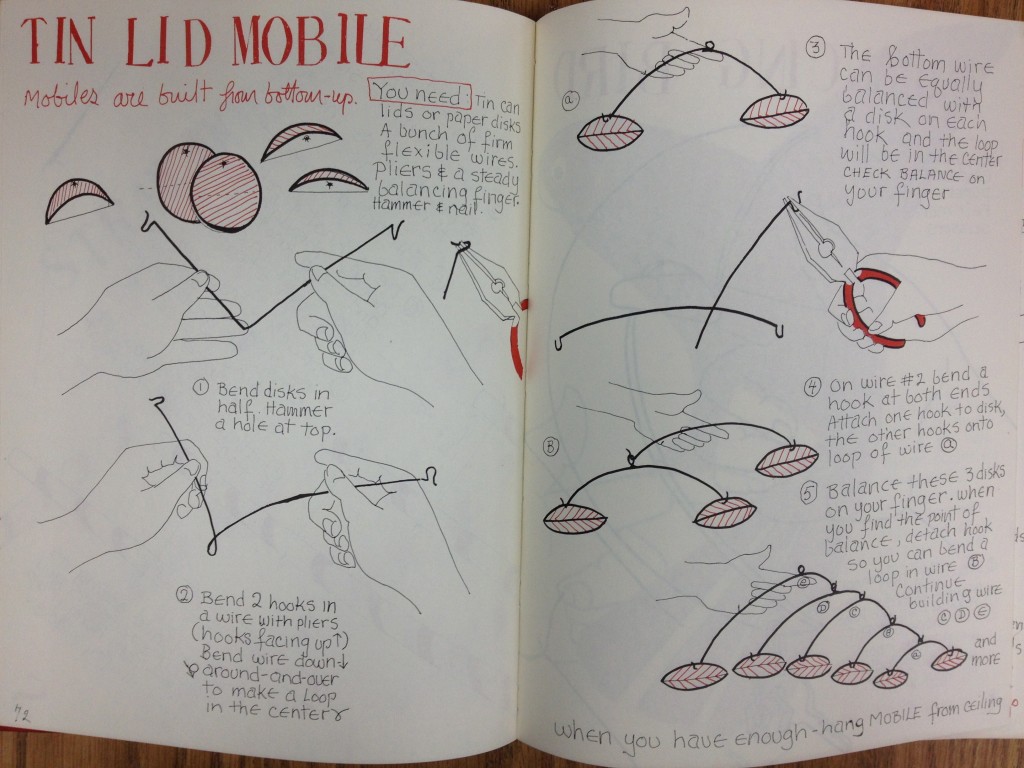
I recently received this 1975 edition of Making Things: Book 2. The Handbook of Creative Discovery by Ann Wiseman. Inside this gloriously illustrated book I found these  instructions for making Calder mobiles:

Making Things Book 2 – Handbook of Creative Discovery by Ann Wiseman. ISBN-10: 0316948519


Easy to follow step by step illustrations for a variety of mobiles


I decided to test it out with items I had on hand in the art room.

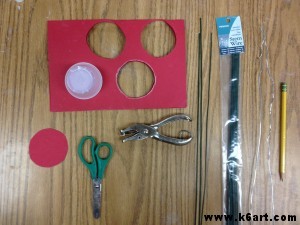
Materials for first mobile:

  • 18-inch pre-cut Stem Wire (AKA floral wire) 20 gauge
  • construction paper
  • scissors
  • hole punch
  • pliers (note: I didn’t have any pliers so I just did this with my hands)
  • AND A BALANCING FINGER 🙂


Materials for making a simple Calder-inspired mobile


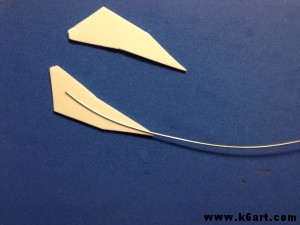
Ms. Wiseman tells us mobiles are built from the bottom up. Aha!

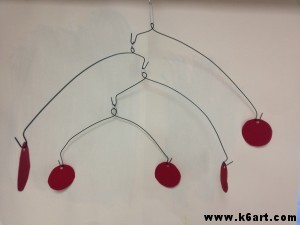
Success! A 4-tier mobile!

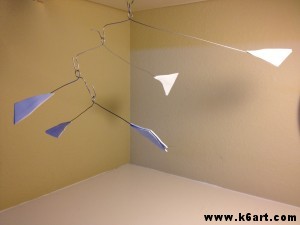
Now for my second mobile. I made this mobile using Ann Wiseman’s illustrations and Peel & Stick Foam Sheets.

Calder-inspired mobile made with wire and self-adhesive craft foam.

To add interesting organic shapes, sandwich wires between matching pieces of self-adhesive craft foam.

If you choose to make these multiple tier wire mobiles, try it yourself first, be patient, and expect a lot trial and error. Balancing those wires is tricky and takes practice. I think these projects would be great for middle and high school students.

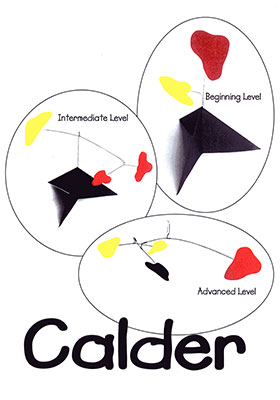
If you want to try this with a whole class of upper elementary students, I would keep it simple. Stick with one or two wires. Check out this project from Meet the Masters. I like how they have three degrees of difficulty and incorporate a stabile as a base.

Illustration from Meet the Masters website.


Here are some more ideas for Calder mobiles for kids:

If you love Calder, you might like my previous Calder posts:

Enjoy!

Have you ever made a mobile with your students? 

———————————————————————————-

Note: This post contains affiliate links.

Note: post updated 12/30/13

Related Posts Plugin for WordPress, Blogger...