After creating chalk pastel stencil art with multiple classes last week I had a lot of colorful used stencils. I sprayed them with fixative (Aqua Net unscented hairspray) and glued them to construction paper.
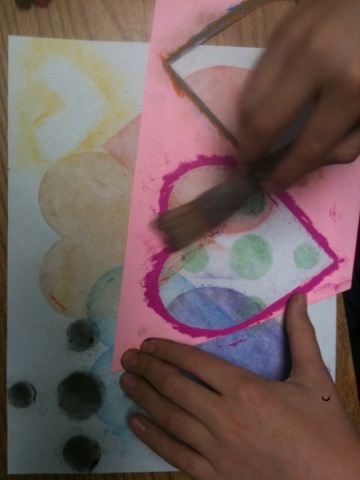
Students outlines stencil opening with chalk pastel and brushes color inward.
Used die-cut and hand-cut stencils make another kind of Valentine.
Which is more beautiful- stencil art or used stencil art? I can’t decide…Happy Valentine’s Day!
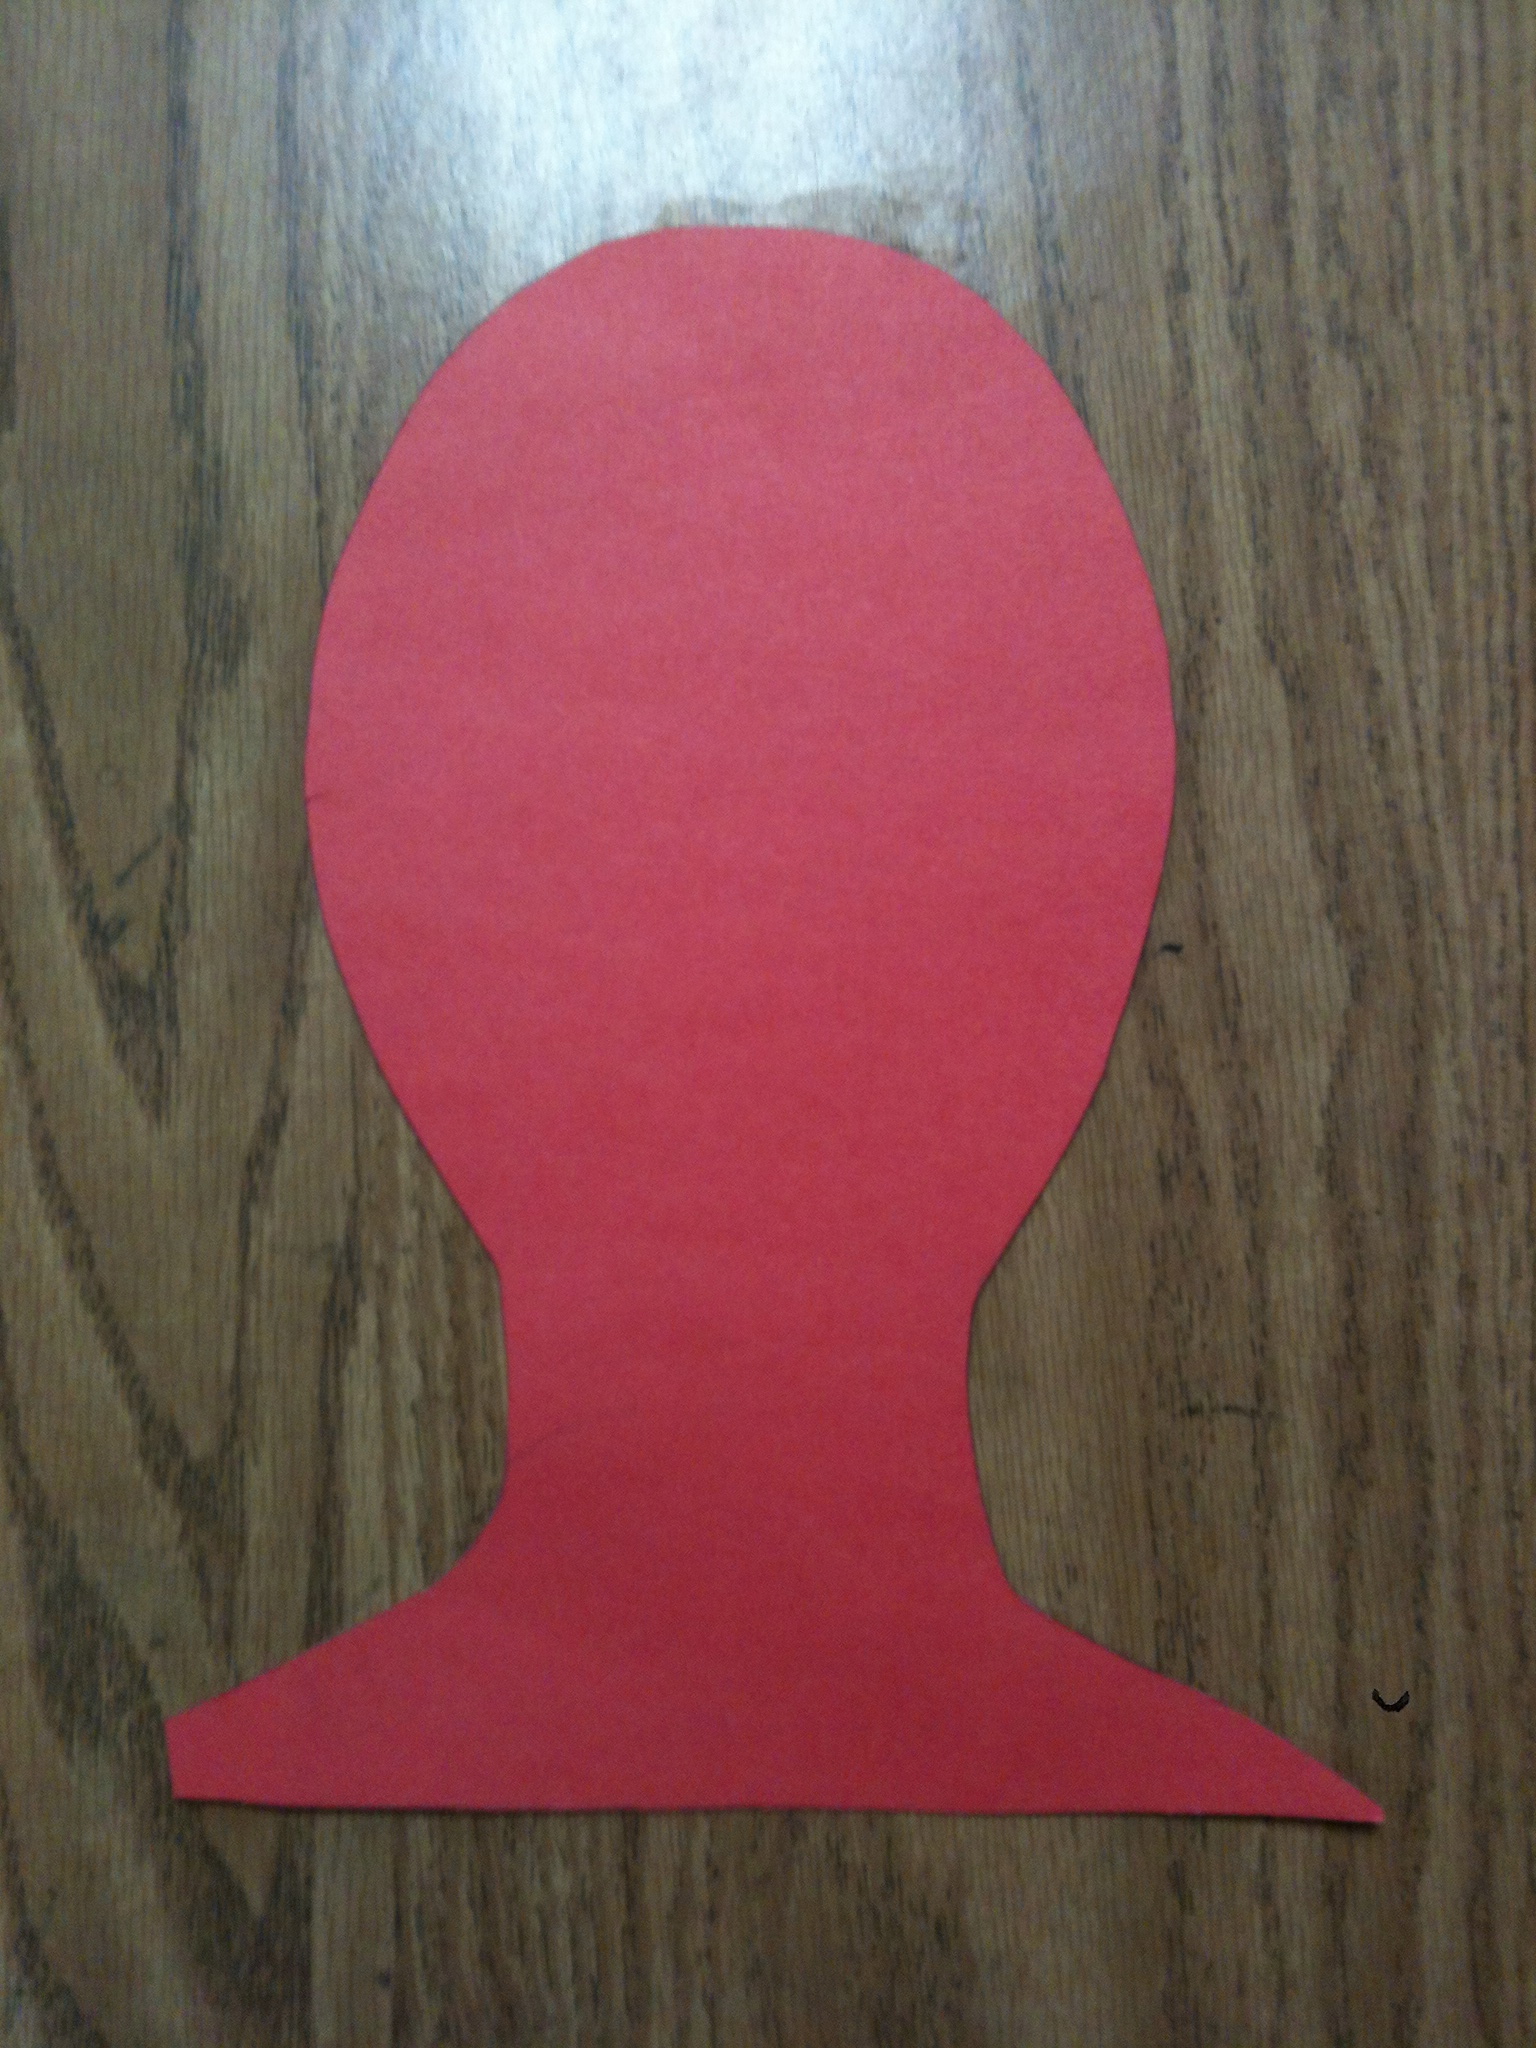
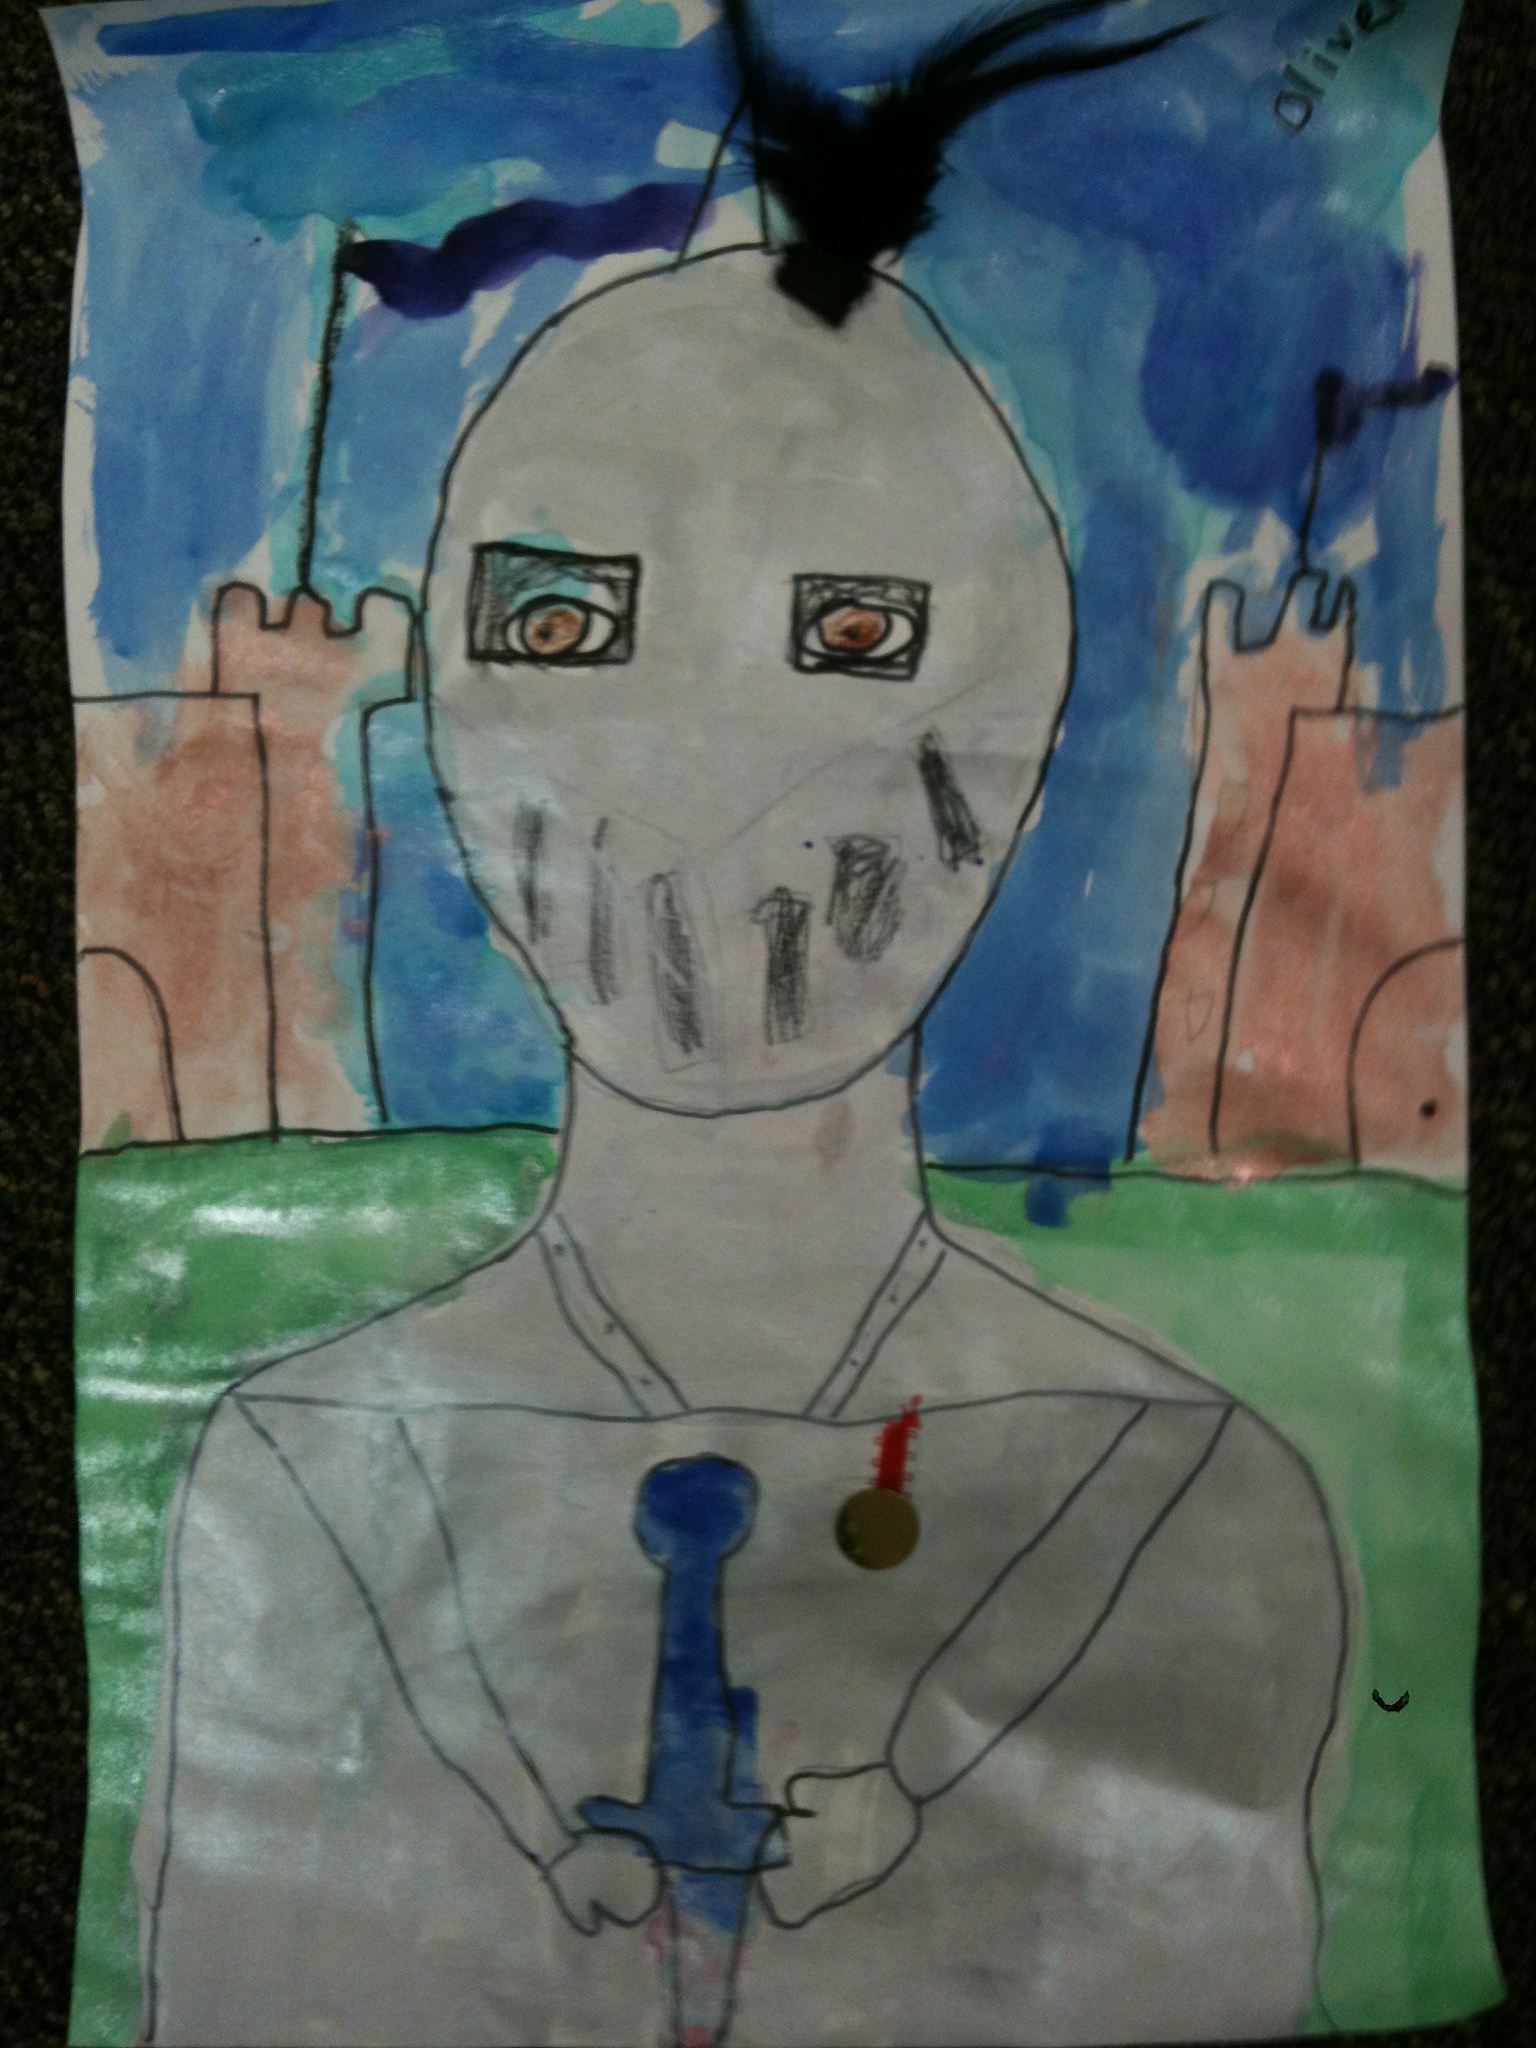
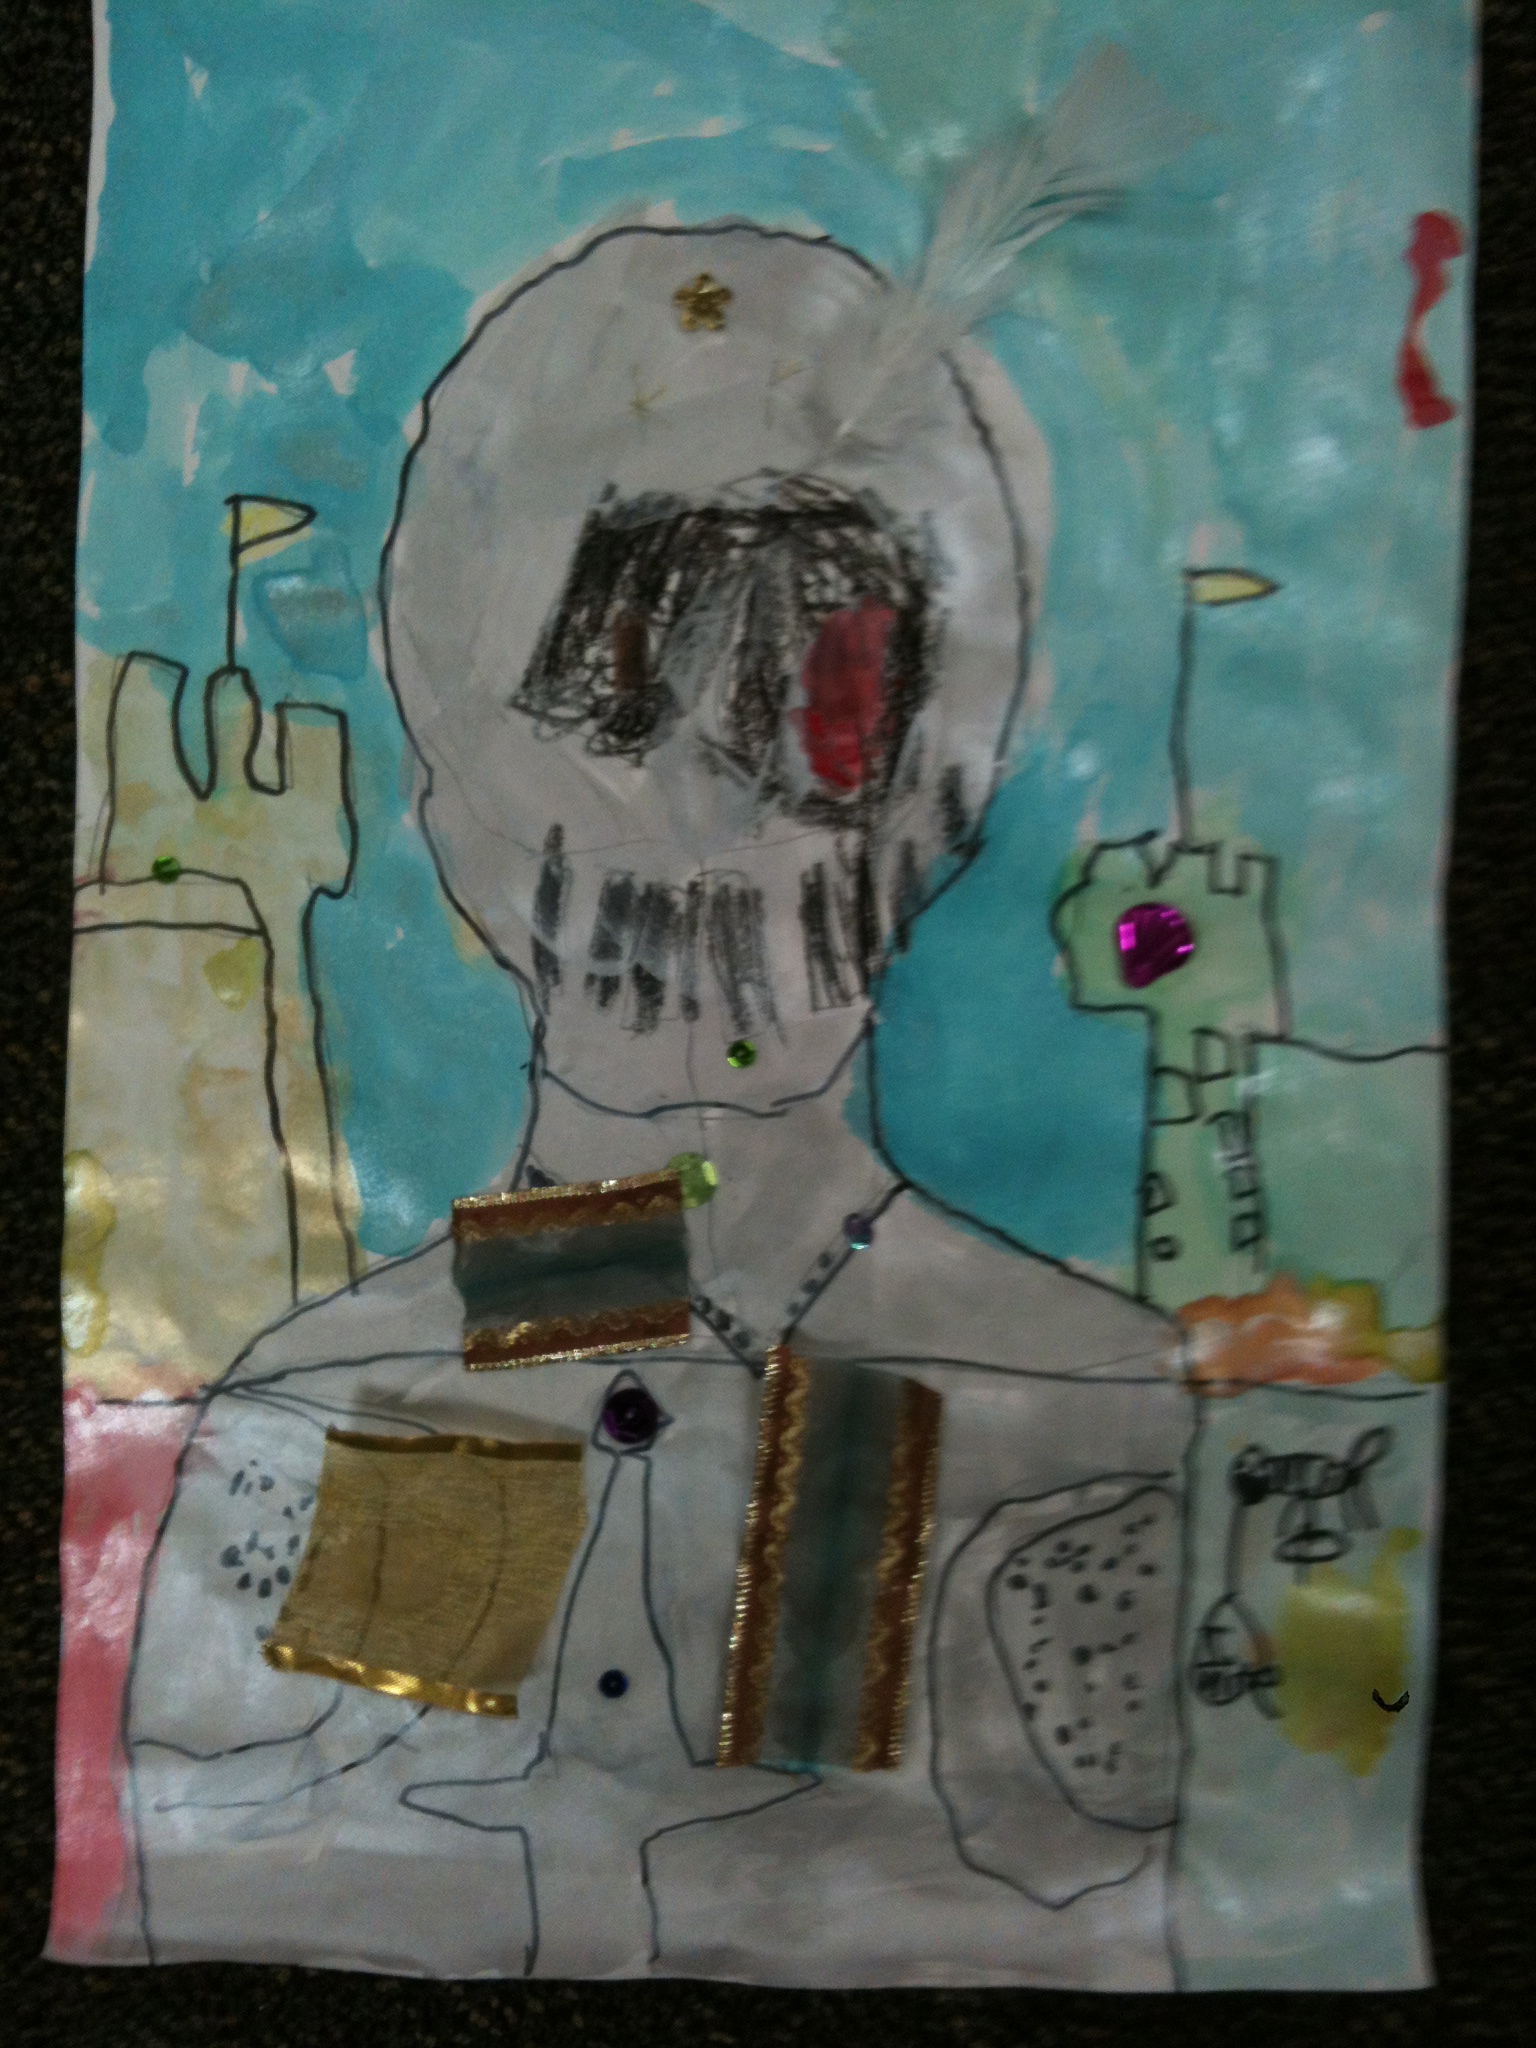
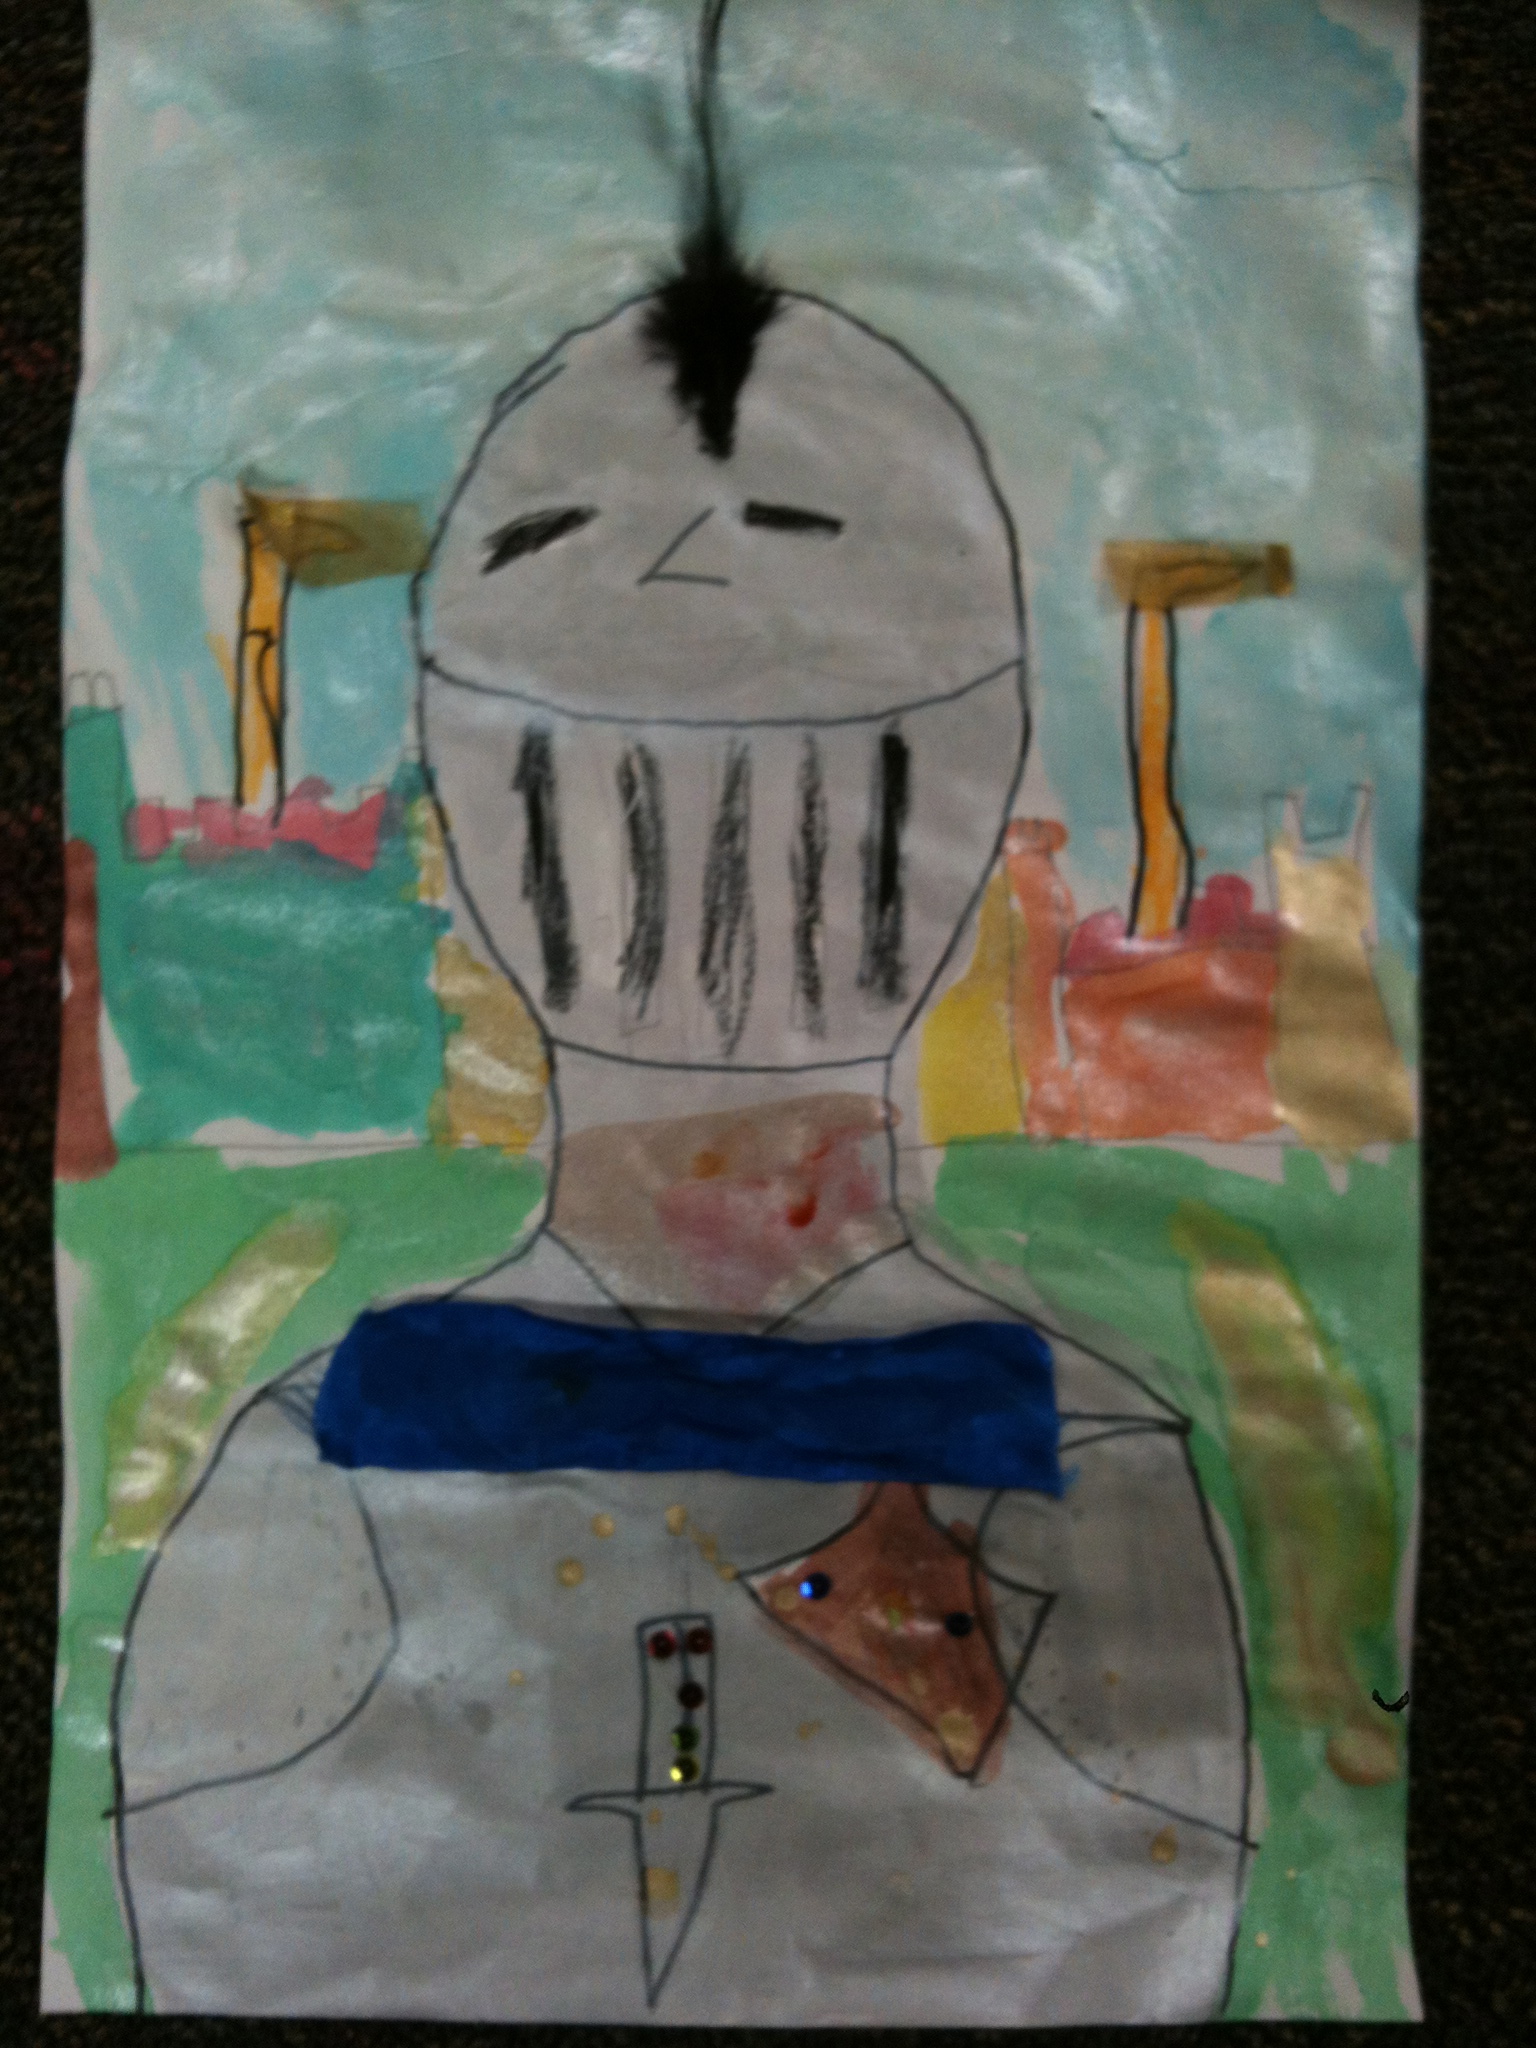
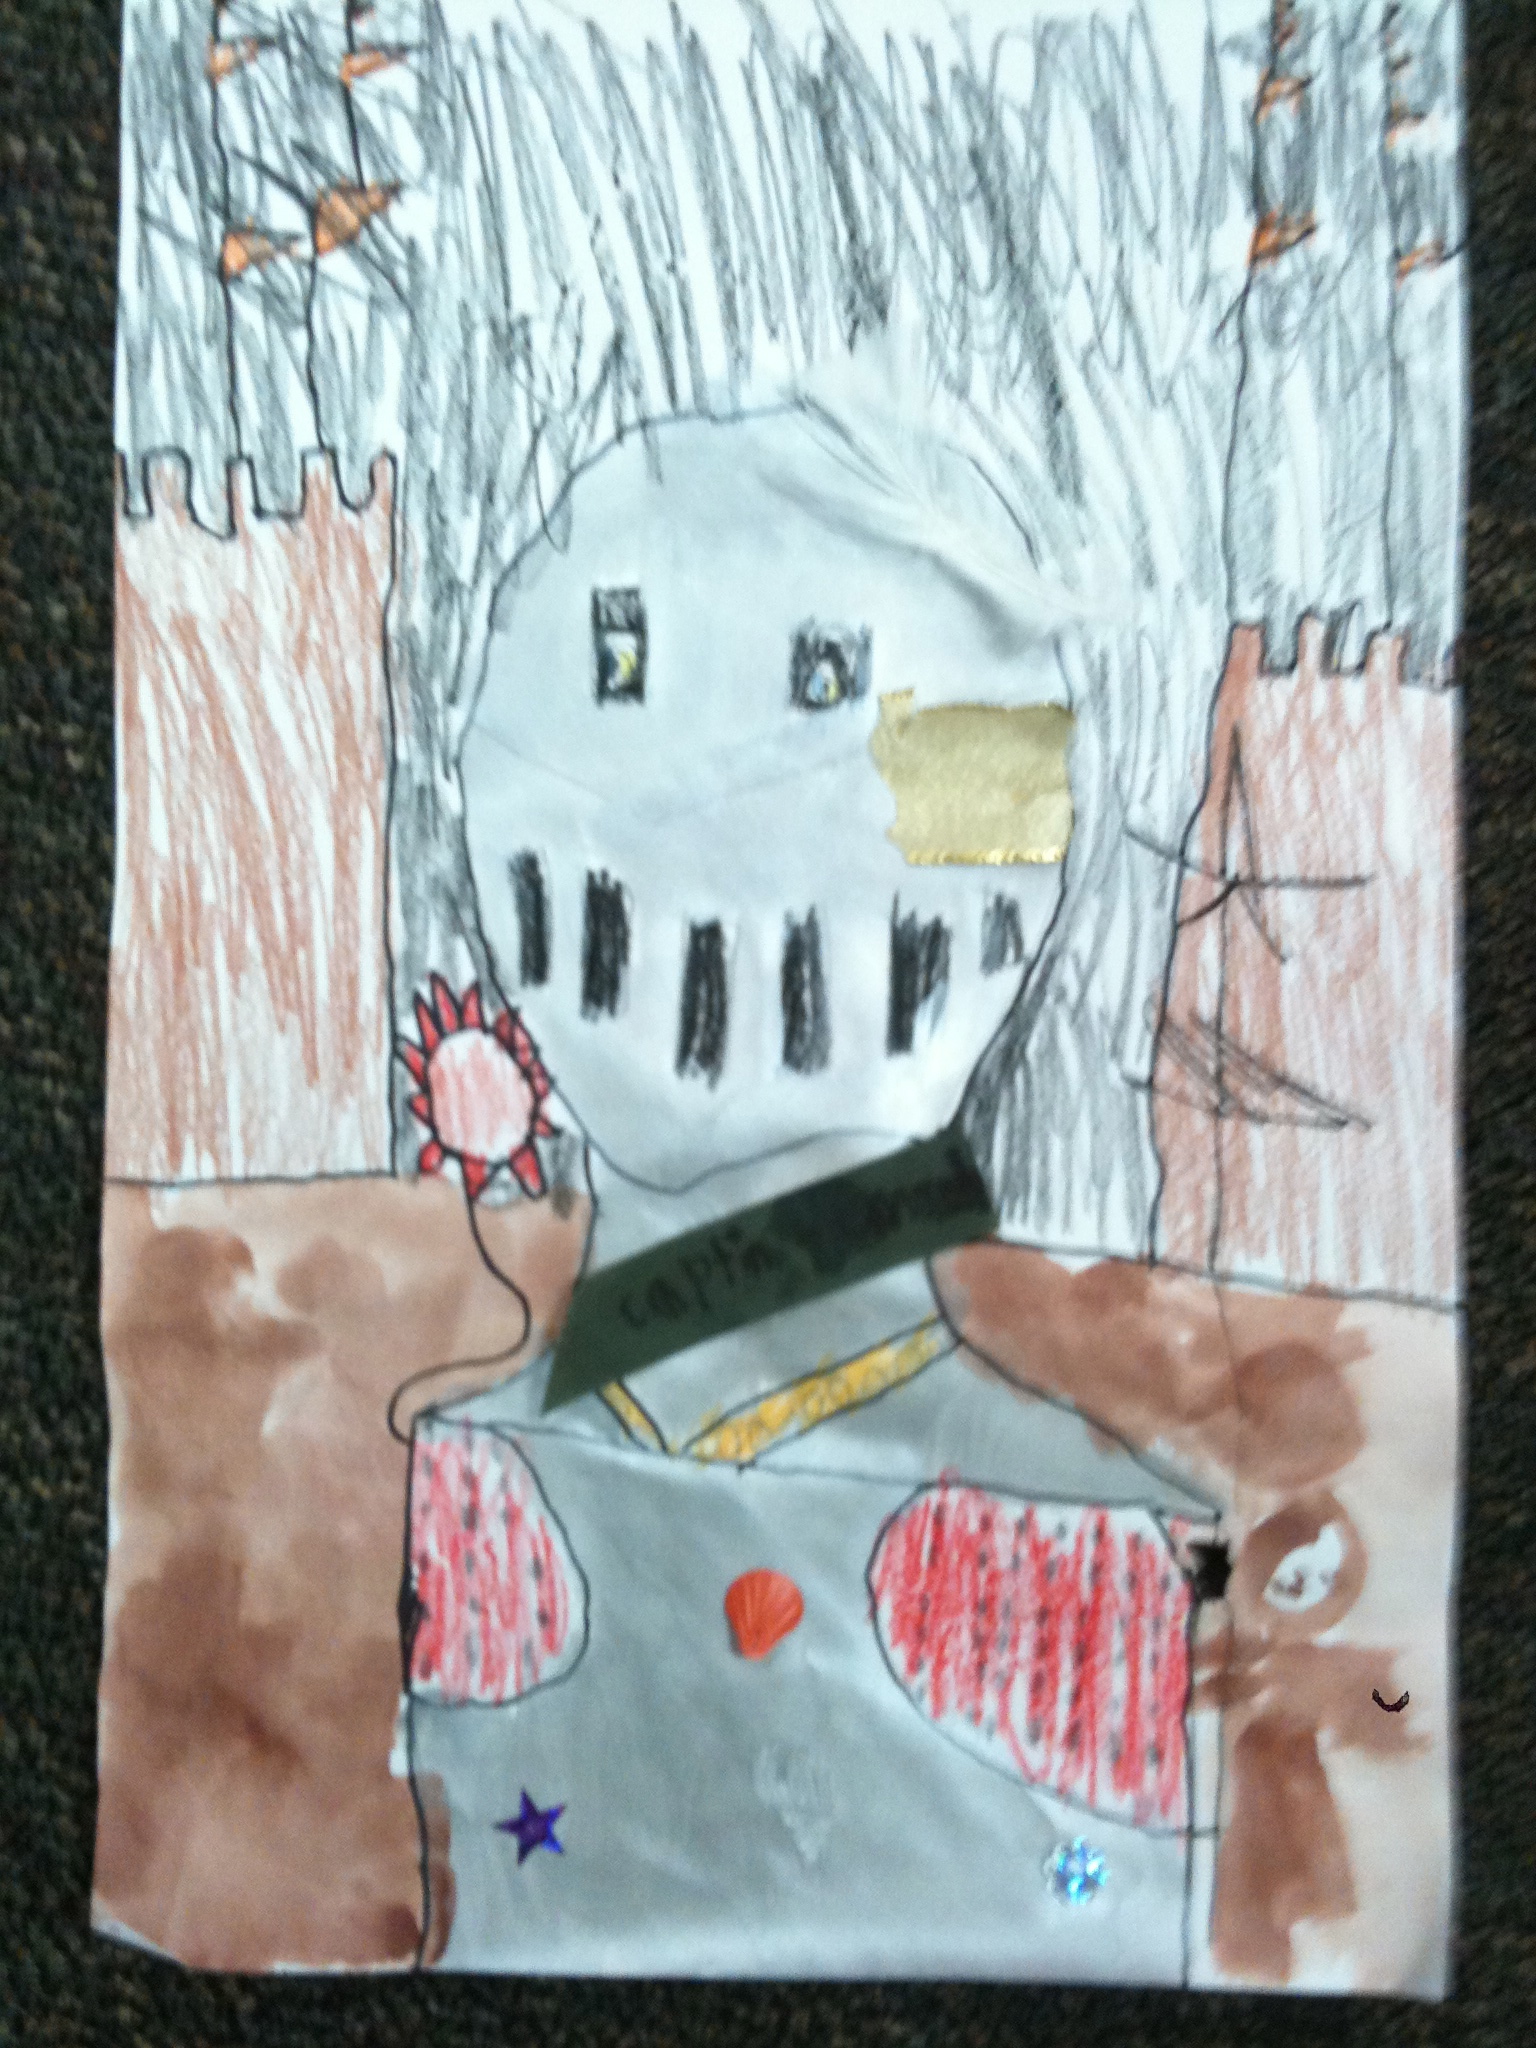
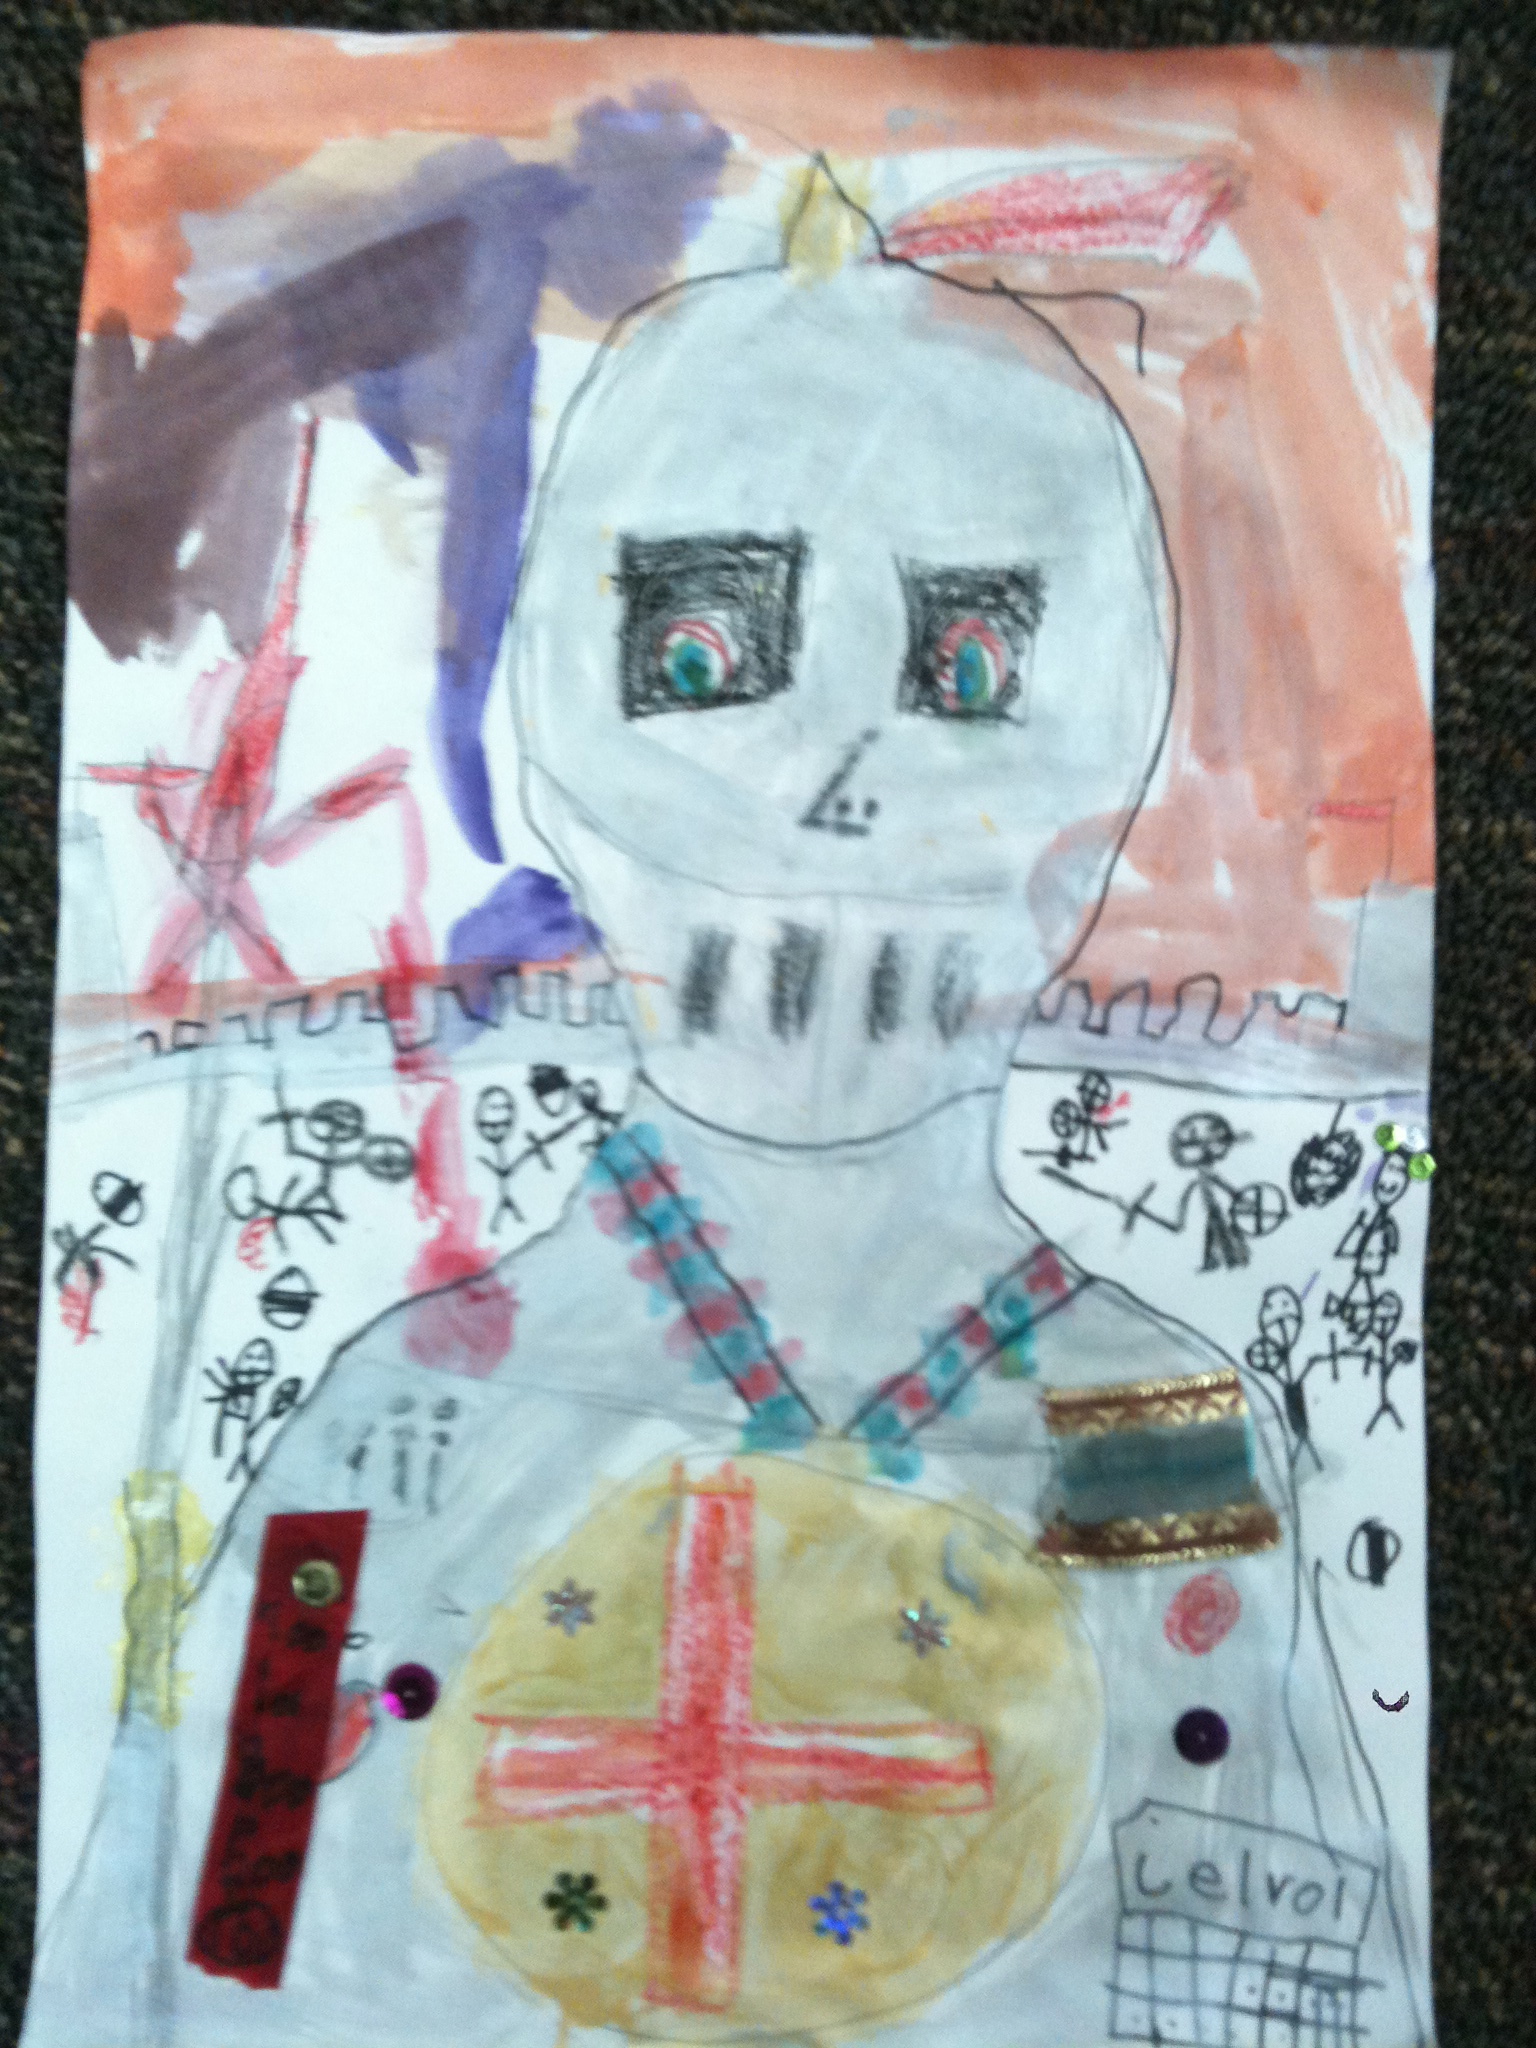
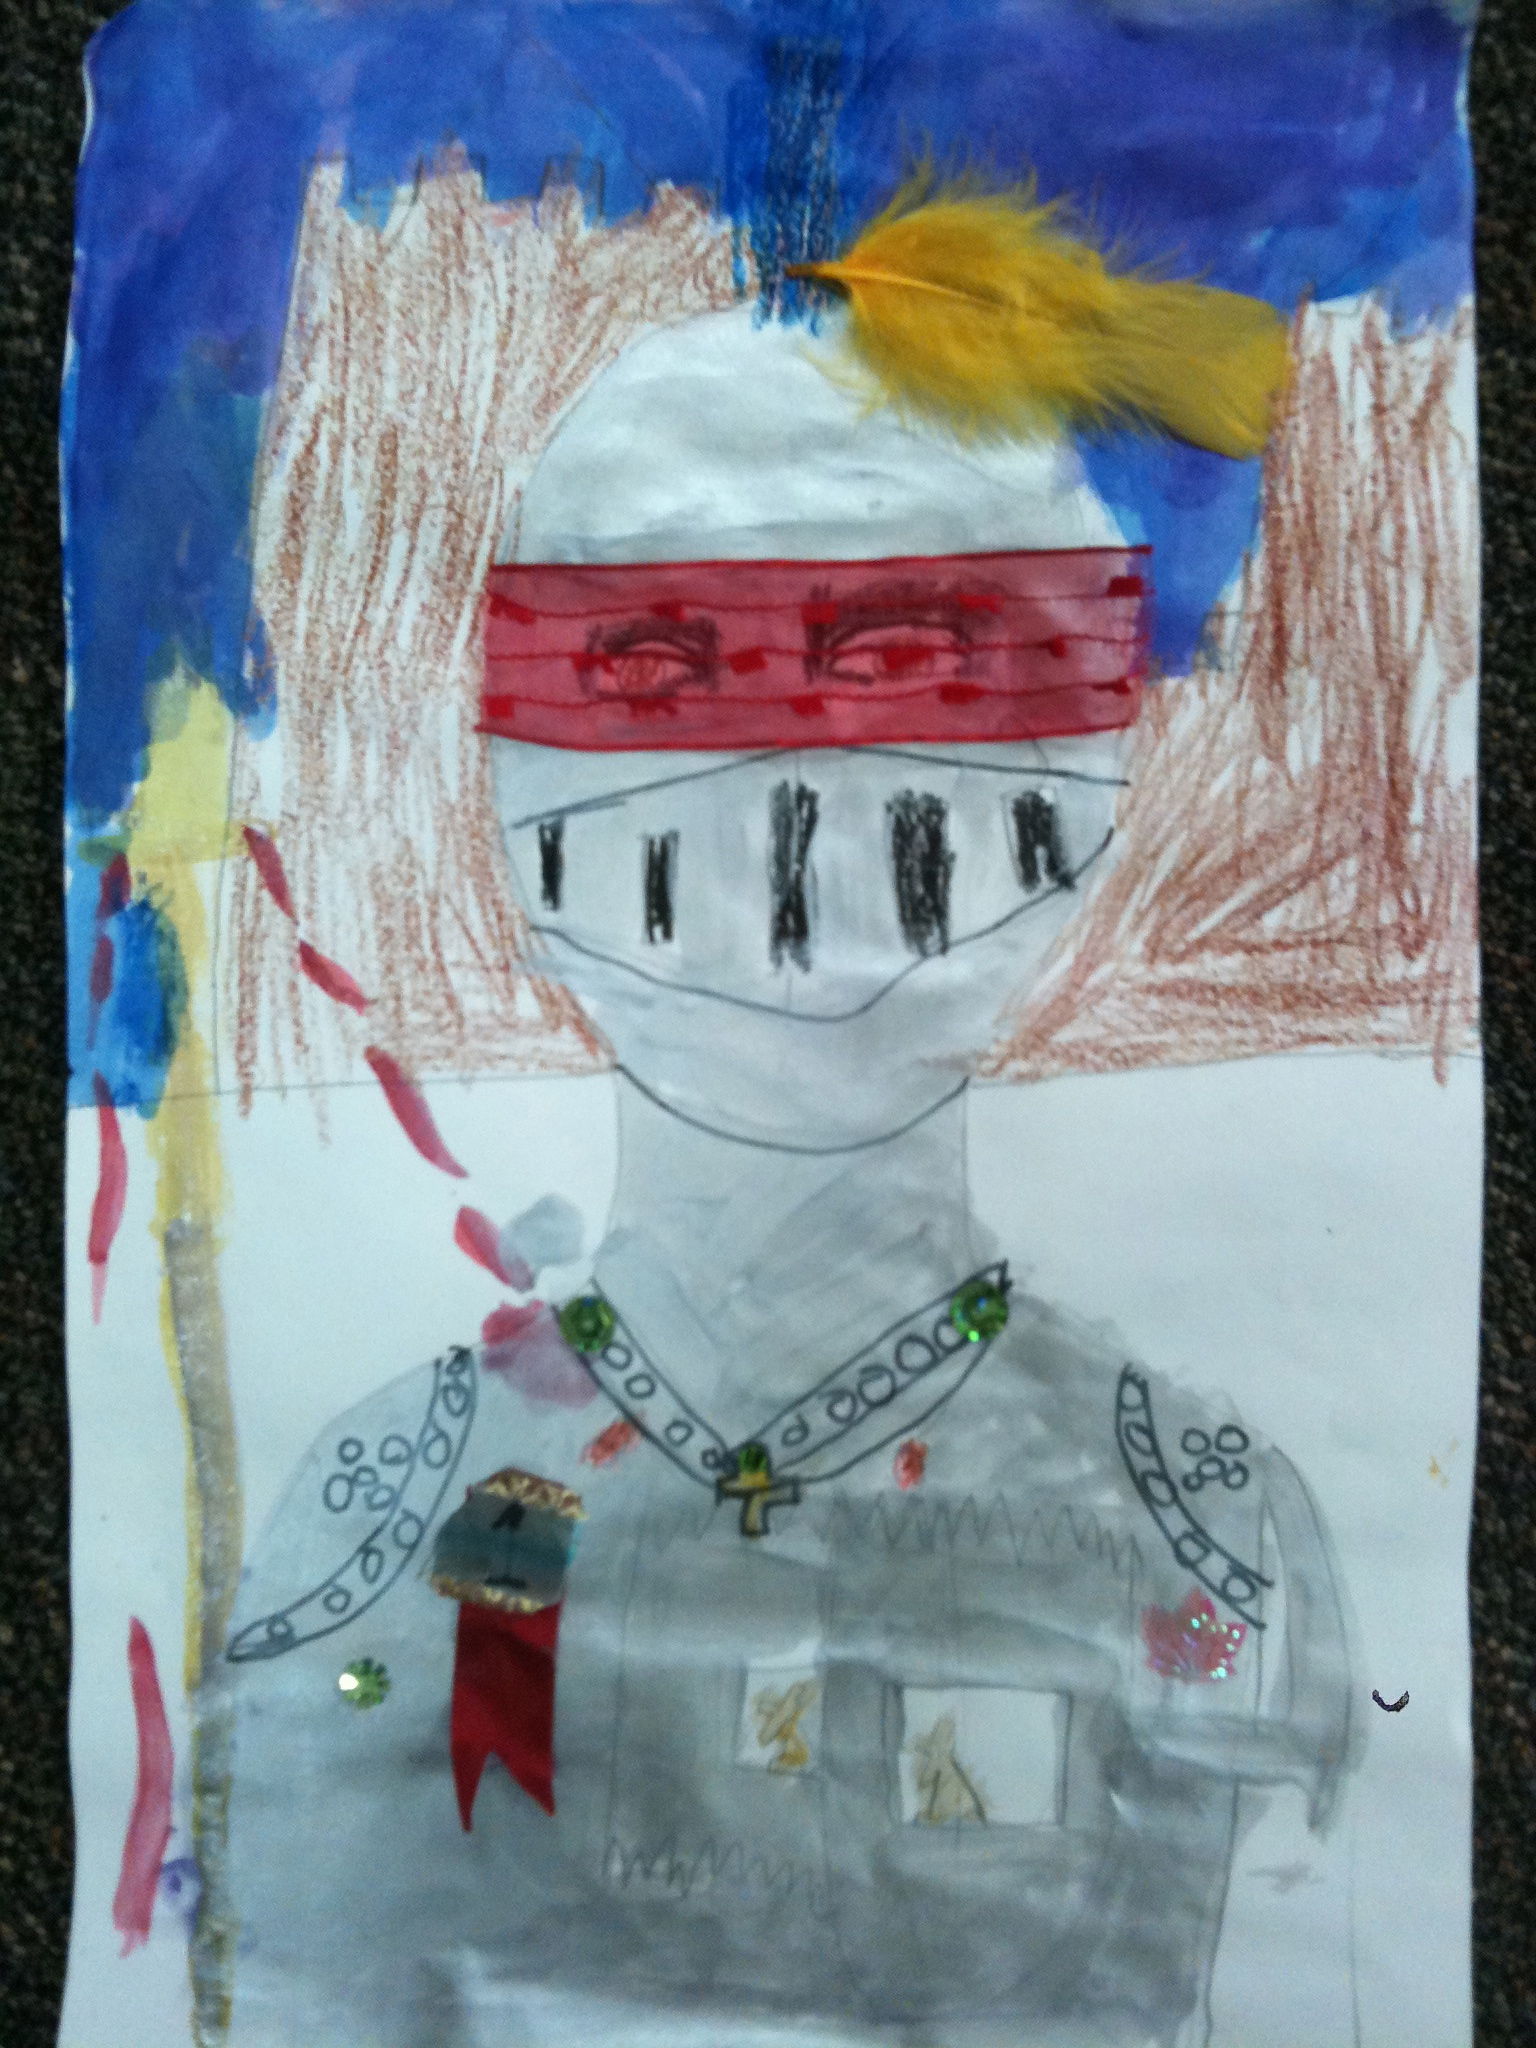
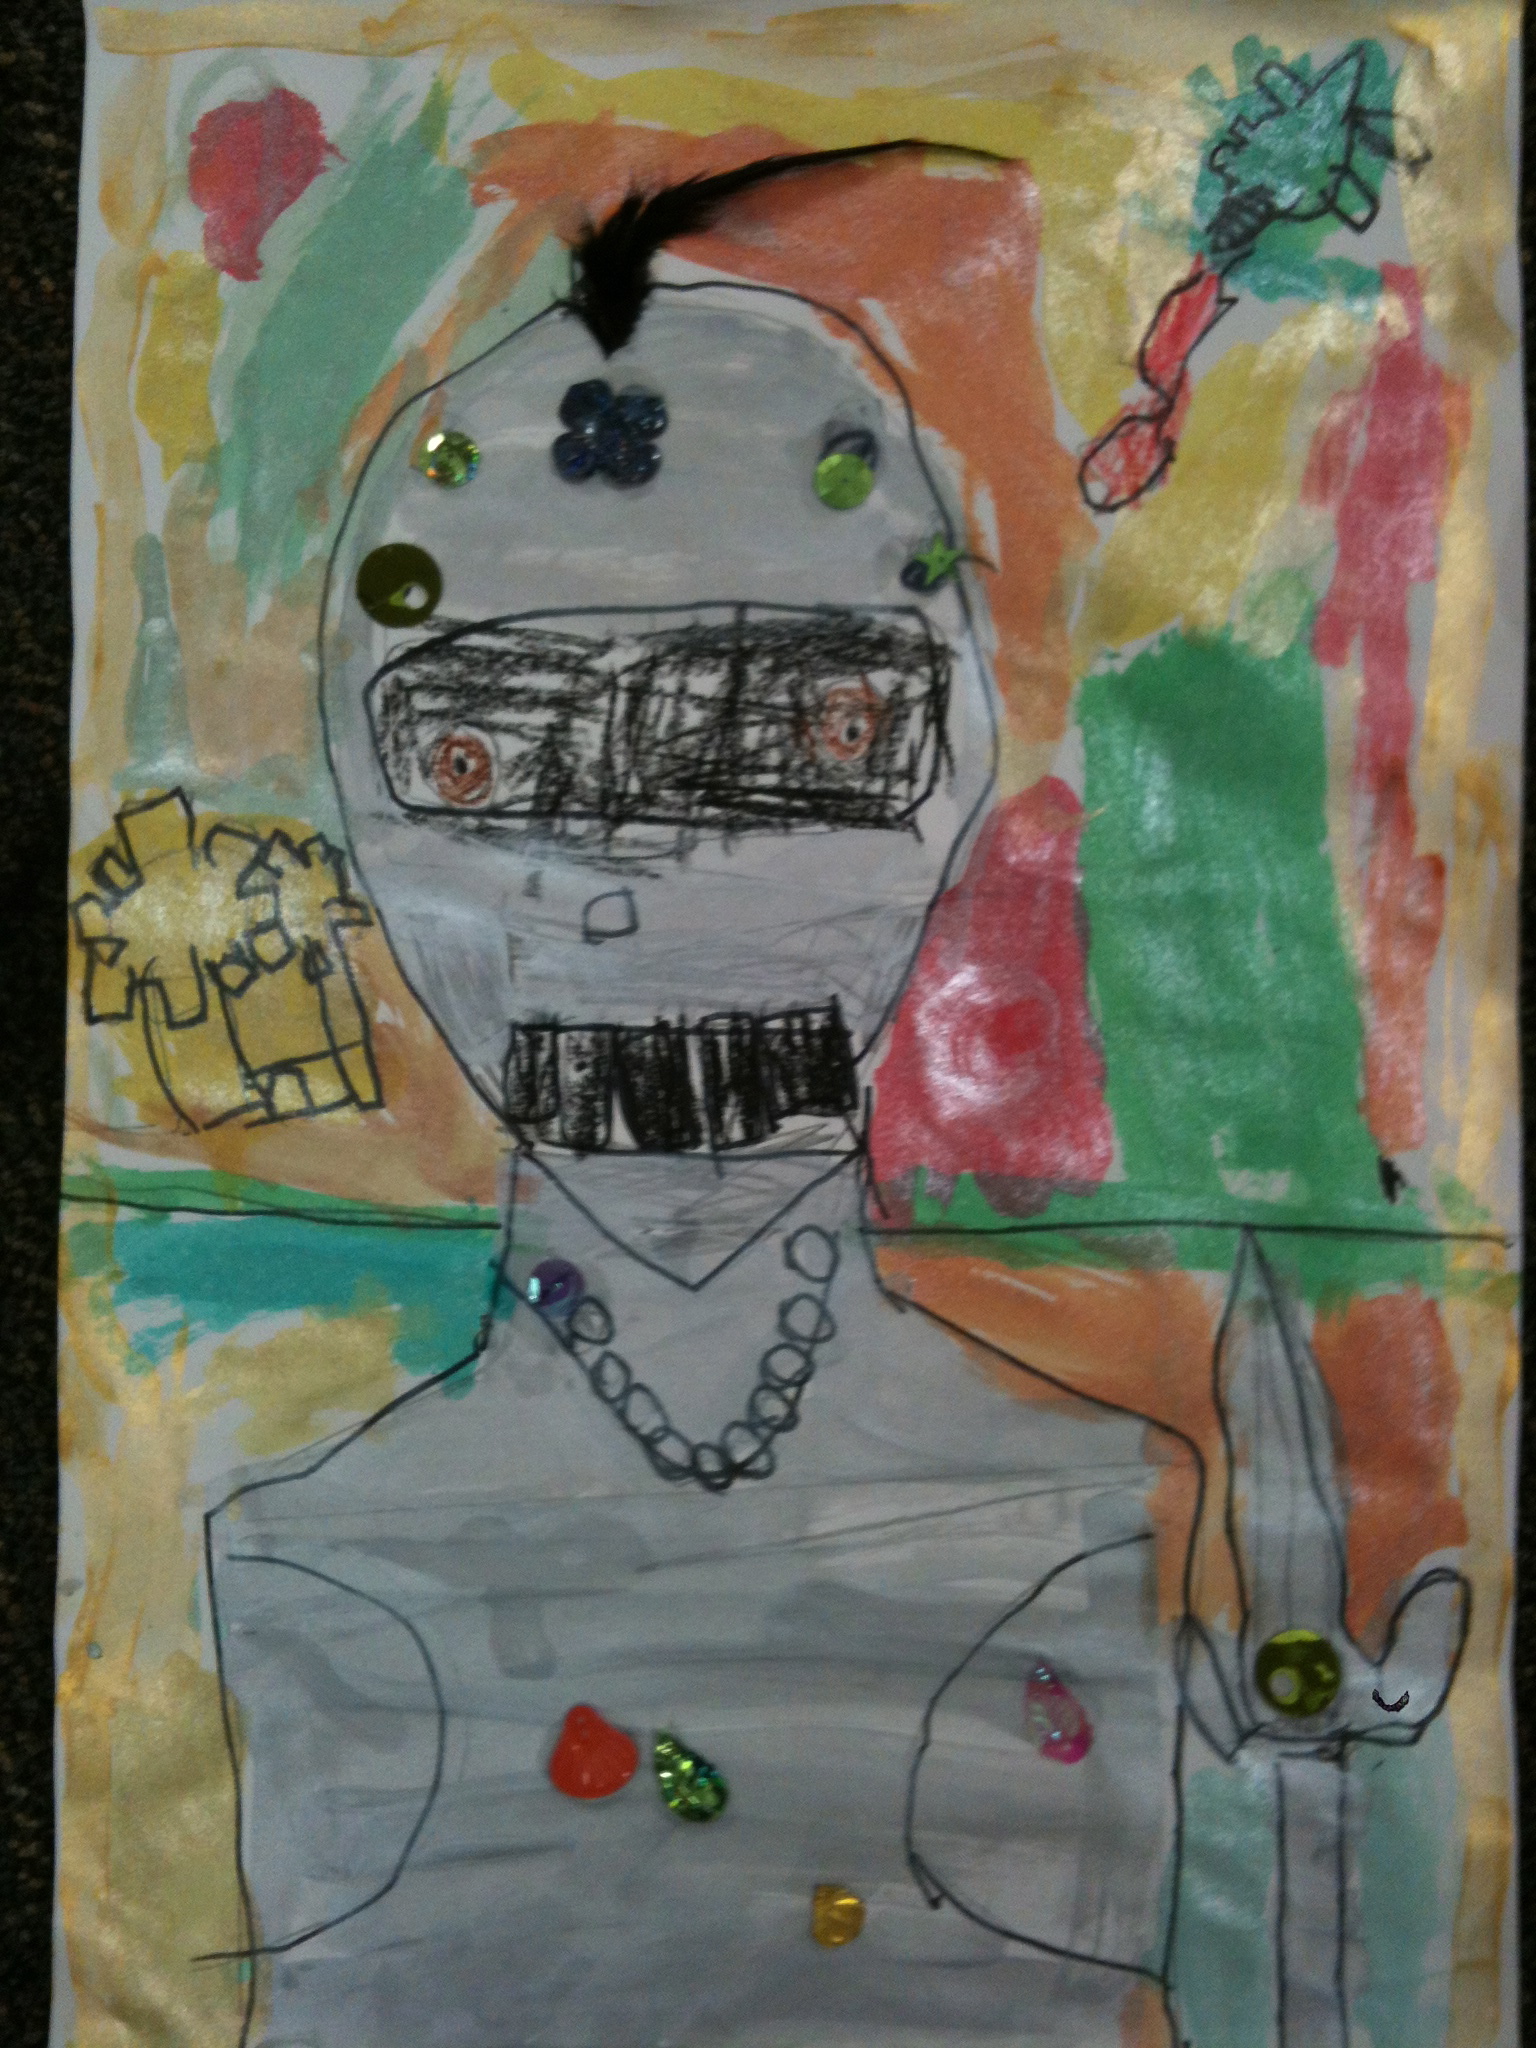
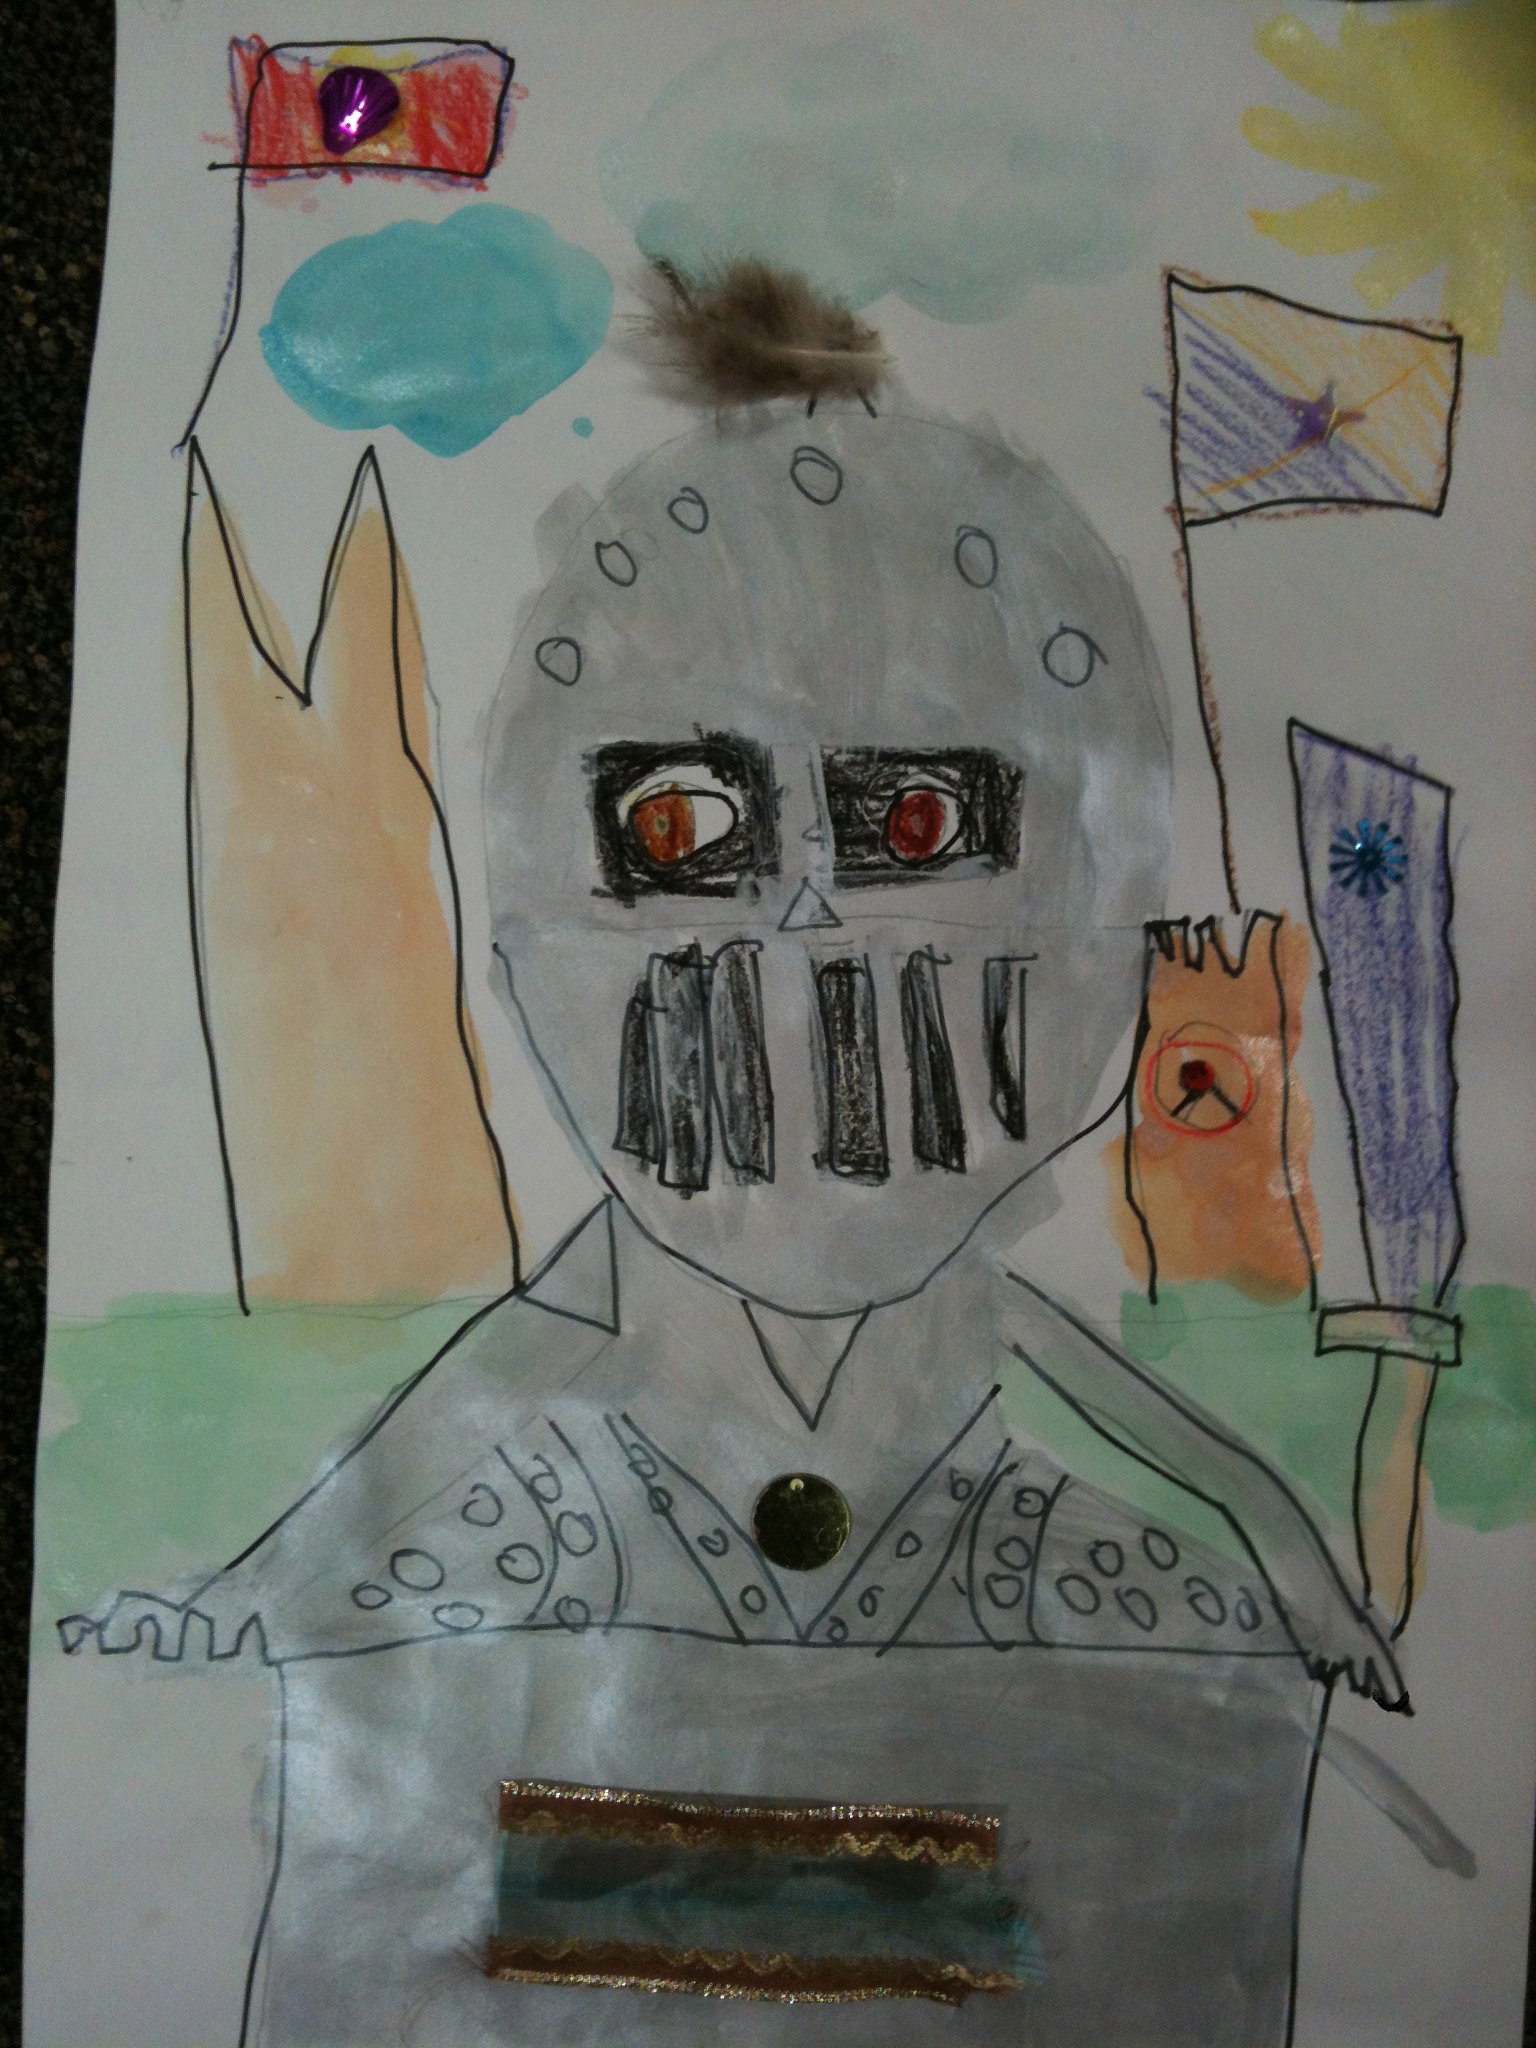
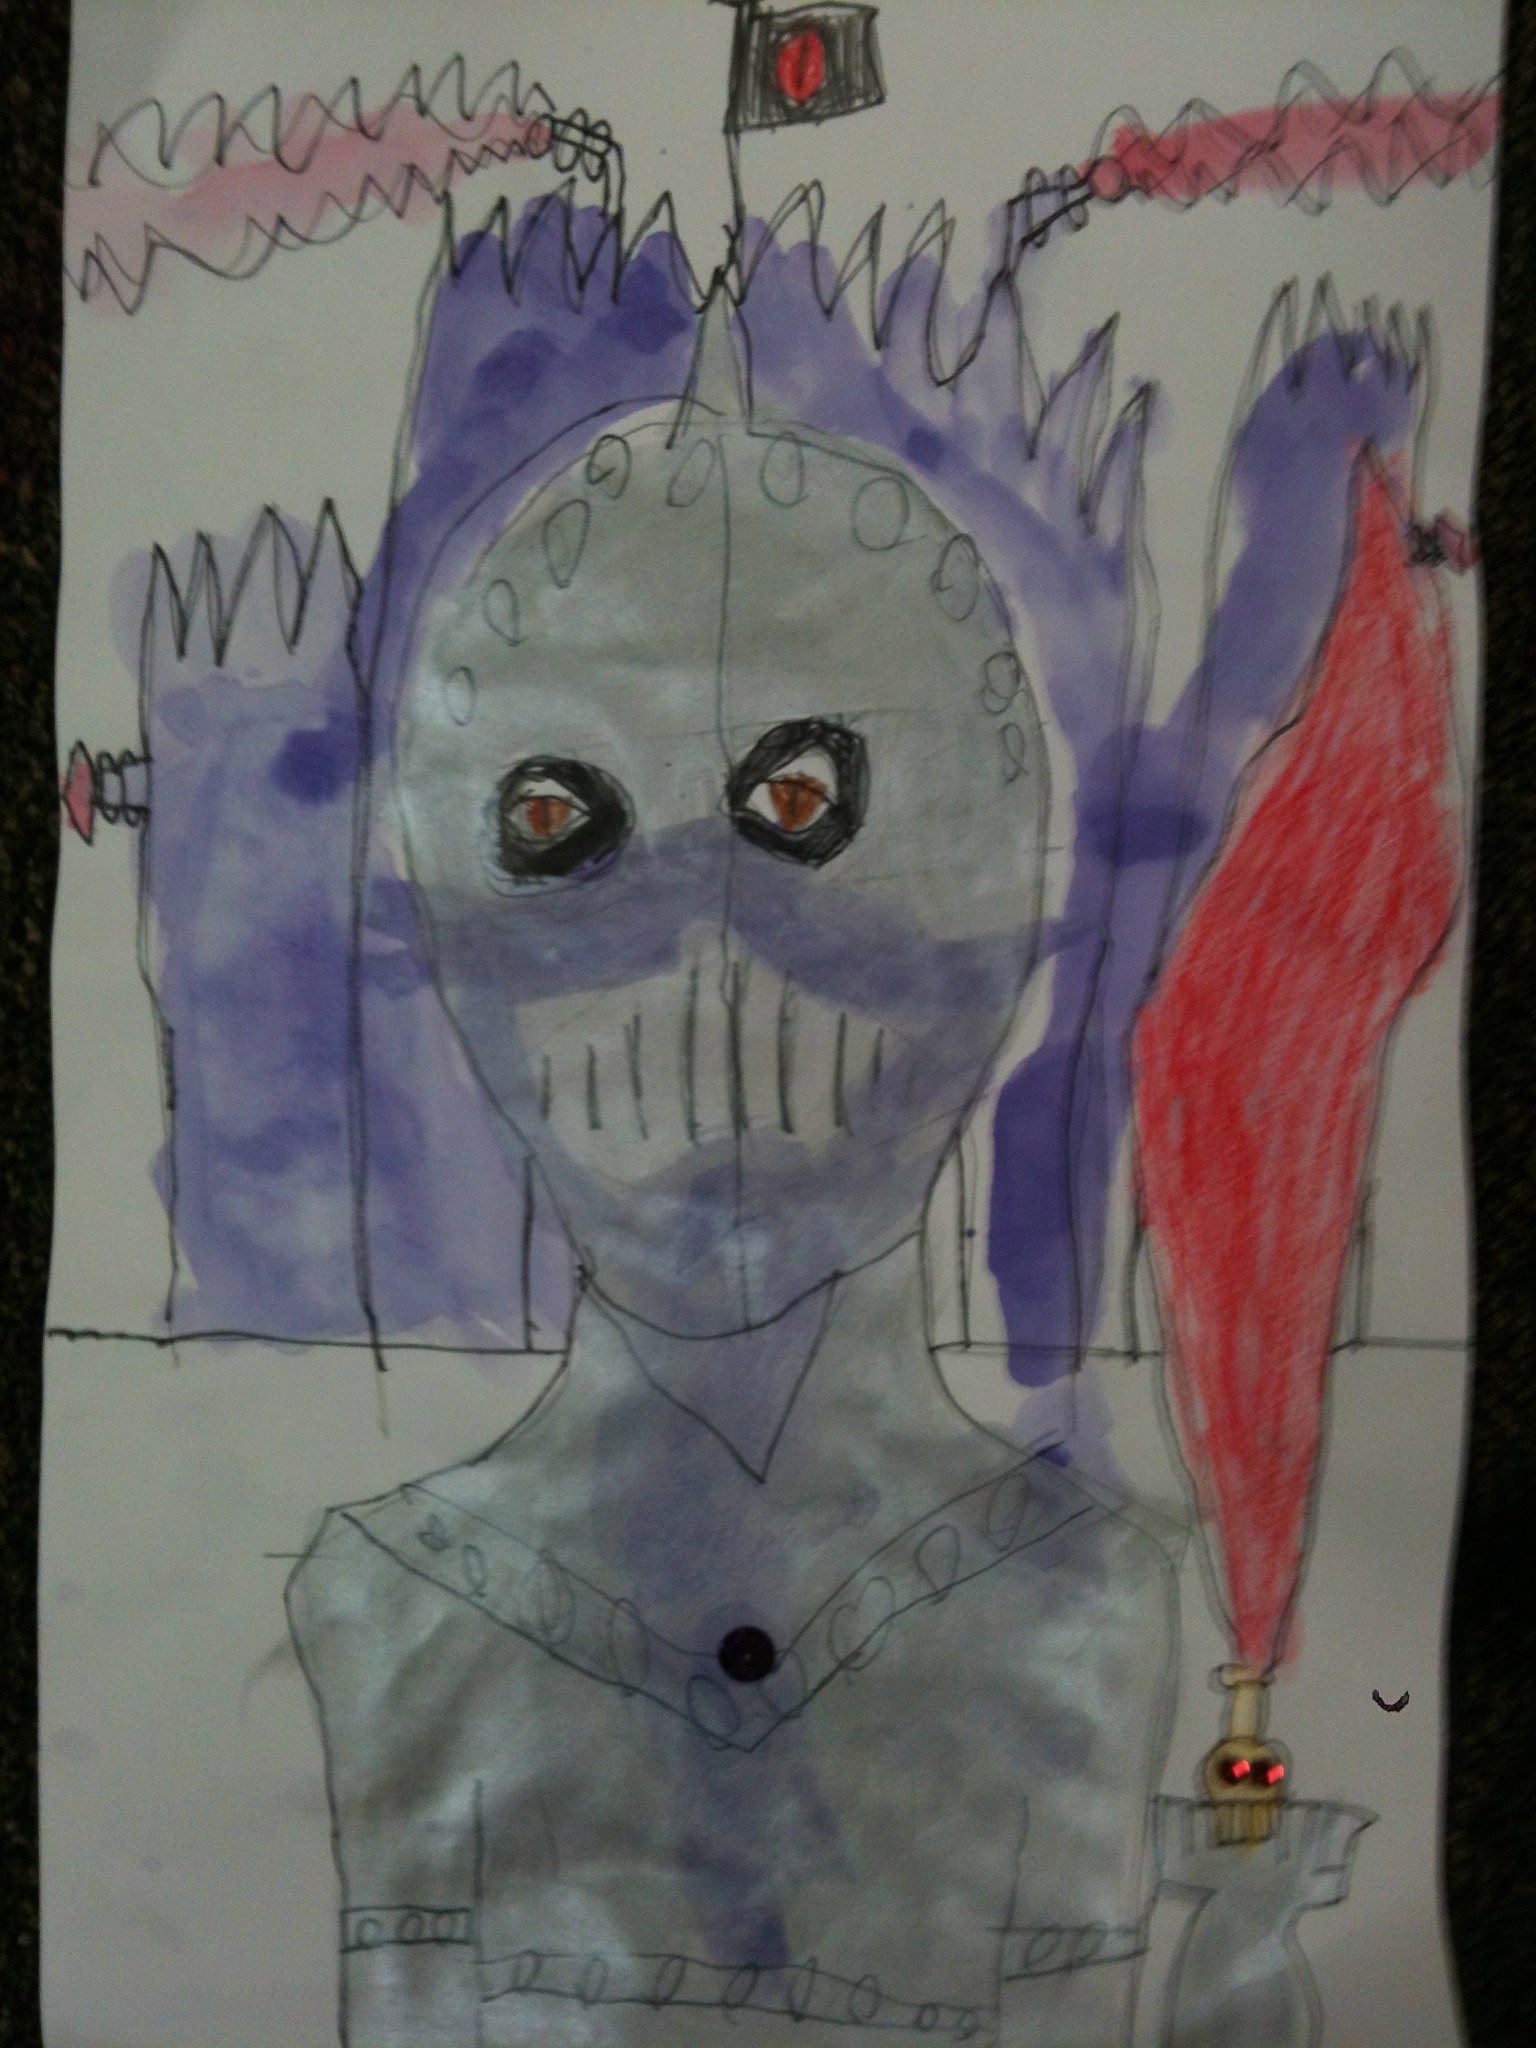
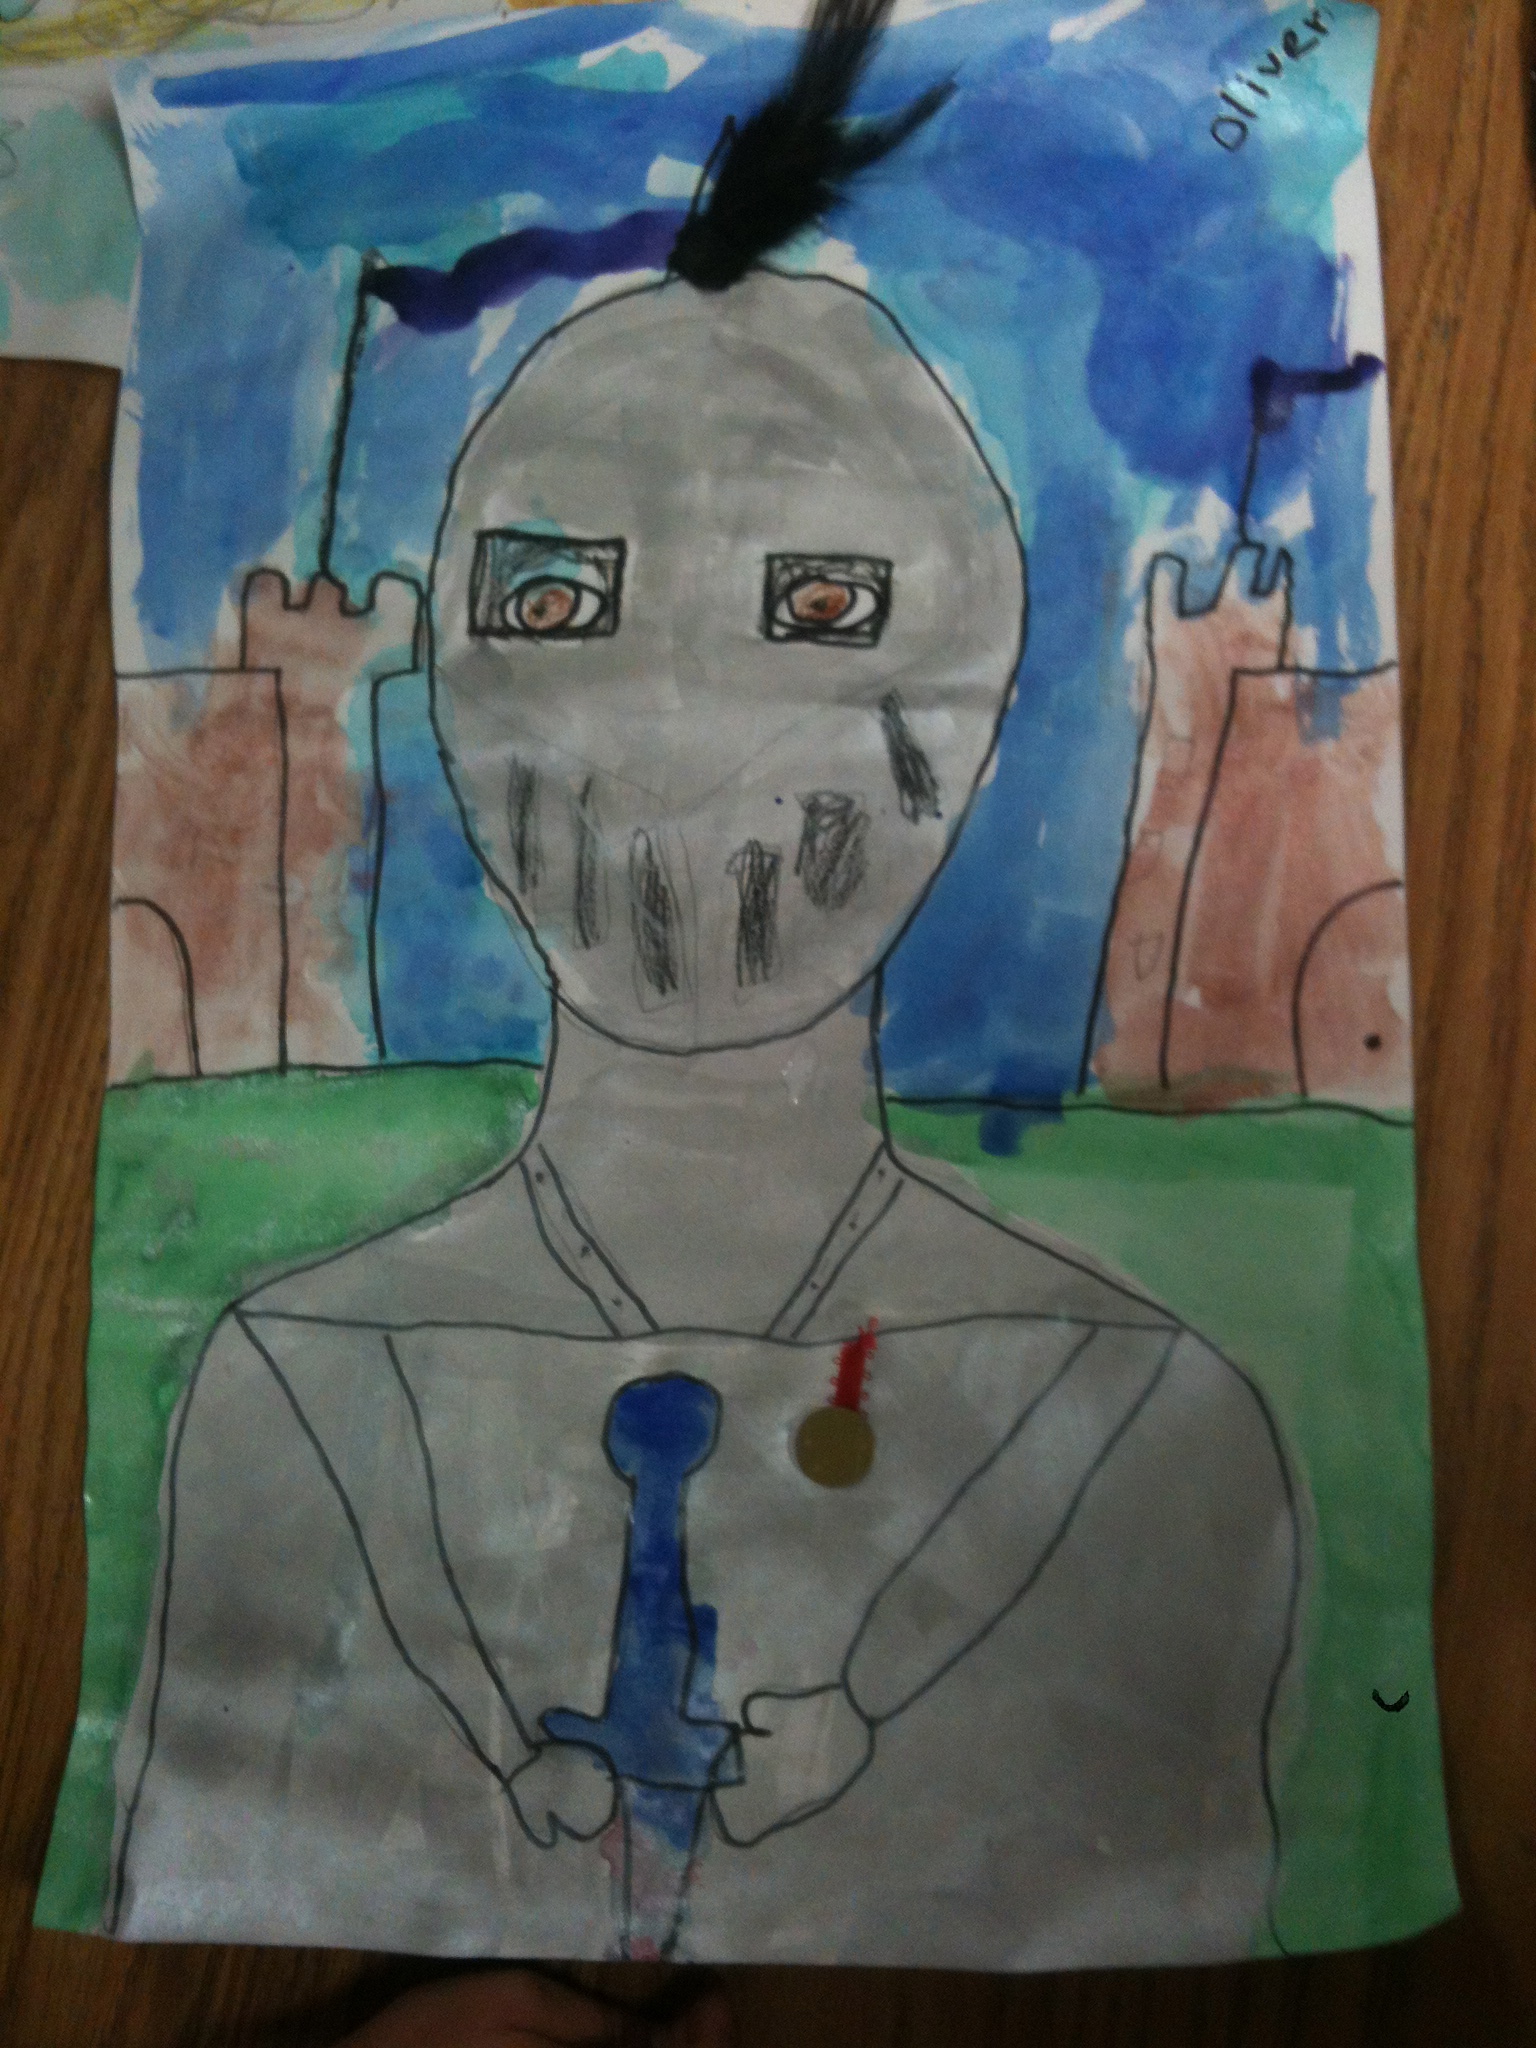
First graders just love knights. We traced a template, then drew in details. We used silver tempera, metallic watercolors and fabulous embellishments to create our knights. Intruders beware – the castle is safe!
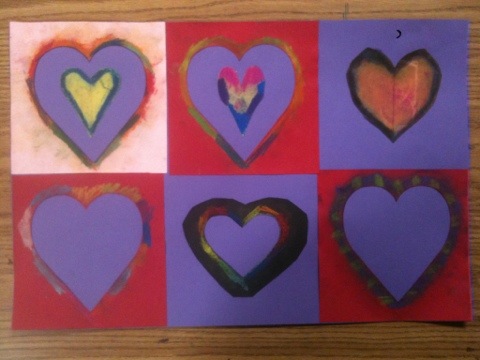
5th graders used chalk pastels and cut paper stencils to make overlapping hearts.
These beautiful chalk pastel stencils take only one 40 minute session!
Materials:
Chalk Pastels
Stiff brush (we use our old tempera brushes)
scissors
construction paper for background (we used white 9″x12″)
construction paper cut approx. 4″x6″ for making stencils
optional: ready-made stencils
Instructions:
Fold the small rectangle in half. Draw a half heart on the fold and cut out.
Students can use both the positive and negative shapes from homemade stencils.
Color around the edges of the cut out 'window'.
Now take the stiff brush and brush the colored pastel into the stencil ‘window’.
These pink hearts 'stencils' were made on the school die-cut machine.
Lift up the stencil. Students will ooh and aah if they have never tried this process before! Now shift the stencil and repeat the process. Encourage students to overlap.
Now take the positive shape and color the edge with pastel. Place on the background paper, and brush the color outward onto the paper.
Positive shape can be used as a stencil.
Nice composition and color.
We reused our die-cut stencils for three classes. We just colored and colored again around the edges. Tell the students to relax – it’s going to look beautiful.
Students can also color the background.
Another stencil made on the school die-cut machine.
This student used his stencils to make a bird.
This method would be very interesting with cut paper snowflakes or doilies.
Experiment with doilies.
Try a homemade snowflake stencil.
Minimize the mess: ask students to tap their excess chalk pastel dust onto a piece of newspaper.
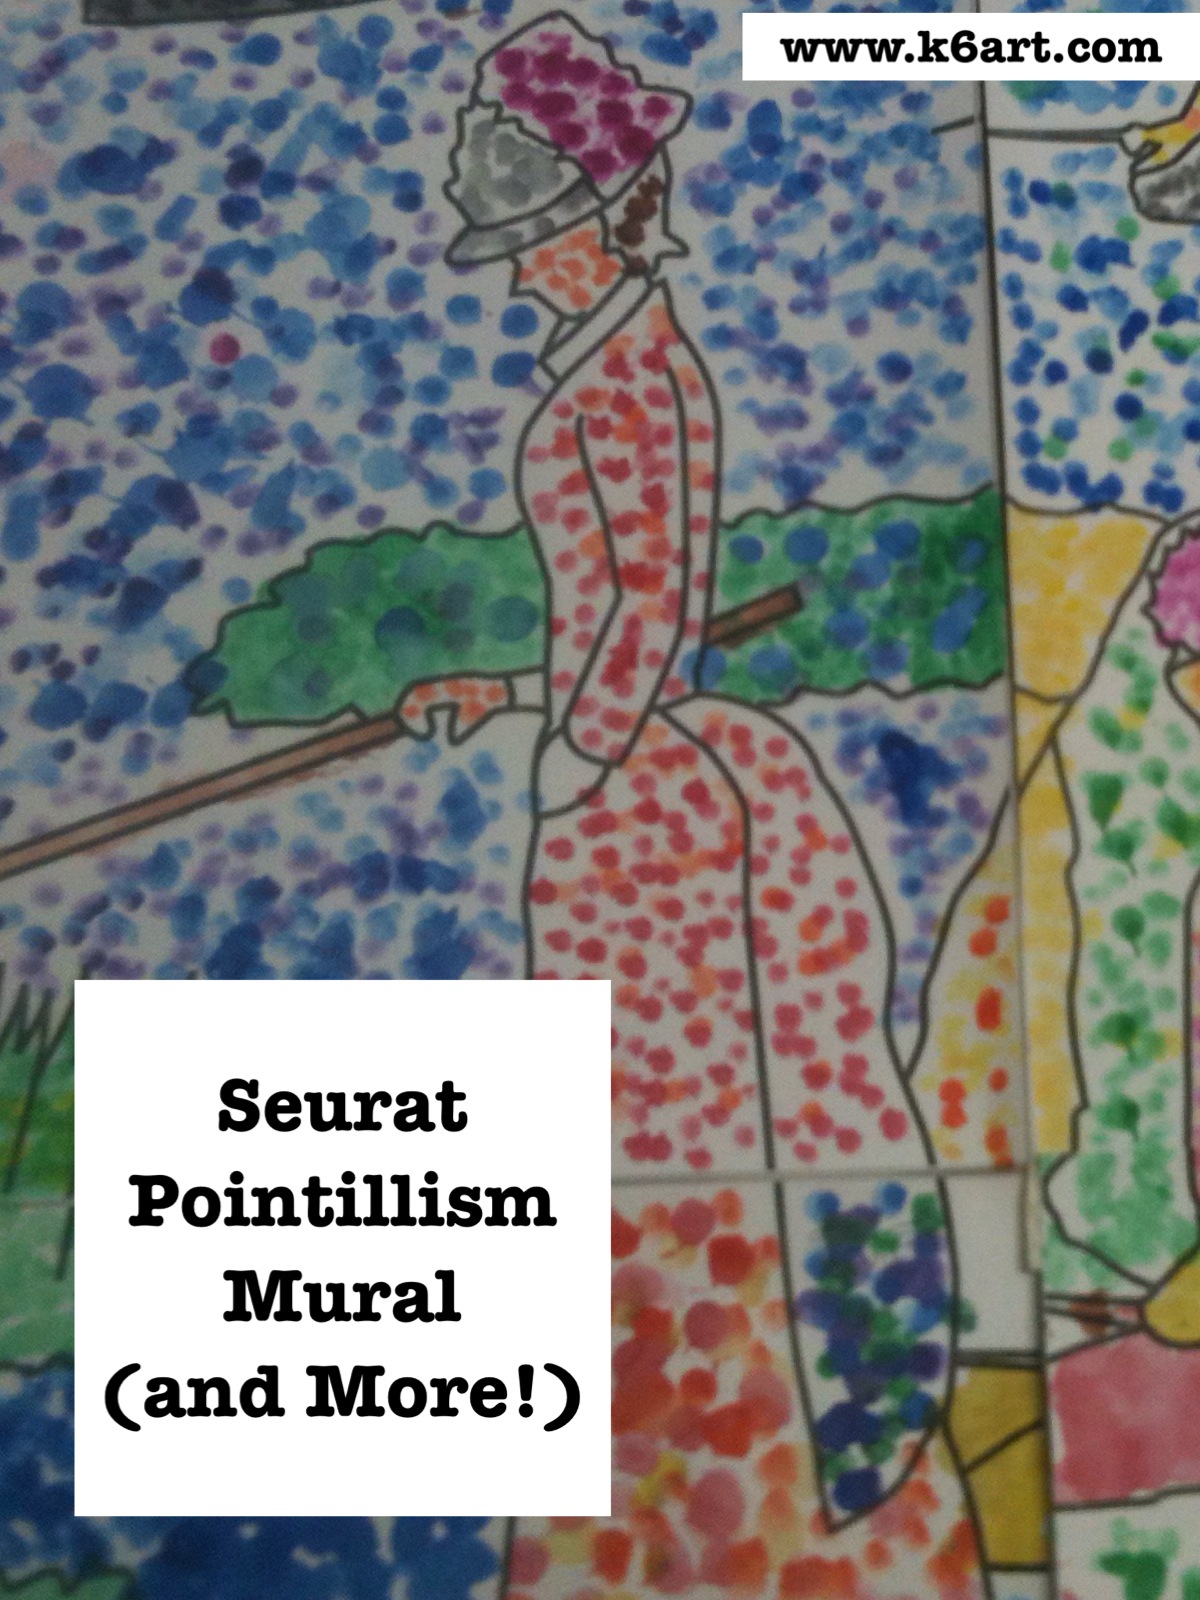
Need a group art project? 4th grade just completed a pointillism mural based on Seurat’s “Sunday Afternoon at the Island of La Grade Jatte”.
‘La Parade’ by George Seurat. 1889
Day 1:
Introduce pointillism. We discussed how Seurat made paintings in a whole new way: instead of blending colors, he placed different colors of dots side by side and let the viewer’s eye mix them.
Close up view:
I passed out some greeting cards with pointillist art and let students examine them closely. They really need to see the art works up close to appreciate how many dots Seurat put in his paintings (tip: pass out magnifying glasses for a close up view). I added some great close-ups to this Seurat Powerpoint (sadly I am not sure who posted this Powerpoint).
Individual warm-up project: make your name in dots on a 4.5″x12″ strip of paper. Color the background with dots as well. We used Q-tips and pan watercolors.
Make your name in dots as an introduction to pointillism.
Days 2-3:
Group project. I purchased the downloadable pdf mural ‘Sunday in the Park’ from Art Projects for Kids ($8). The pdf contains a 28-piece mural (perfect size for a 4th grade class!) which you print onto cardstock. Each student ‘dotted’ their respective part of the mural, using the coloring guide included in the download.
Seurat’s famous ” (aka ‘Sunday in the Park’). Seurat’s masterpiece contains over 3 million dots and took over 2 years to complete.
28 individual pointillist artworks come together to form Seurat mural.
The assembled mural is 55 inches x 40 inches.
We carefully assembled the mural by attaching long strips of masking tape on the seams (note: get a helper for assembly!). Bonus: it folds up like a map! Easy to store until the art show.
The completed mural.
The kids really enjoyed this project. I did notice there was a lot of variety in the assembled mural – some students made a near-solid dot pattern with almost no white paper showing. Others had sparsely dotted areas. Next year I will use this pointillism practice worksheet from Miss Young’s Art Room blog.
Pointillism worksheet from Miss Young’s Art Room blog.
Options:
Individual coloring sheet for ‘Sunday in the Park’. From Practical Pages blog.
Want an individual project based on ‘Sunday in the Park’? There is a great post including download on the Practical Pages blog.
Try out different materials for pointillism:
Q-Tip + tempera
Marker
Unused eraser tip from a standard pencil + pan watercolor
Unused eraser tip from a standard pencil + stamp pad
Stamp pad + eraser tip
How do you teach pointillism to your students? Leave a comment!
UPDATE 10/17/13:
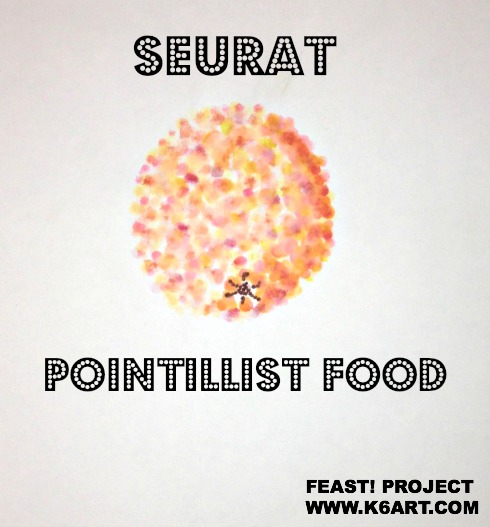
NEW!!! Pointillism art project – make pointillist FOOD using watercolors, q-tips and markers! AWESOME pointillism video! Click here.
*****Thanks for visiting! Don’t forget to please vote for 2012 Art Ed Blog of the Year, which you can do by clicking this link and voting for K-6 Art! Voting open through December 14, 2012.******